Dungeon Fantasy Planner Review

I went ahead to purchased the PoD GURPS Dungeon Fantasy Planner from Amazon for the express reason of writing a review. I’ve been fairly negative of SJG in the past few years with the lack of GURPS support (compared to previous years of releases) so I figured I’d put my money where my mouth is and purchase both the pdf and a physical copy of the book. I was going to show photographs of my filled out book but as my adventure with my group has been delayed I didn’t want to show spoilers or wait another few weeks to publish this post. So I wont’ be including those. I may update the post once they have gone through the adventure.

Physical review

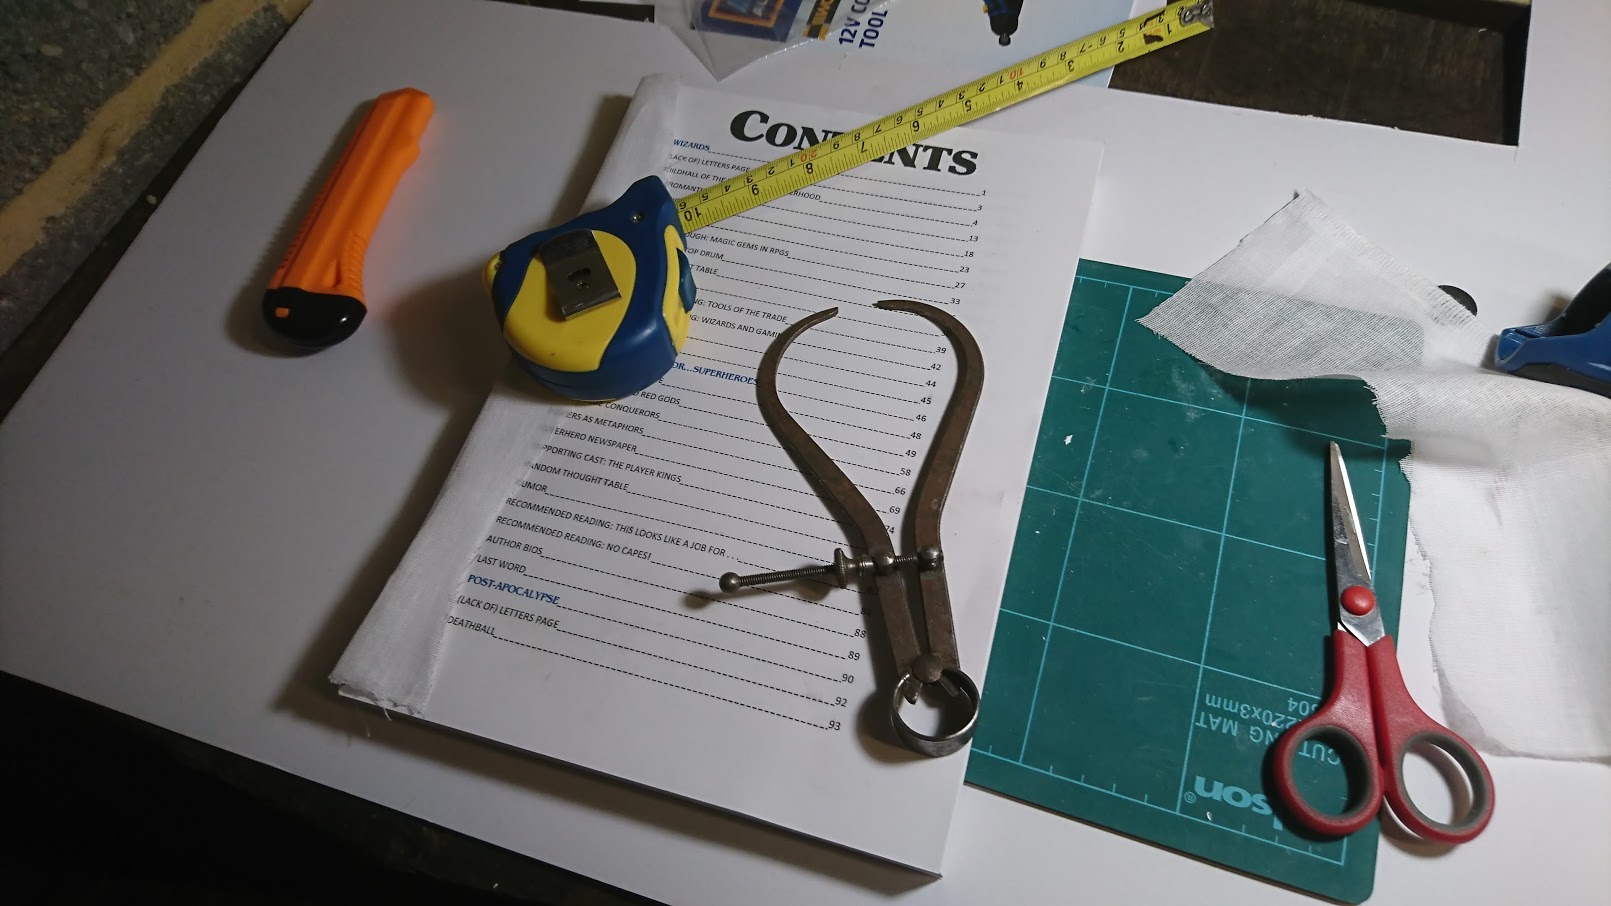
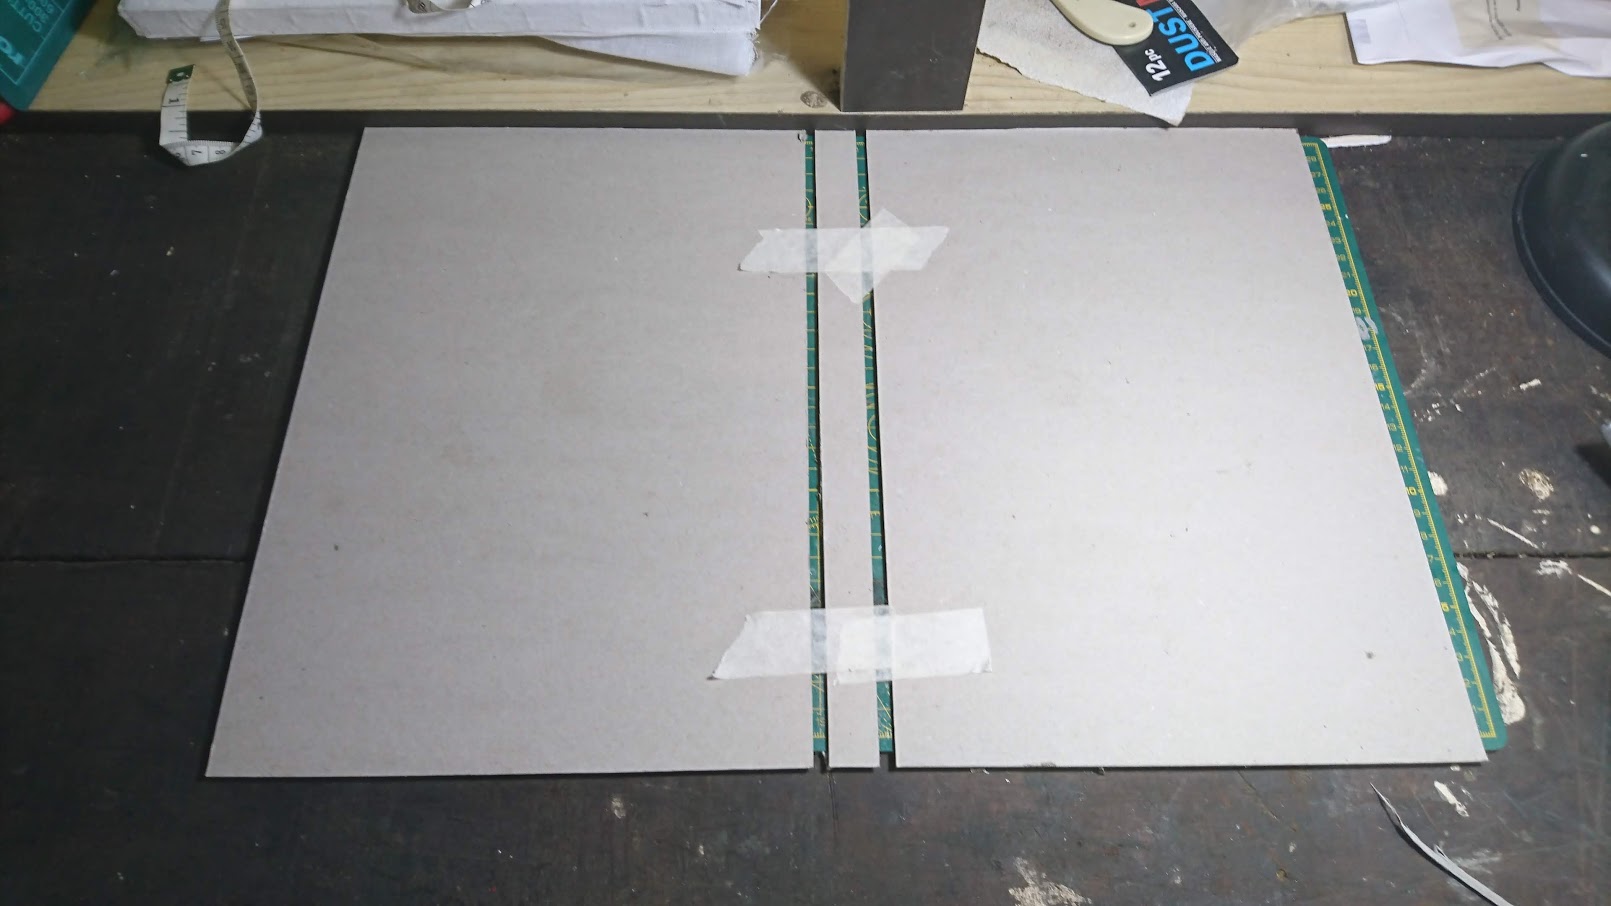
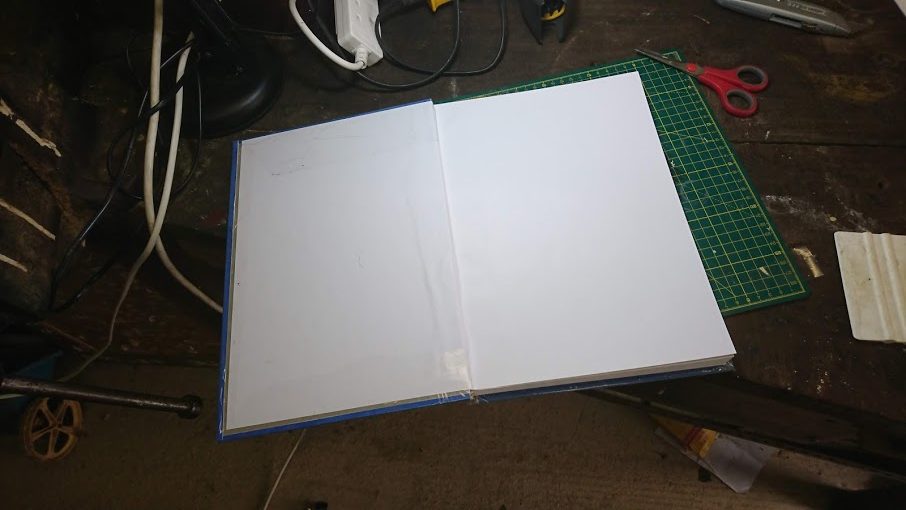
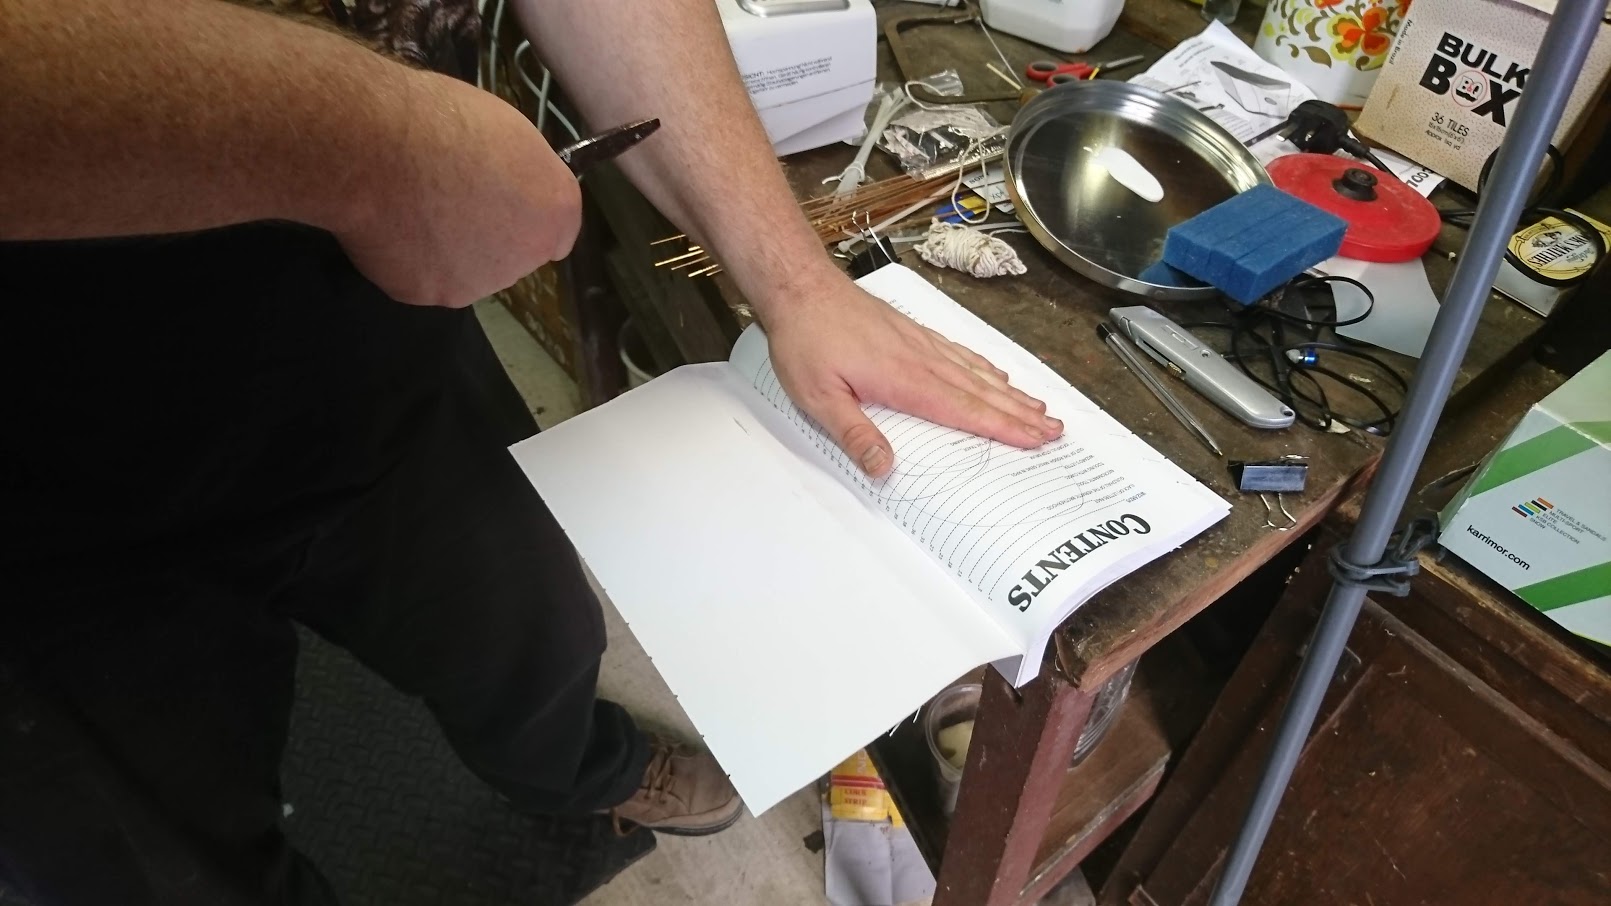
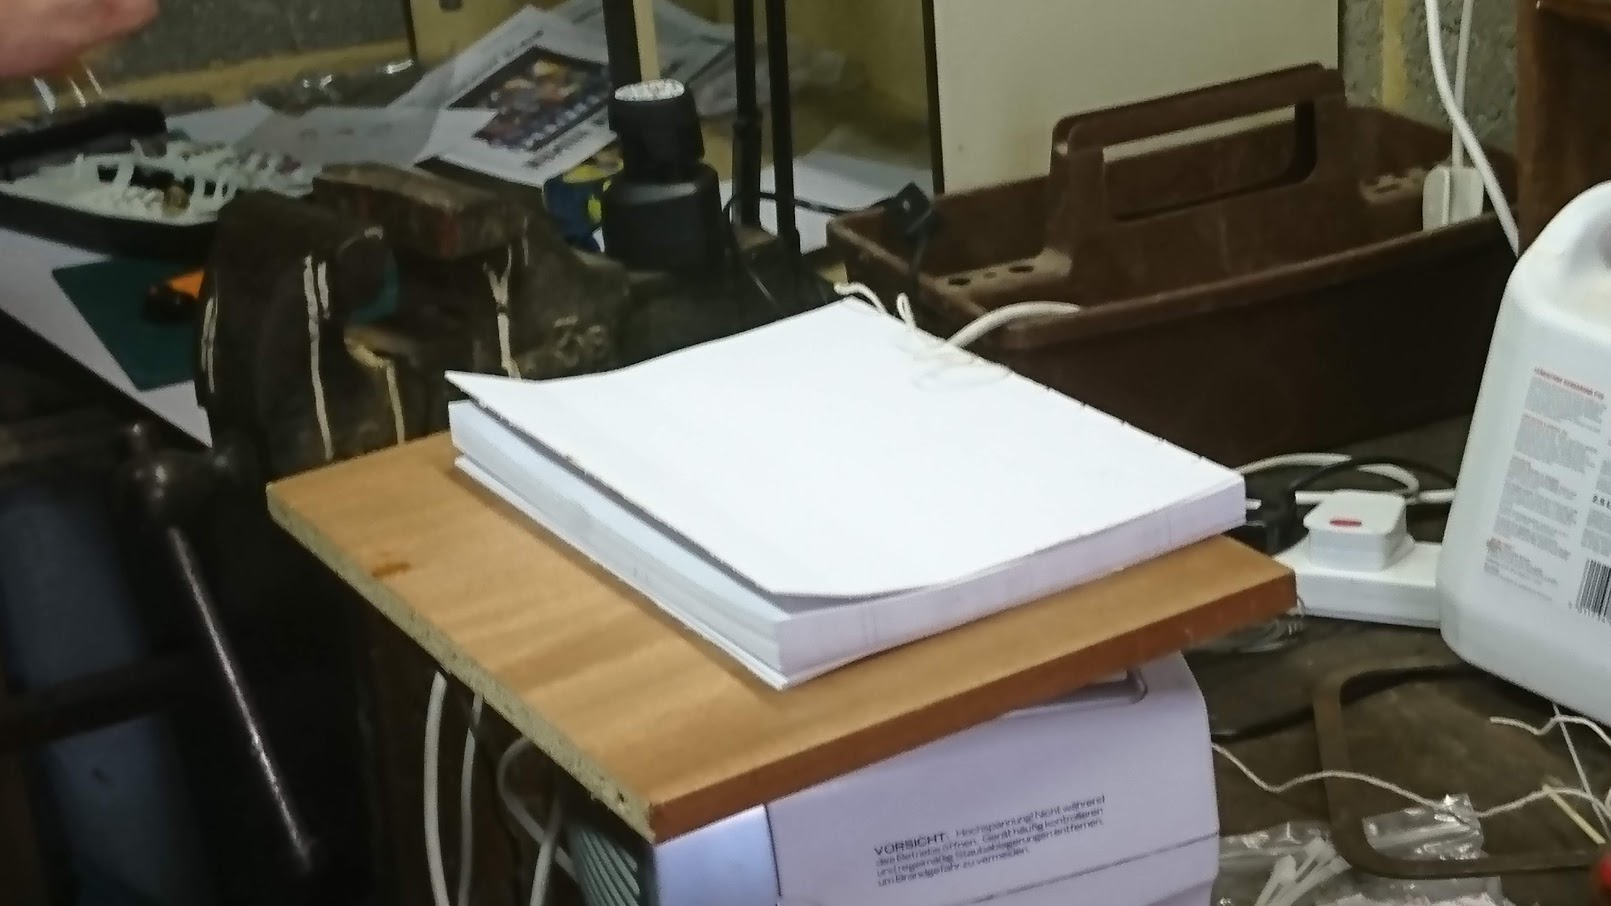
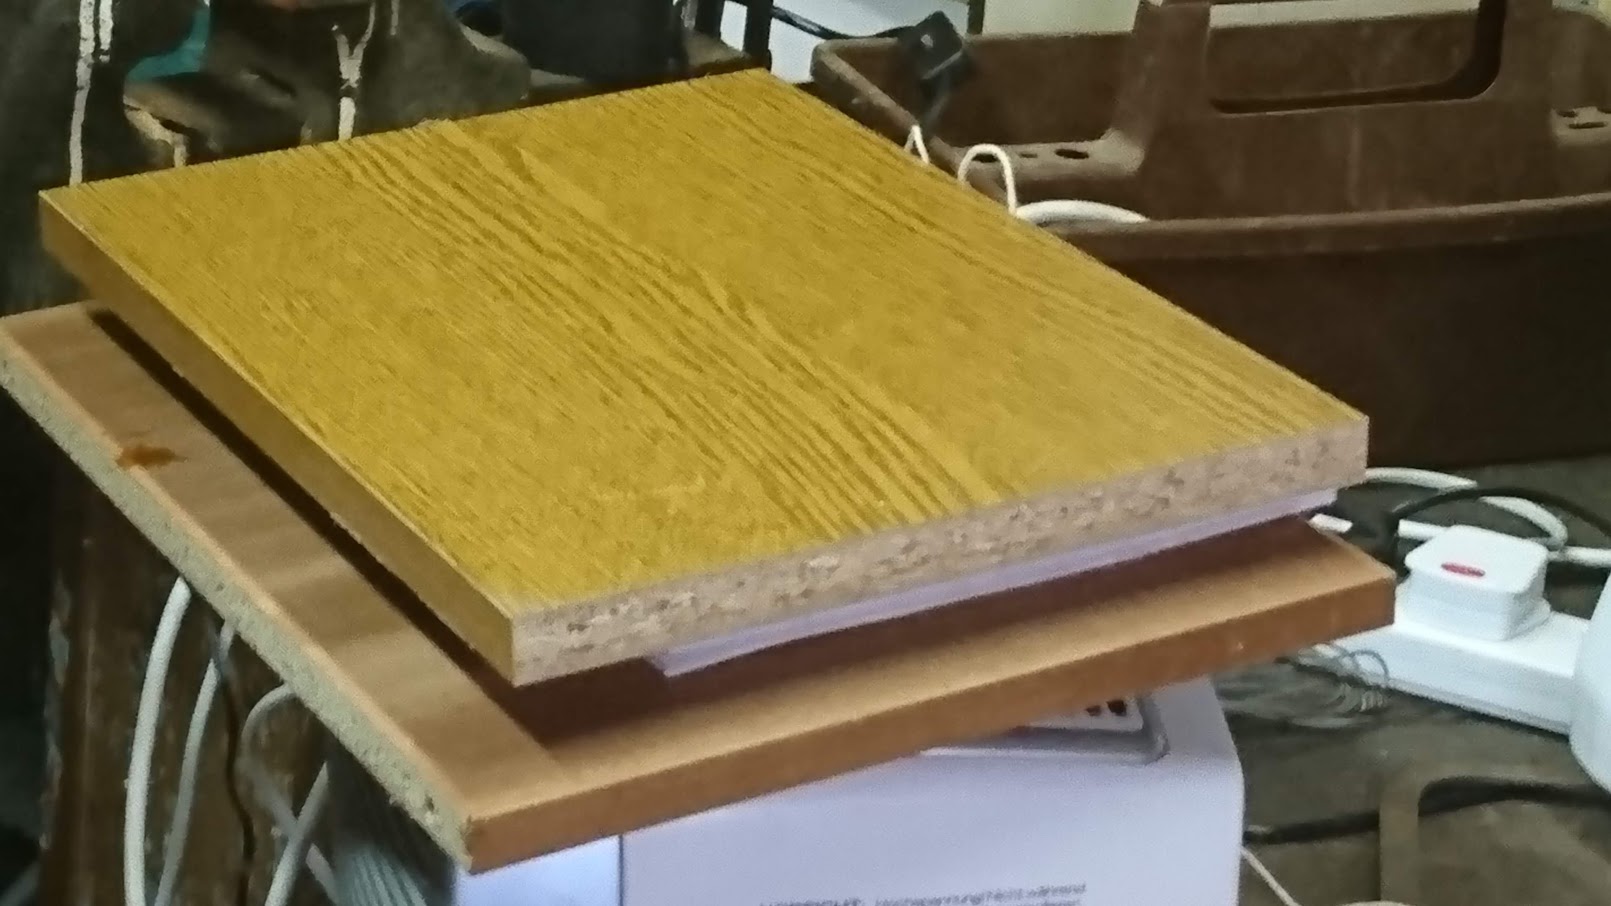
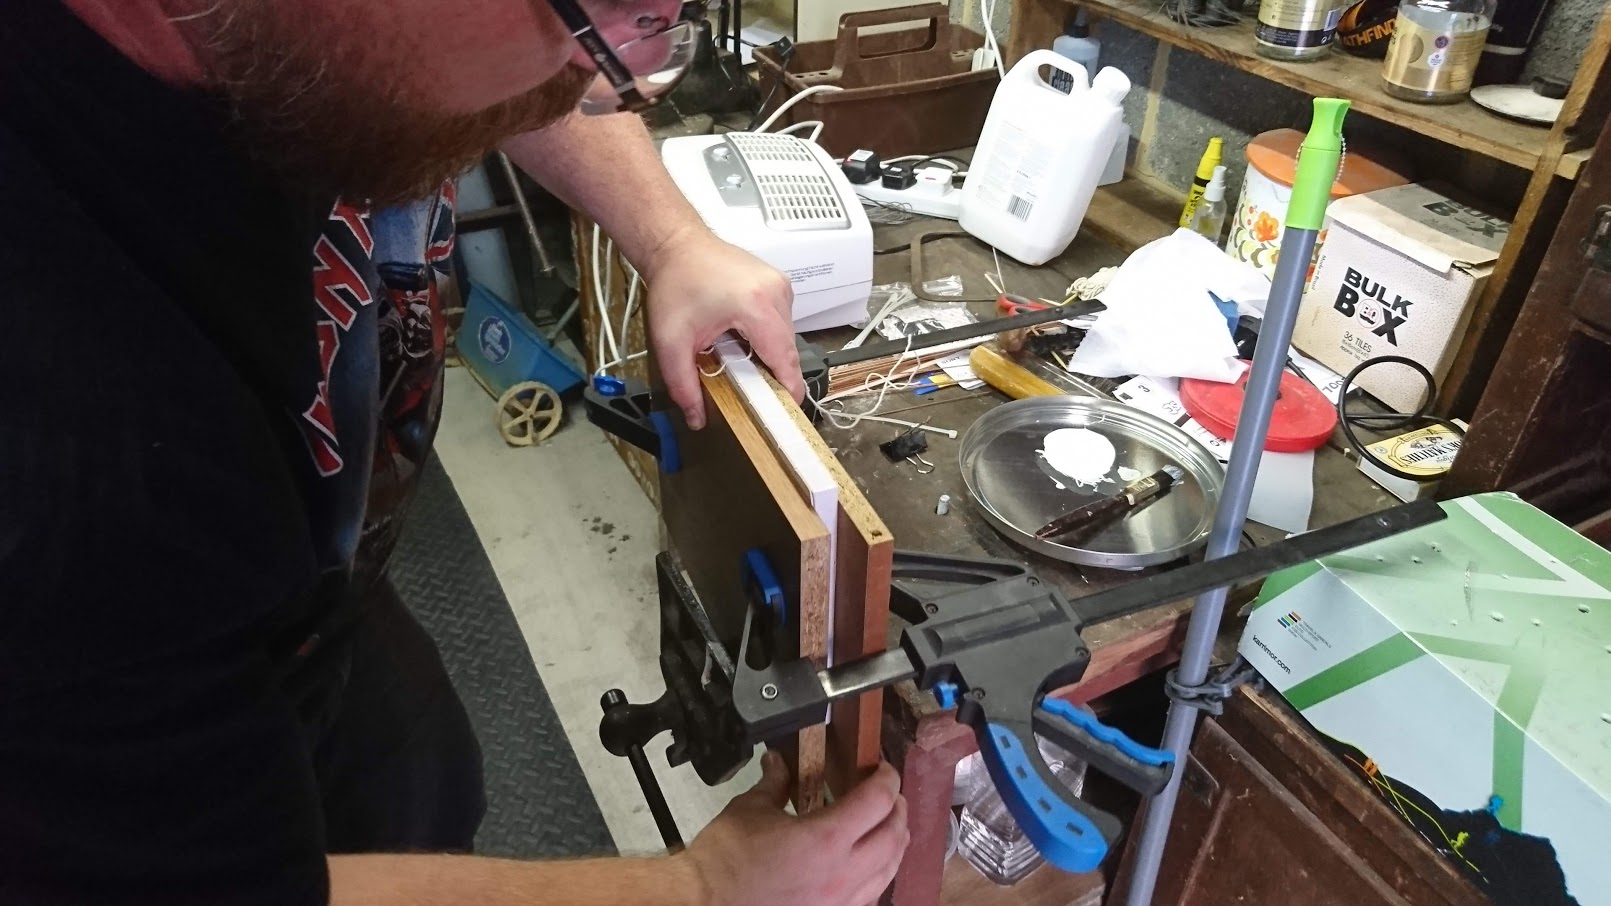
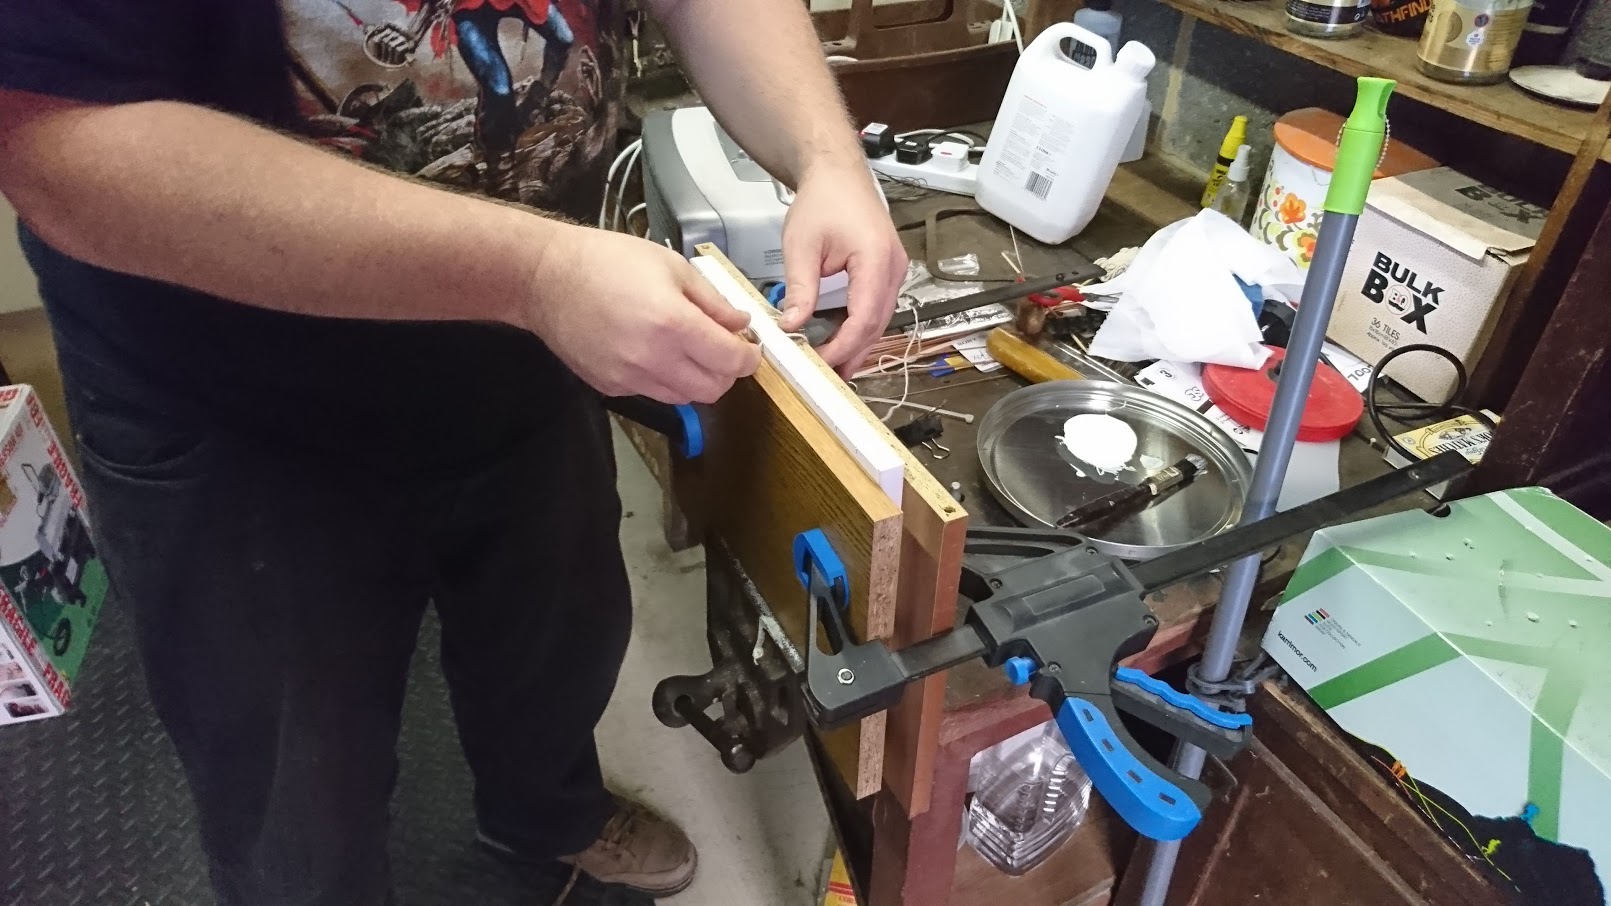
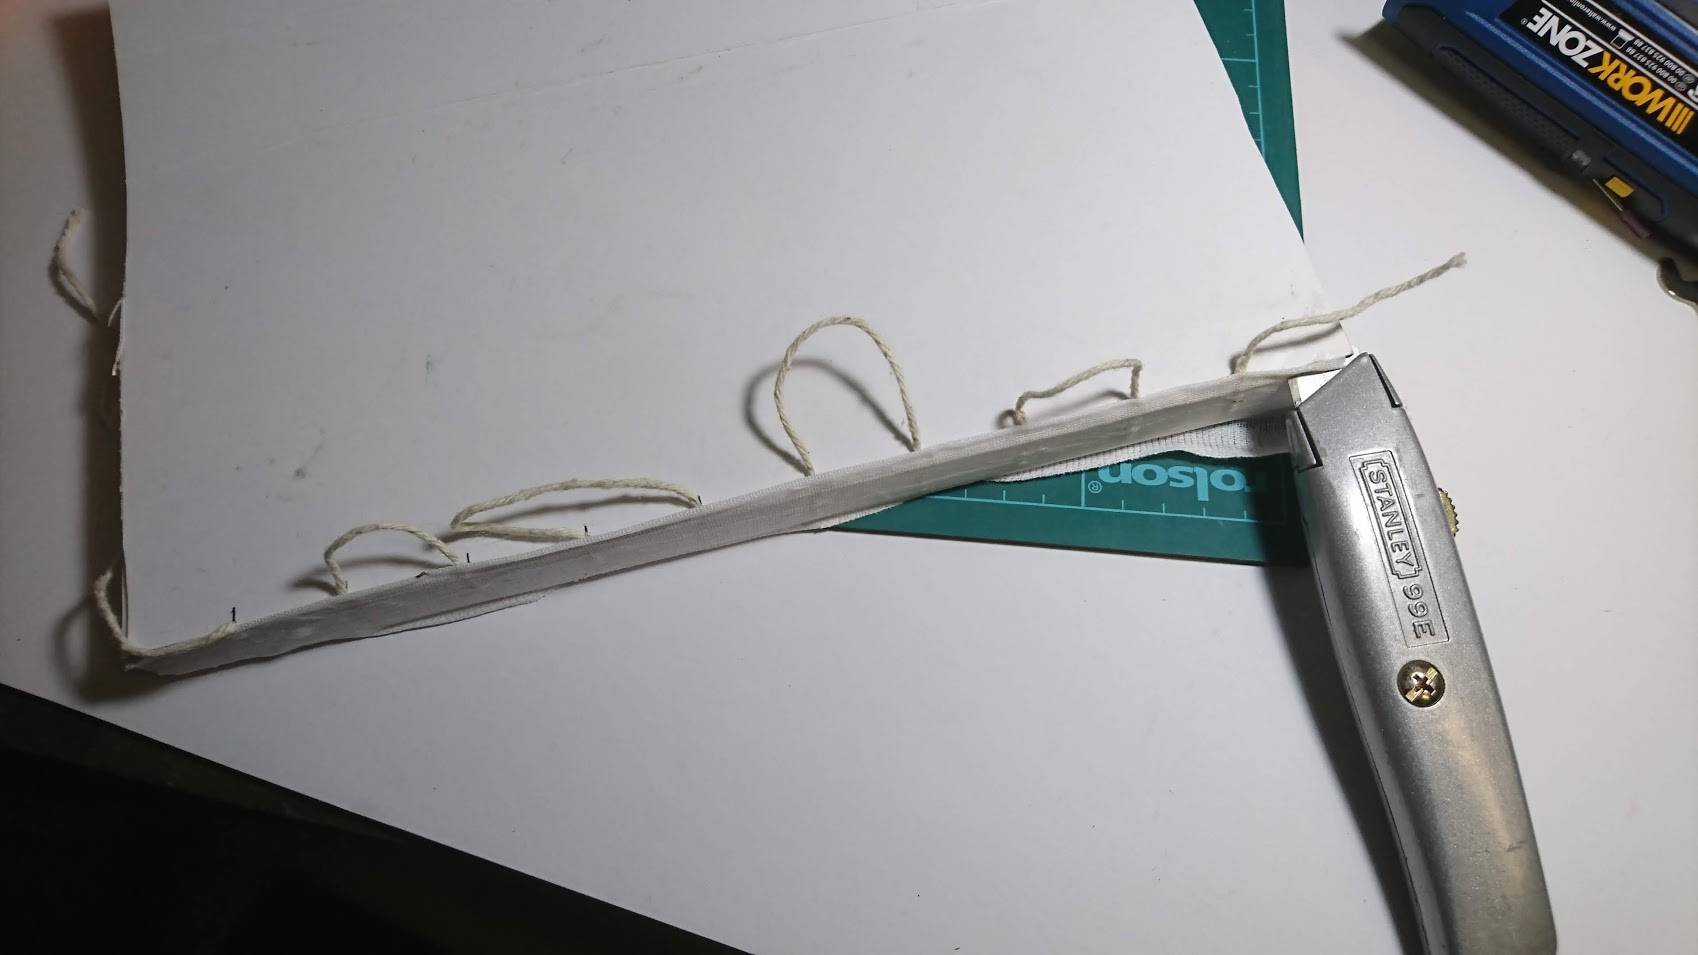
As I have stated in a few previous posts the Amazon PoD (Print on Demand) is much better than it was with the release of the first DFRPG (Dungeon Fantasy Role Playing Game) Companion 1. I’m almost tempted to purchase another Companion 1 to see if there is a difference in quality. For the purpose of the physical makeup of the book I would like the reader to know that I have had some professional training in traditional bookbinding for a few years (although all my courses have been put on hold due to the pandemic). To start out with my PoD was printed in Great Britain. It may vary in North America or where ever you are able to get your PoD from.

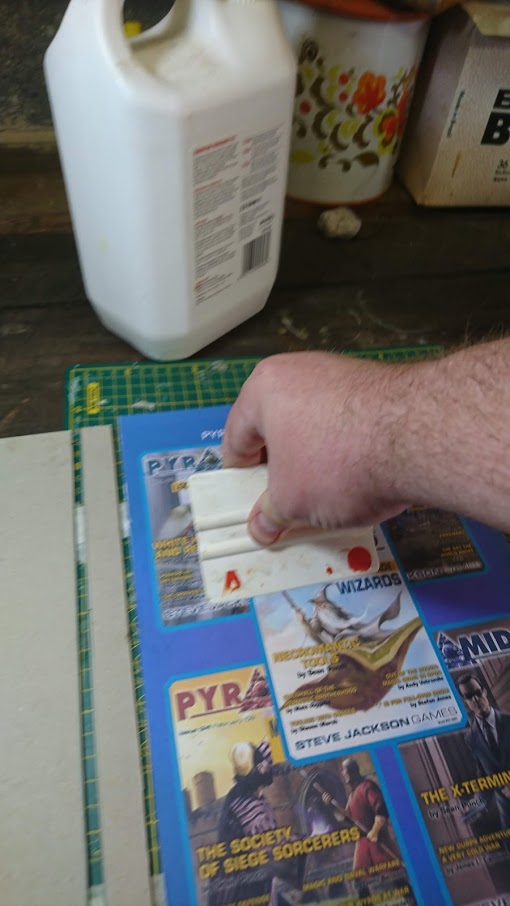
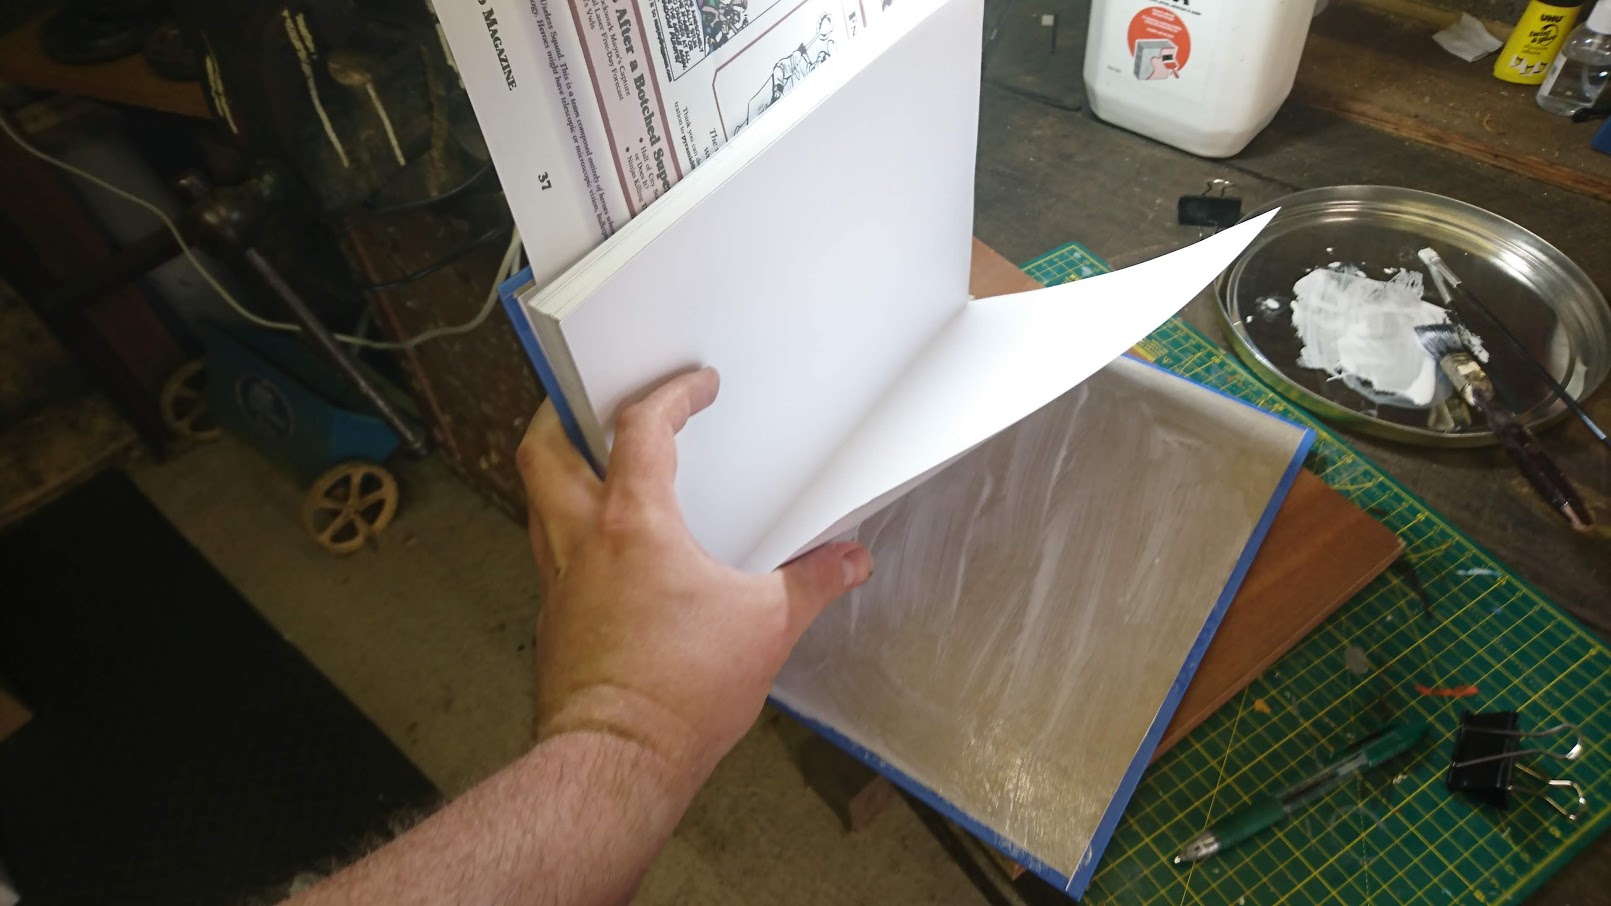
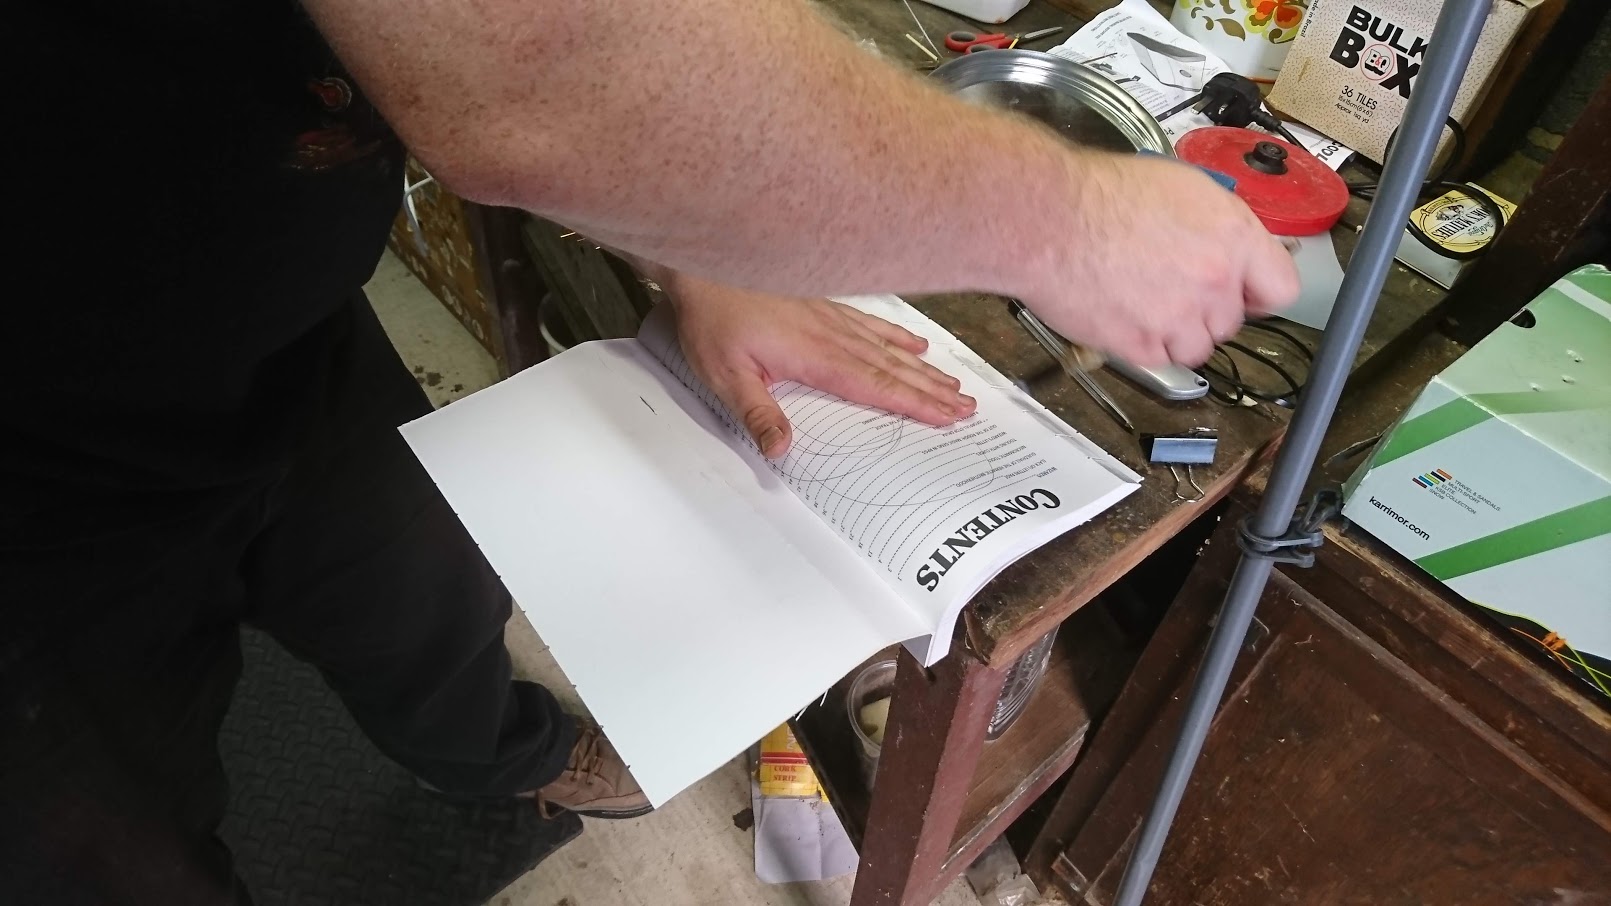
There is a crease that is 7mm from the spine. You should gently fold the cover over from the crease before opening the spine. Do this for the front and back cover. Then carefully open the book and turn the pages not from the spine but from the crease in the cover. This will ensure a longer life to your perfect bound book as it will put less stress on the adhesive spine.

Before creasing the cover
After creasing the cover

What is a perfect bound book?  A book binding in which a layer of adhesive holds the pages and cover together. I detest the term Perfect Bound as it is far from perfect. However perfect bound books do have a place on the market as they are cheap and fast to produce. The quality can range from horrible, as in it might last a couple of months. Or a proper hot melt adhesive that can take a bit of abuse.

Perfect bound book is loose sheets of paper bound together by adhesives. Normally with commercial grade hot melt, not to be mistaken with hot glue.

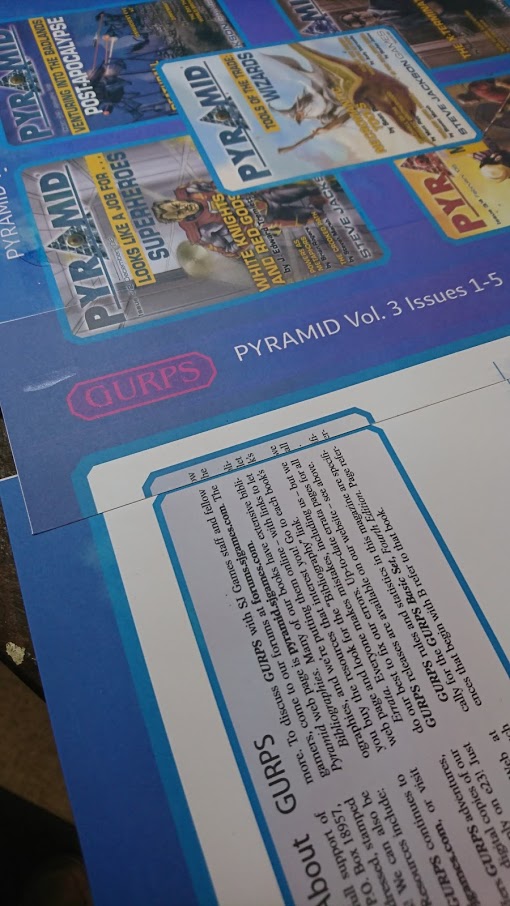
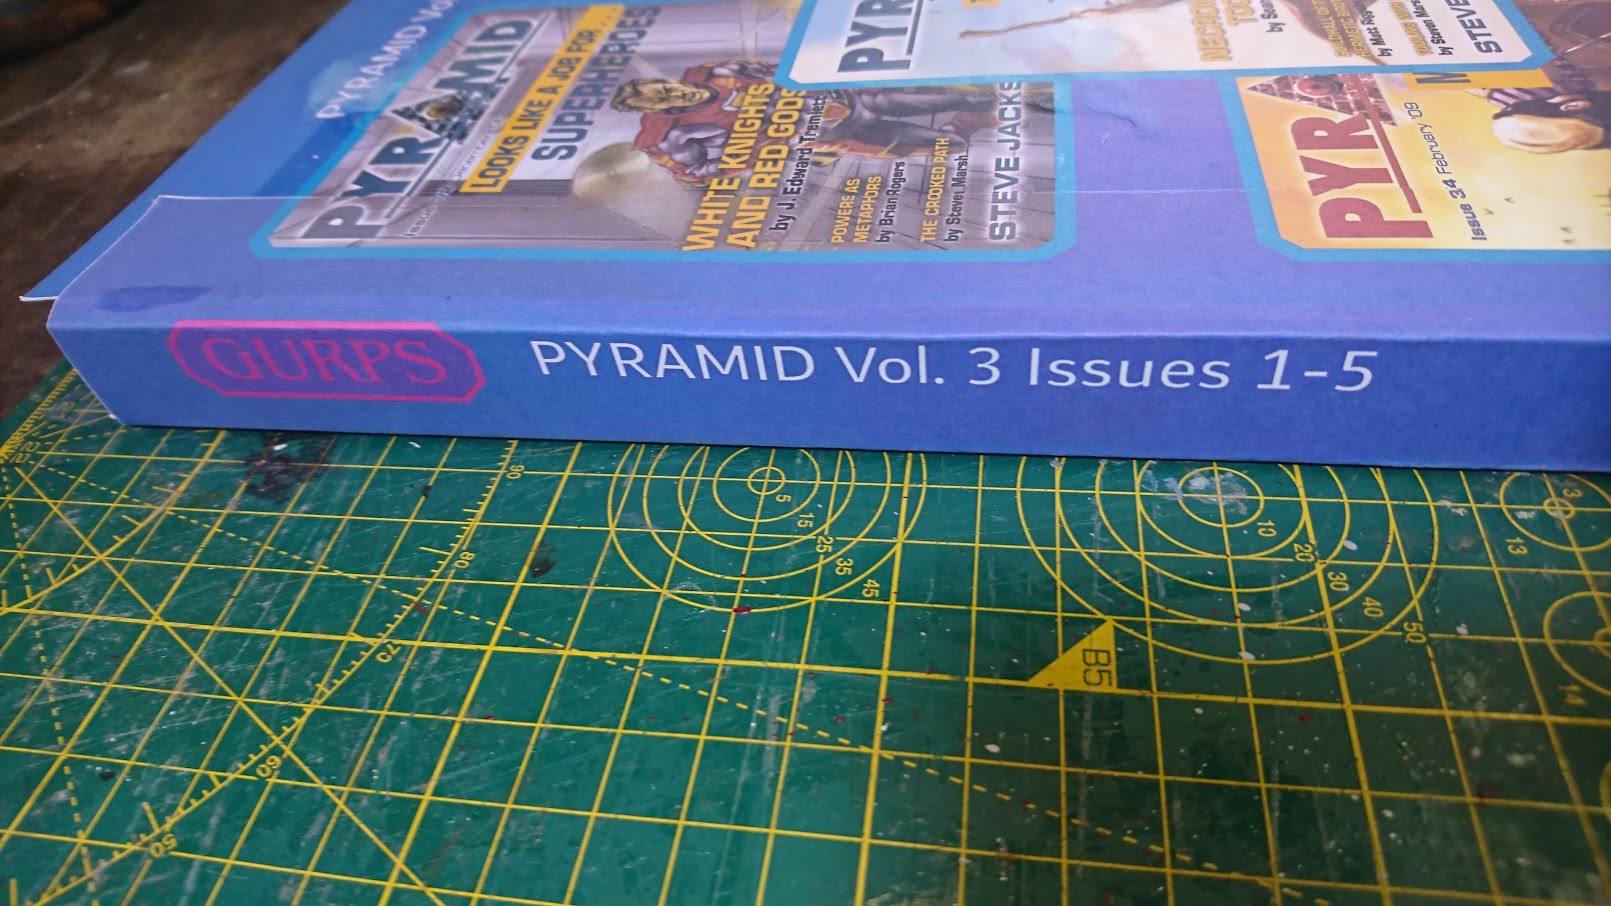
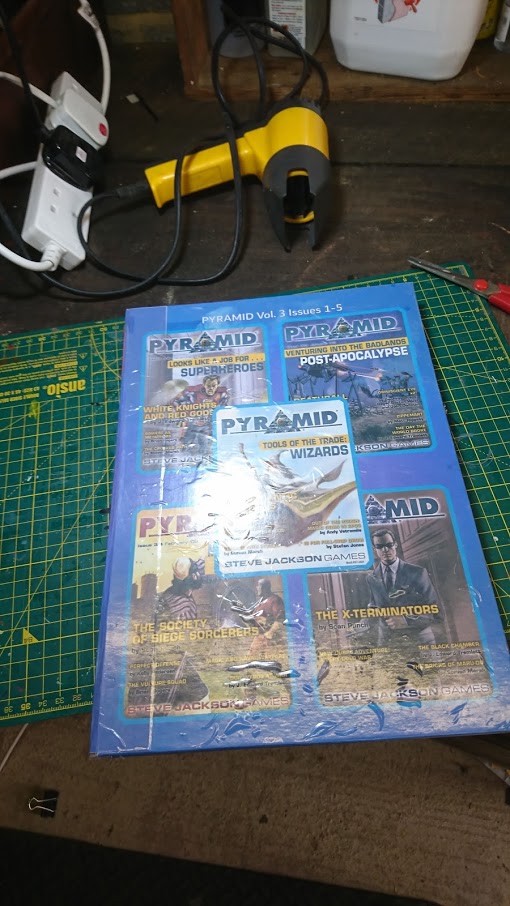
The book is sized so it will fit inside your Dungeon Fantasy RPG box or on the shelf with your other DFRPG books including the Nordland Sagas. I personally appreciate the consistency. The cover is cardstock (soft cover) with a full colour cover that is consistent with GURPS 4e cover design. Again something that I appreciate. I might have a touch of OCD but then don’t we all in some way! You all have to have the light switches facing the same direction in your house don’t you?

The paper is approximately 90 gsm and takes both Graphite Pencil, Coloured Pencil, and ballpoint ben (bic) very well. Markers, artist pens, and such do tend to bleed through a bit.

Overall Design and Layout

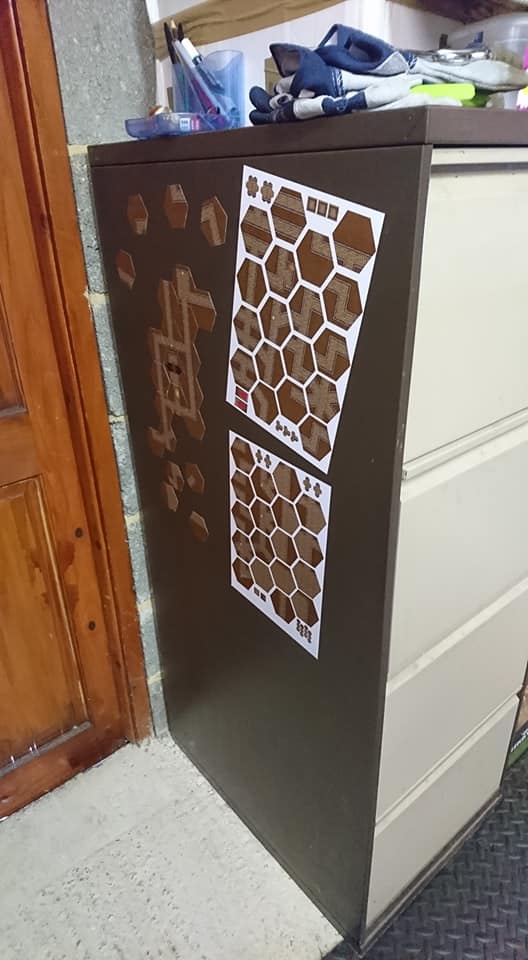
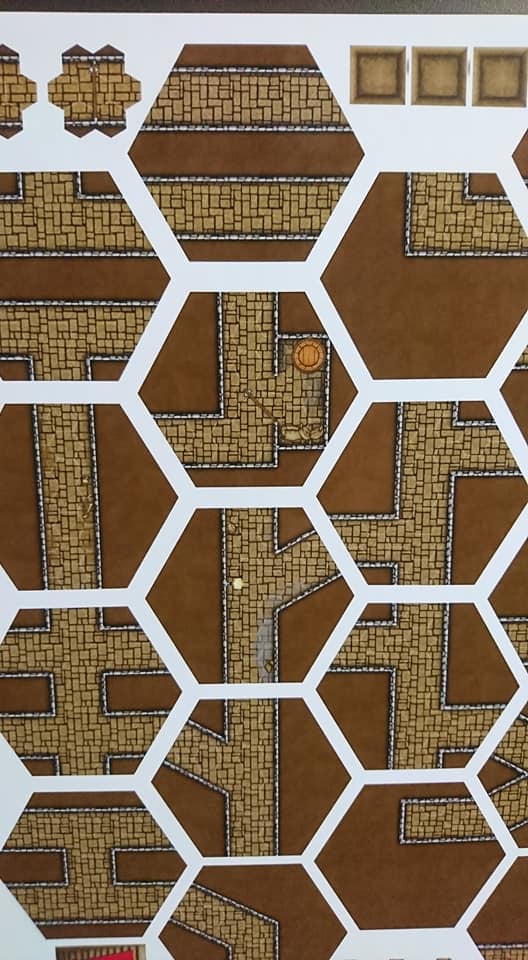
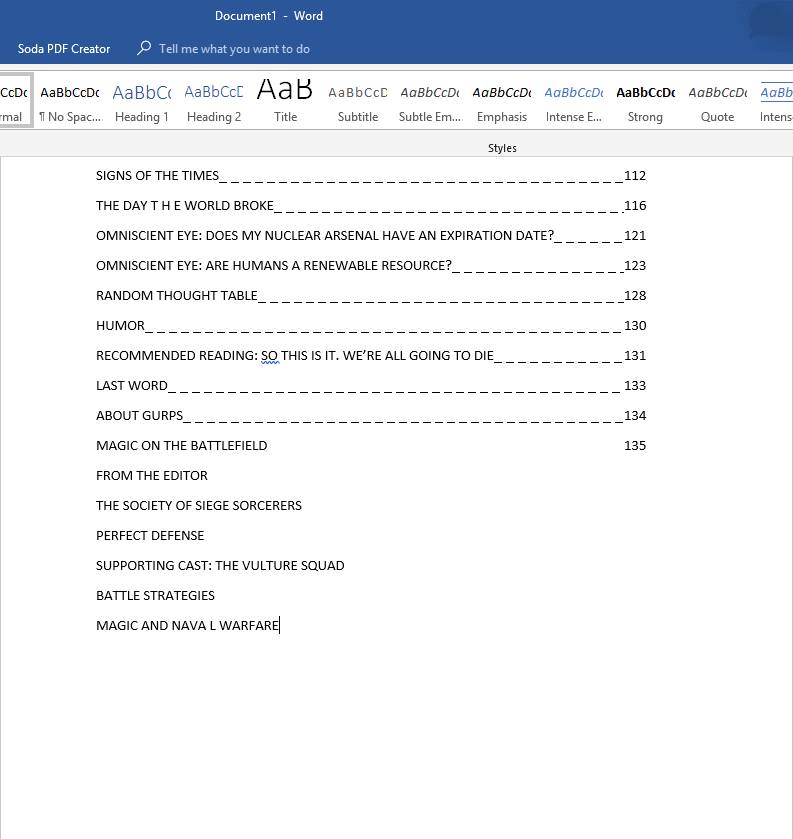
The interior of the book is black and white with a few grey-scale pictures recycled from previous DFRPG books. This pictures are used to fill some blank areas and chosen well. Newly commissioned art would have driven the price of the book up. It consists of 48 pages of printed material and two blank sheets at the end which can be used anyway you would like. Now as for the Black and White. Take a look at the original Room Map page and what I propose be a change.

Original Page for hand drawing your maps
Proposed changes to the Hex Grid map with light grey grid.

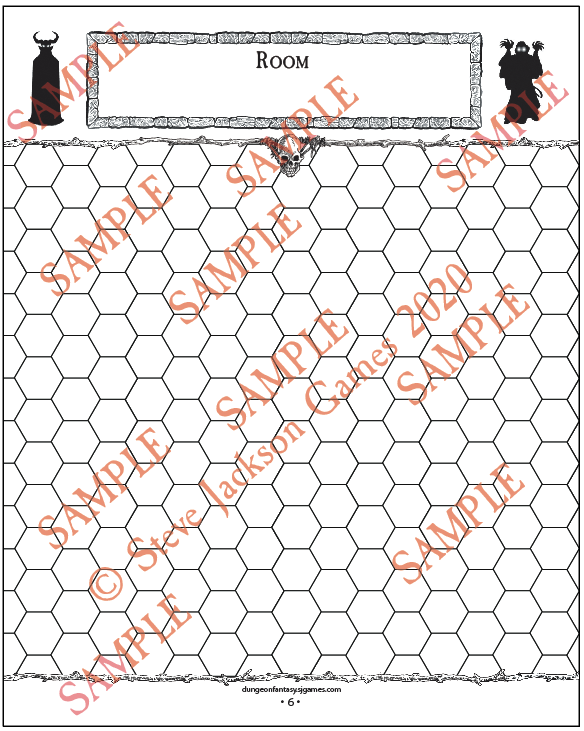
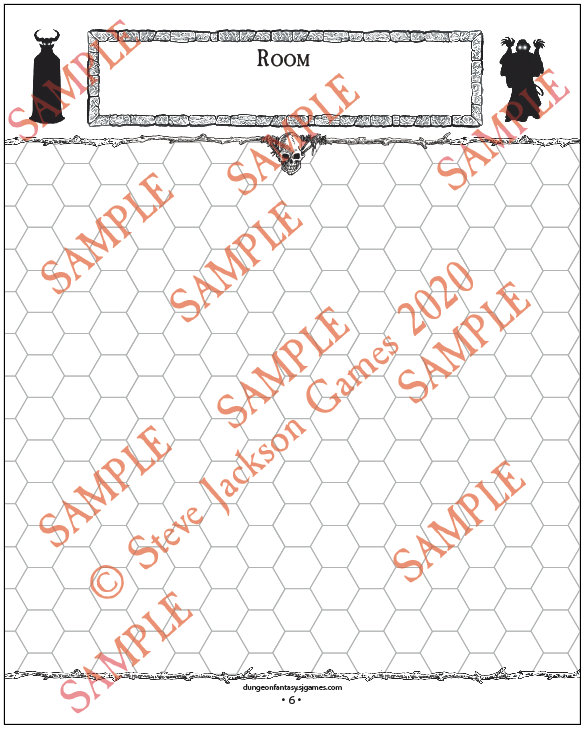
All the dark black writing lines and grids makes it difficult to see and read properly (at least for myself) unless you’re using a blue ballpoint pen. It is a minor issue but since they were able to print in grayscale for the images I would assume they could print grey for some of the lines as well. I do not know if this would have increased the book price as my experience is in binding books traditionally not printing books.

Adventure Overview

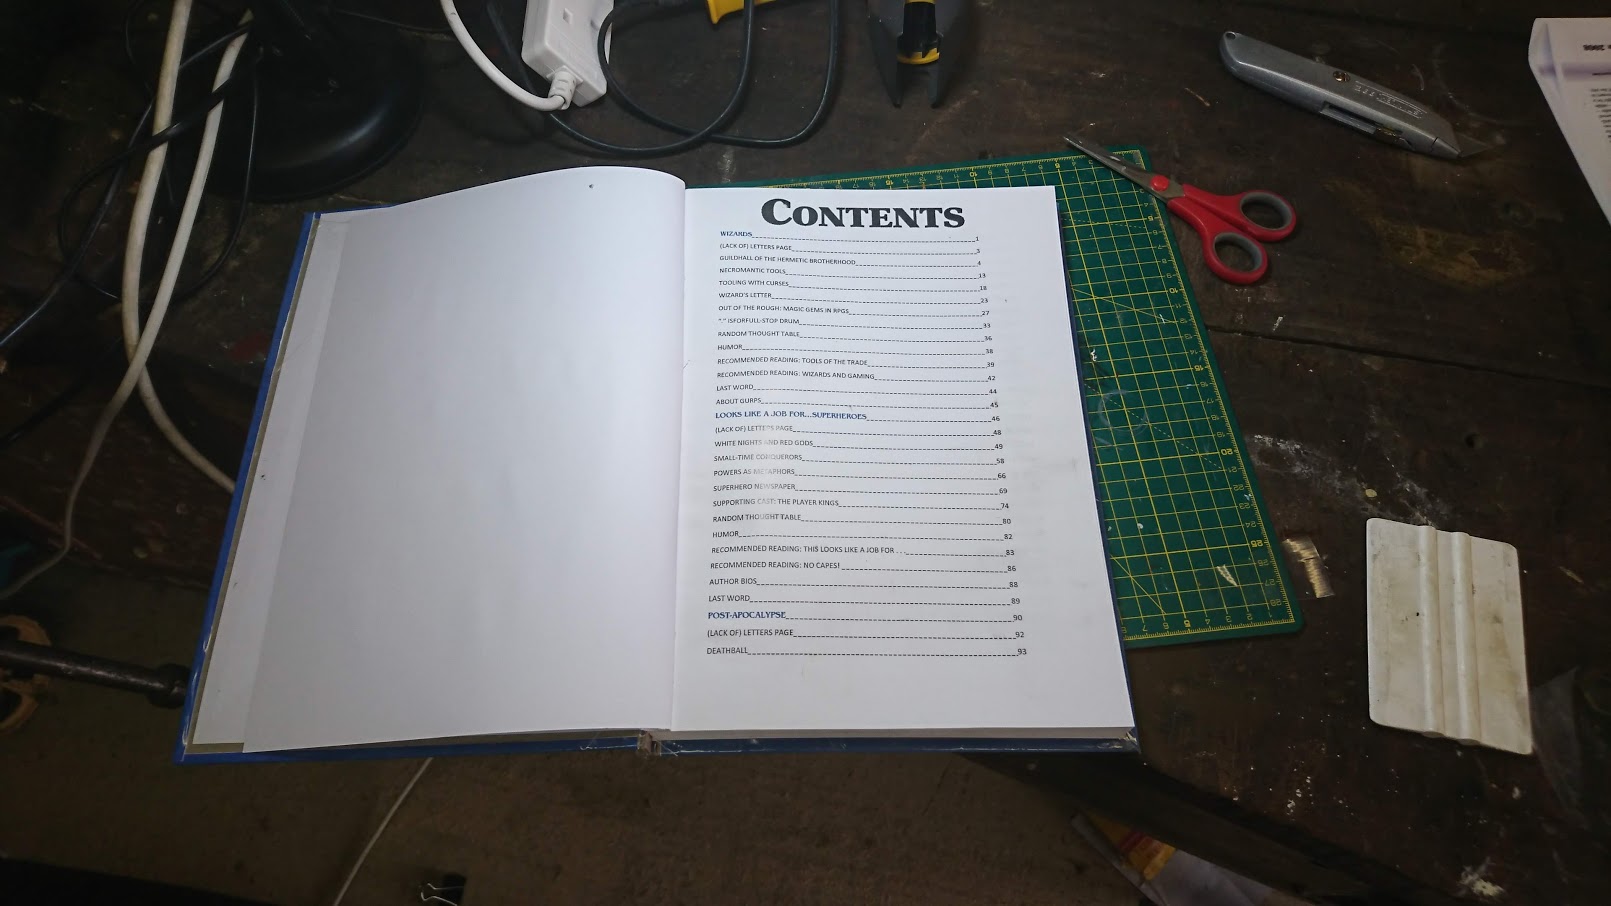
On page 2 and 3 is the overall Dungeon map followed by a Planning Form. The form is consistent with all SJG (Steve Jackson Games) forms whether spells and traps, or world building. Again I like the consistency in design. Book name and page numbers are given to help aid you in filling out the information. This is very good for new players and old. I myself am back from a hiatus of playing GURPS and I found this useful not only in reminding me where to find the information but also helping me write down little details I might have forgotten when writing my adventure digitally in Microsoft OneNote as I usually do.

Rooms & History of the Adventure

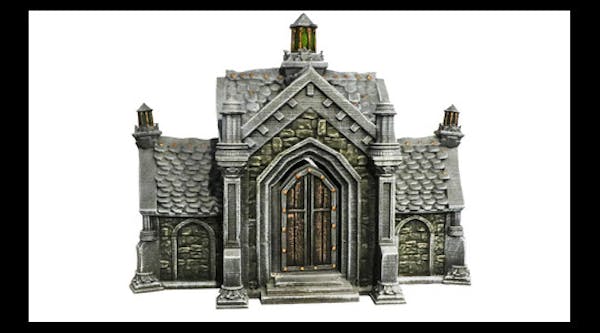
Page 4 is like a table of content for the 16 rooms that you can fit in this planner. Something I might not have thought of if I’m honest with myself. While the opposite page 5 is an overall history of the dungeon/adventure. Space is given for the Creator, original purpose, Current over (nice), and Important NPC’s. At the bottom of this page is an image from the SJG Cardboard Heroes Dragons. It is nice to have imagery to break up the monotony of text but I feel this space could have been better used with more lines for text. Just my personal preference.

Room/Encounter Description Page

Don’t expect enough room for three page descriptions. This is a single page with 1/3 given to Appearance/Description and the rest for details such as Encounter type, features, obstacles, etc. I wouldn’t call it sparse. I would call it efficient and just enough. Especially as they place the page numbers in Exploits to look up the rules. These two pages go from pages 6 & 7 until 36 & 37.

Supporting information and cast of characters

Pages 38-40 are Wandering Monsters and Random tables. Very useful!

Pages 41-43 are monster sheets. Either copy over monsters from Monsters 1 and Monsters 2 or create your own original monsters.

Pages 44 & 45 are dedicated to Trap forms

46+ is for notes.

PDF Version

There have been many complaints that the pdf version is not form fillable. Personally I understand the frustration. However at $2.95 USD I think expecting a fillable form on the pdf is a bit much to ask. You can get free pdf software which will allow you to edit and make the DF Planner a form filled pdf yourself. The advantages to just the pdf over print is you can add extra pages yourself for a larger adventure then just 16 Rooms/Encounters.

Overall thoughts

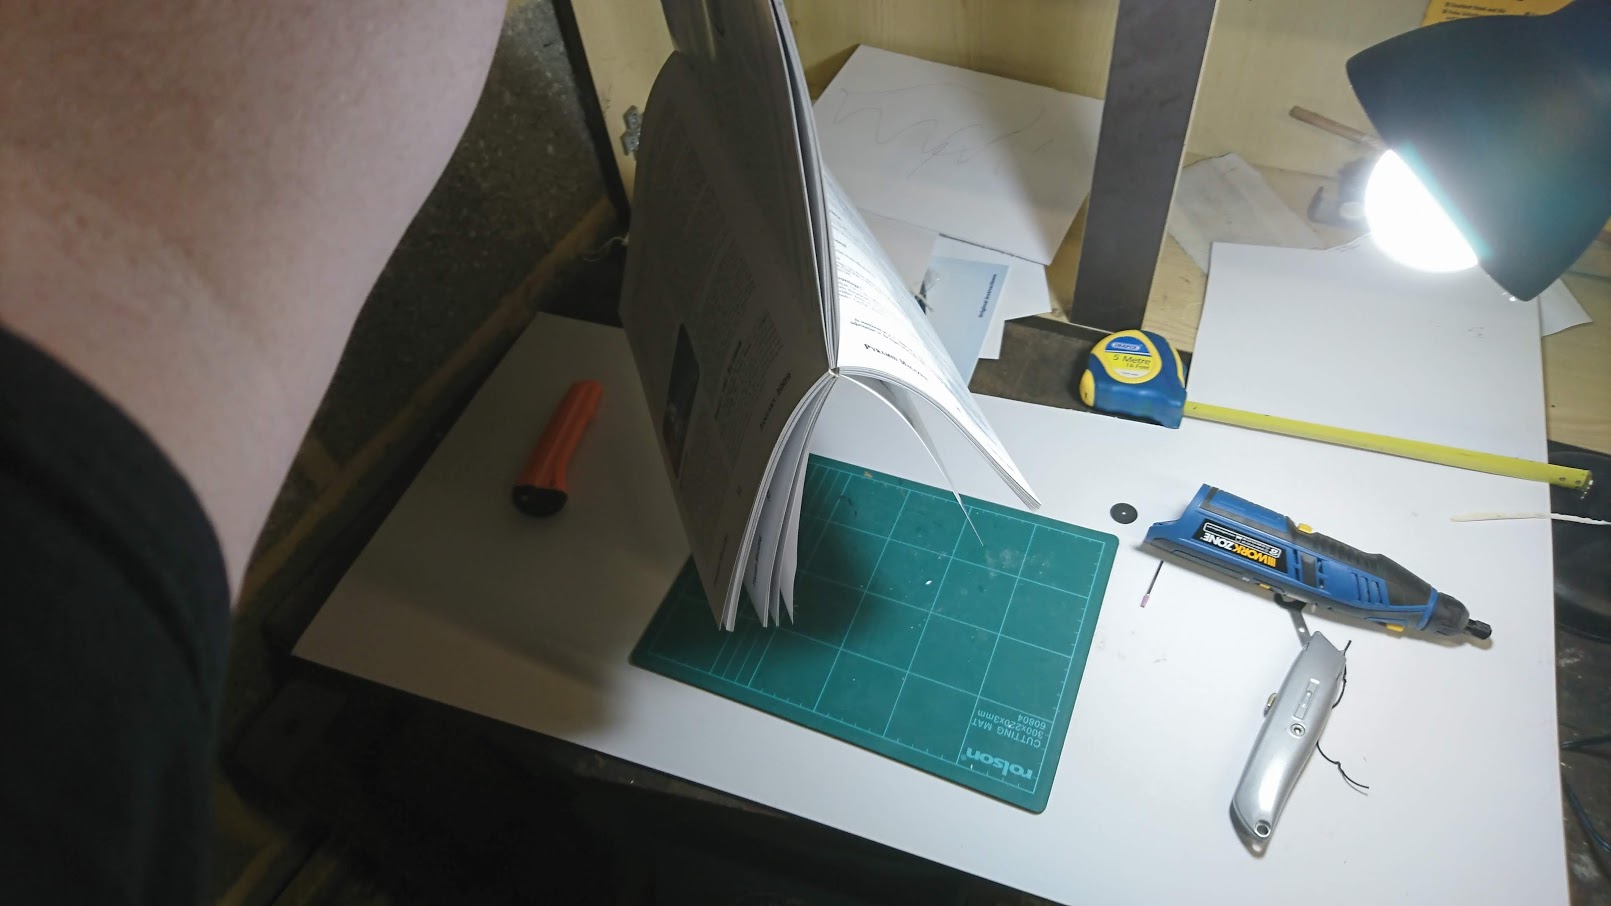
I originally purchased the planner solely for writing a review on it and to support my favorite game system. However it actually showed something to myself in the process of using it. First off that I’ve become too reliant on word processors and apps to run and plan my games. Secondly I really enjoyed hand drawing my maps and writing down my details. Less so writing down my details but that is because my handwriting has gotten rubbish over the last 20 years. Thirdly I now have something tangible that I helped create that won’t suffer internet connection problems or hard drive crashes.And fourthly I actually retained more of the information that I physically wrote down more than I do typing.

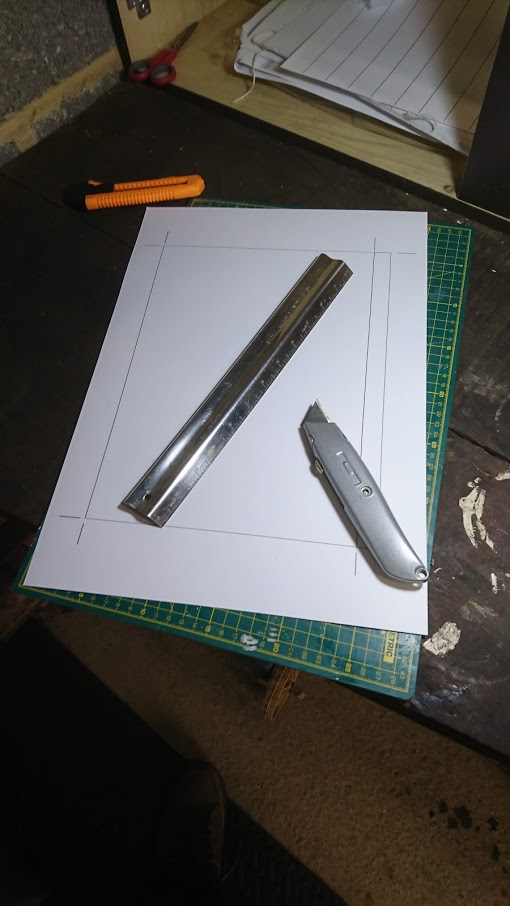
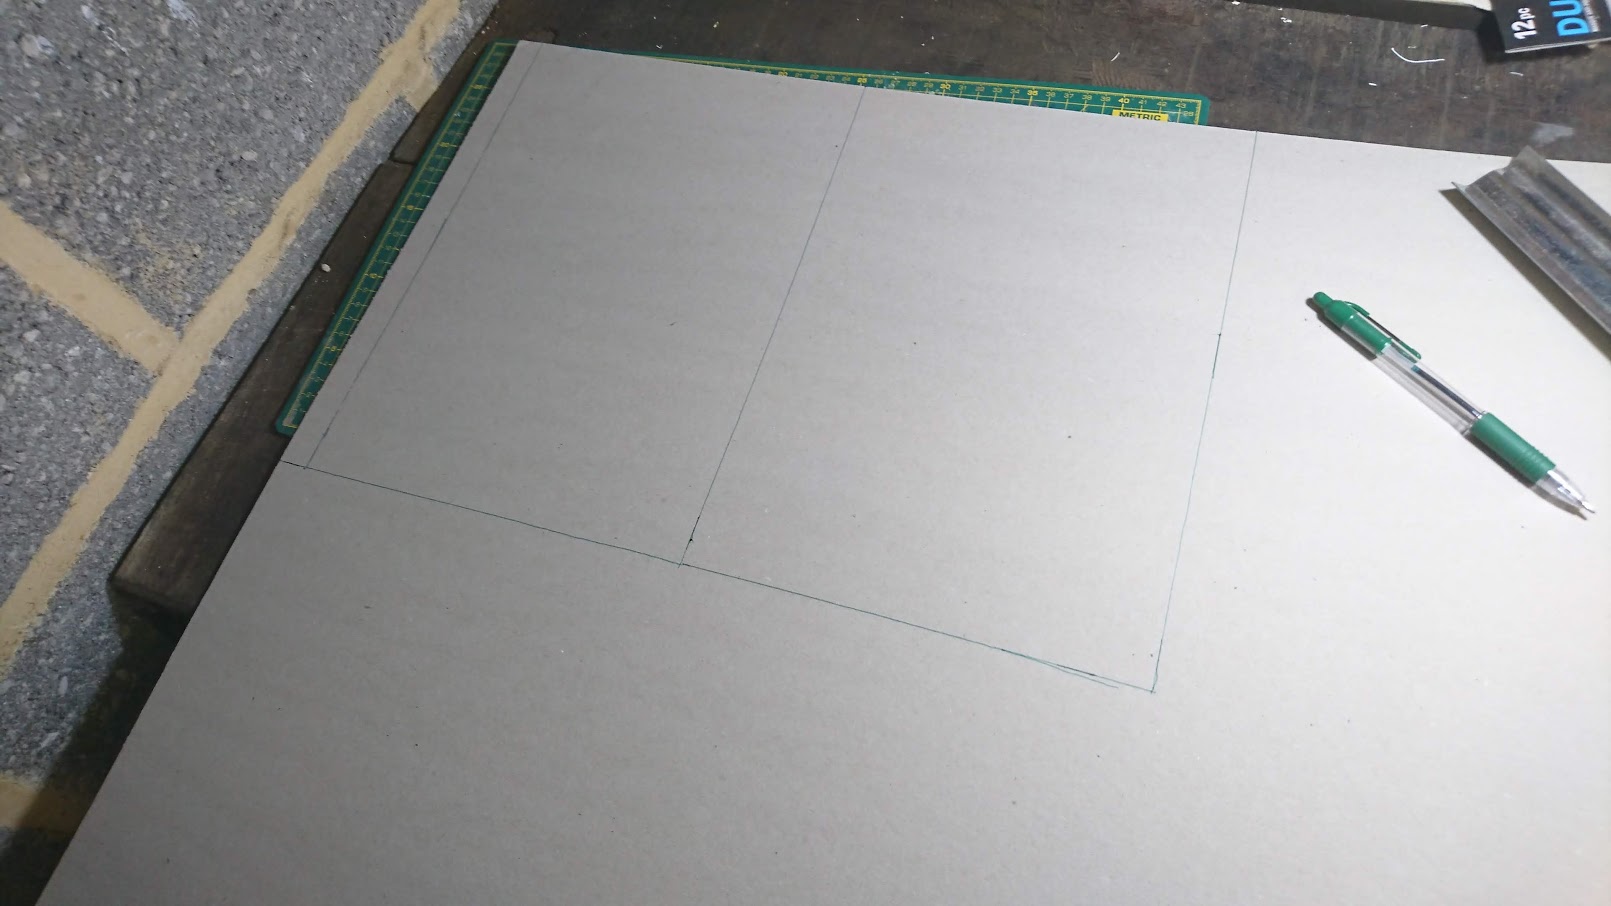
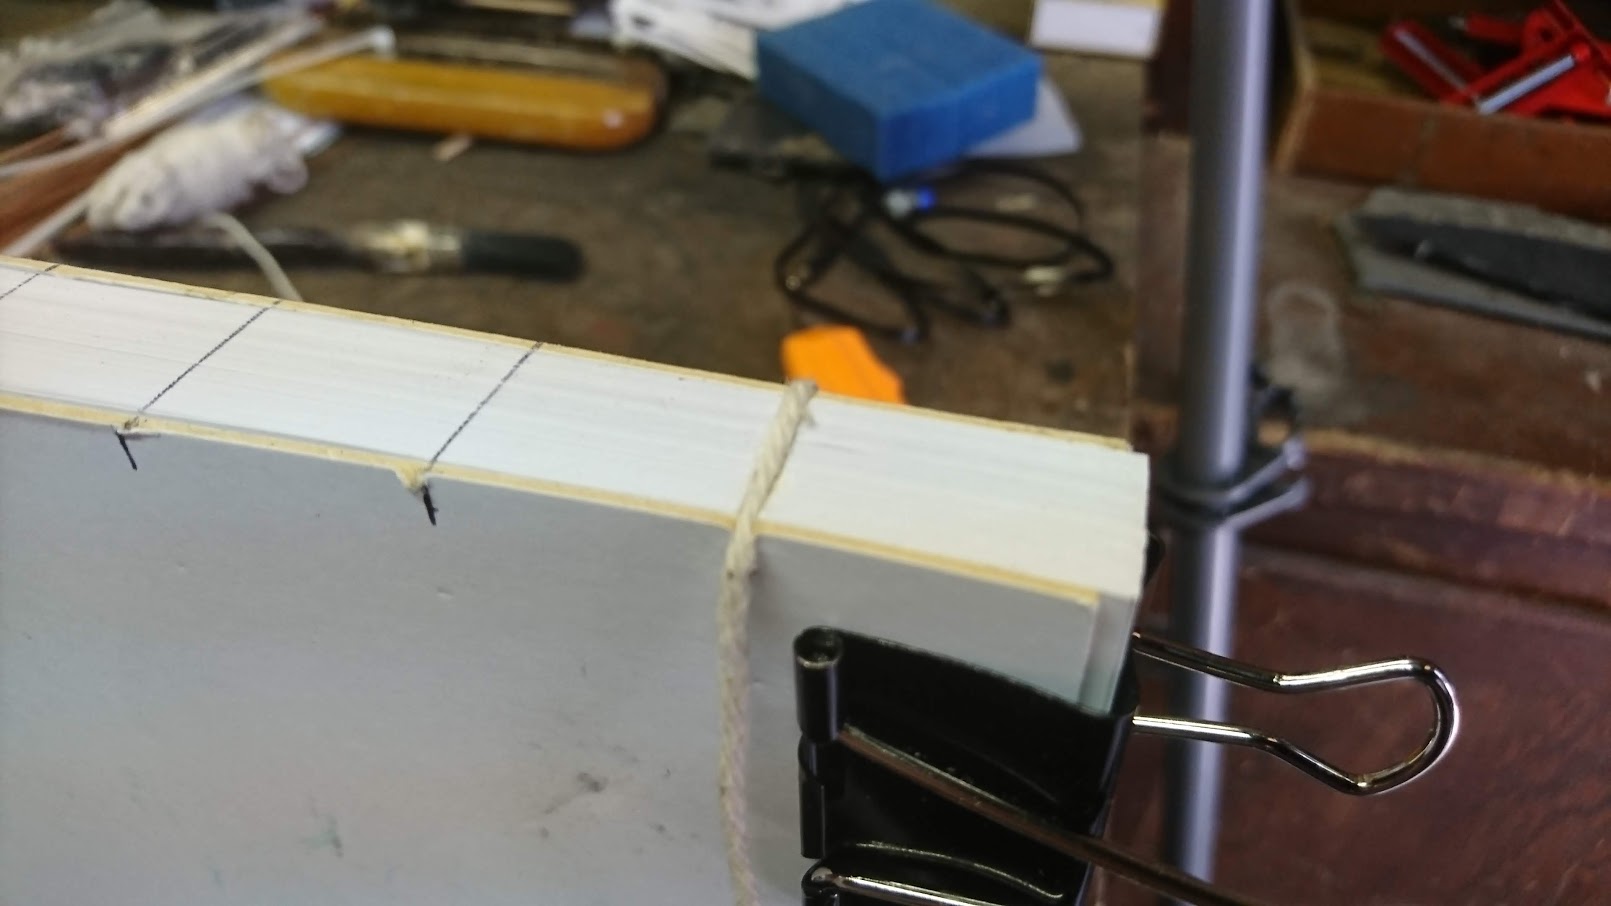
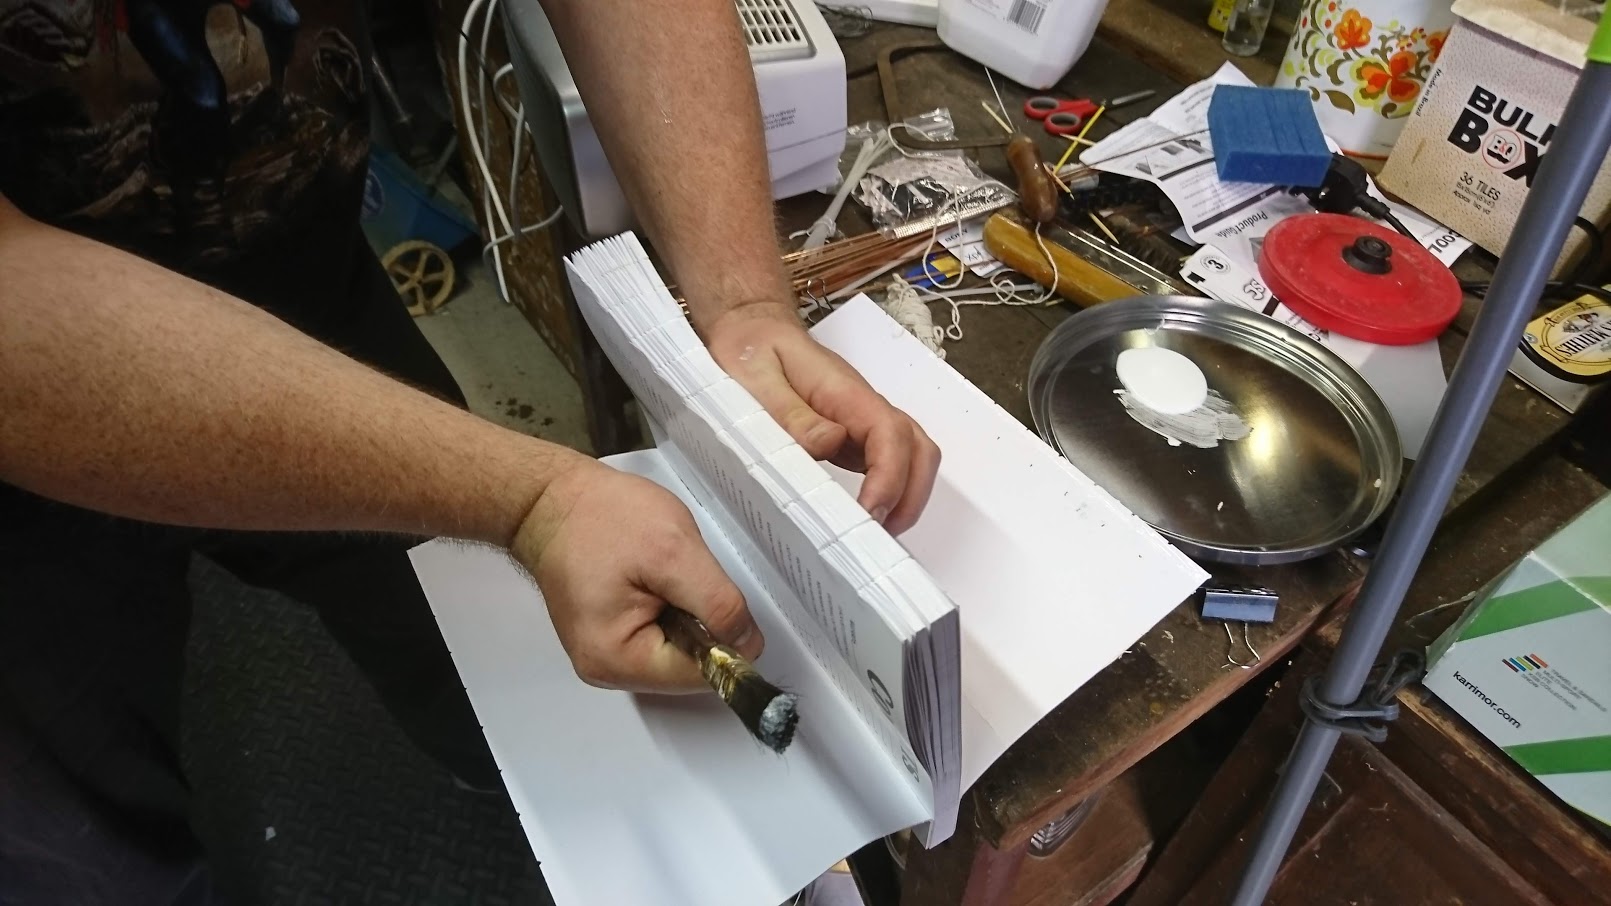
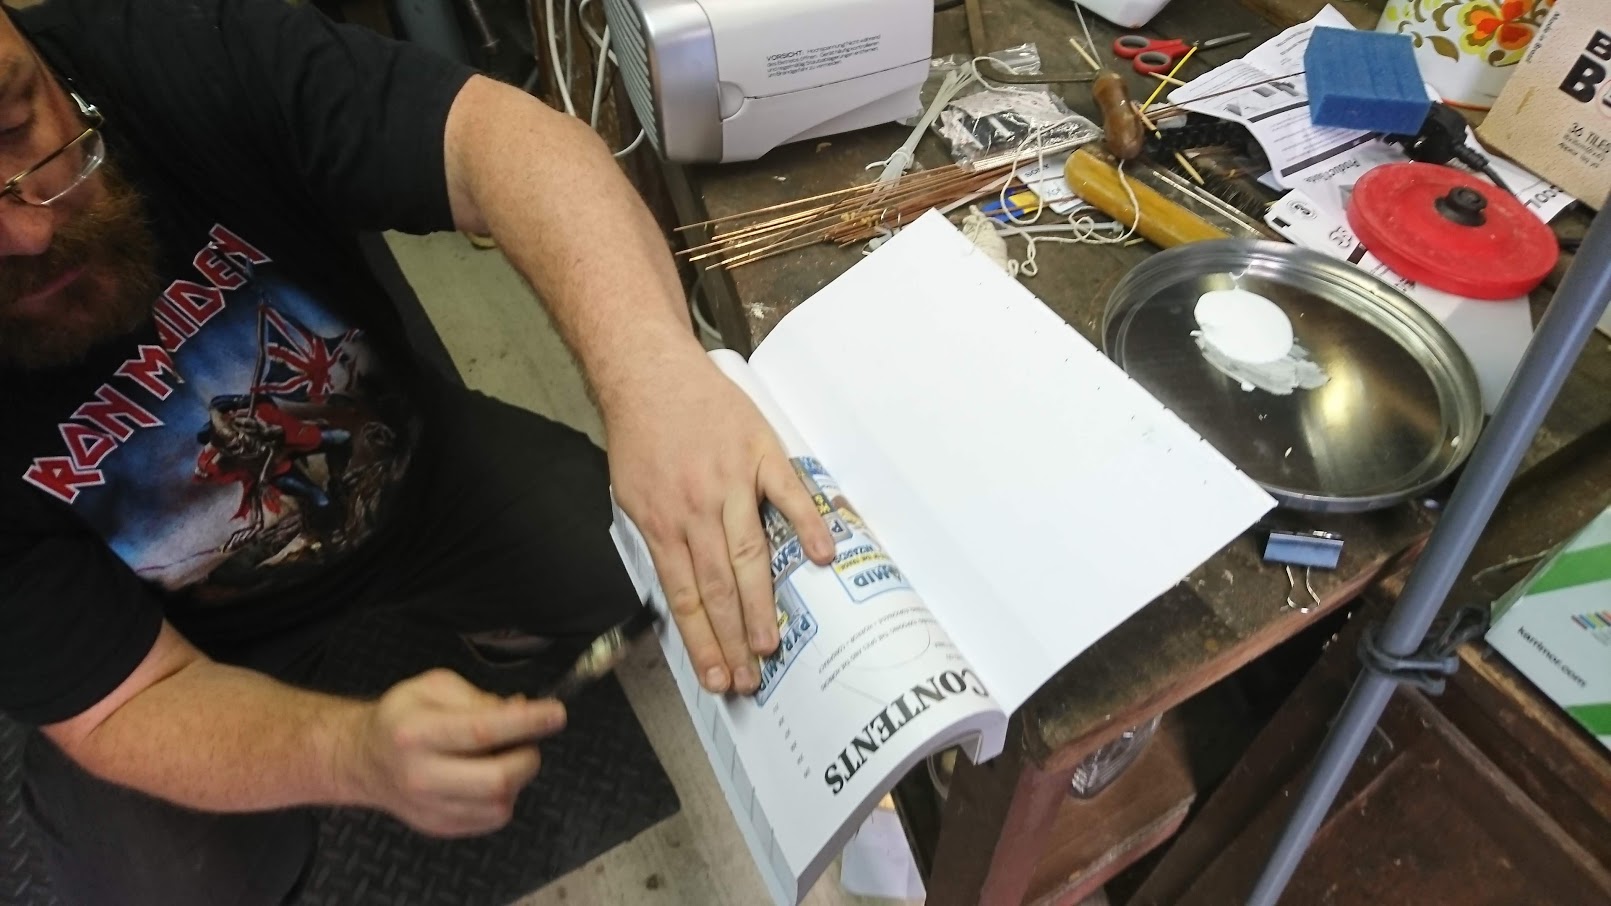
So is the physical planner worth the £7.31 PoD price tag? Yes and No is the only answer I can give you. Yes in that I personally enjoyed physically working on it. No in that a 48 room adventure would cost you £21.93 to write in. It is a fine balance. I do not for an instant regret purchasing the PoD. However given my skill level I can manipulate the pdf to add extra pages, renumber the pages, change it to a form fillable if needed, change the lines and grid to light grey, print it on short grained A3 paper, paginate it myself in to proper sections, sew and bind it into a hard cover book. And that might make a great multiple blog post project!

Hopefully once my party finishes this adventure I can share interior photos of my book. So I hope my review has been helpful!

Humble 3D Printable Dungeons!

Well it considering my last post this could not have come at a better time. Humble Bundle is having a mixed bundle of 3D printable dungeons! I know these are <yuk> square grids and not the majestic hexagon dungeons I prefer but it is a start into the realm of making a physical Mega Dungeon!

Fat Dragon Games, Black Scrolls Games, Hobgoblin-3D, and Iain Lovecraft have all contributed to this Bundle to help raise money for the Navy-Marine Corps Relief Society.

Humble 3D Printable Dungeons & Cities for 5e
Iain Lovecraft Jungle City: Ground Tiles (would be better in hexes)
Black Scrolls Games Killer Mushrooms
Hobgoblin3D Abandoned Mausoleum
Fat Dragon Games Dragonlock Ultimate: Dungeon Starter Set (would be better in hexes)

Until I either learn how how to 3D model my own dungeons (because I have soooo much time on my hands) these will be a good place to start my delving into 3D printed dungeons. Get your while the sale is on and help support a good cause. You also get 30% off from one of the contributors on your first purchase!

Take 30% off all titles at Fat Dragon Games, Black Scroll Games, Hobgoblin3D, and Iain Lovecraft!
Note: User registration required to redeem discount. Limit one redemption per account.
Offer expires 6/30/19 at 11:59pm Pacific

3D Printed Dungeons

I’m currently doing more craft related stuff for DFRPG/DF than I am actually playing. The troubles with living in a University City is the transient population and most of my players have moved away. My new job only gives me 1 full weekend off a month, 1 Saturday, and 1 Sunday. So at best I could get in two games a month which would be great. However I’d have to find a group that will commit to those days. I’d also would rather play in person rather than via a host client like Roll20 or Fantasy Grounds.

I’m contemplating if I should purchase commercially designed dungeons for 3D printing, free dungeons from Thingiverse, or have a crack at designing my own. The last option would take years to accomplish. There are plenty of beautiful Gloomhaven tiles out there but they are 1.5″ and not 1″ hexes and that is a deal breaker with me. I have considered printing the Hex Geomorph dungeons in 15mm scale but you lose a lot of detail and at that point I should just stick with the magnetic tiles.

Some options I’m looking at is Game Decor which has some very nice and affordable designs for sale. They also have a few different styles so you can theme your dungeons. “DungeonWorks uses the InfinityLock system for superior customization, connection, and efficiency. DragonLock and OpenLock are compatible with the InfinityLock system via free adapter clips.”

No photo description available.
Game Decor

Fat Dragon Games has moved away from paper terrain into 3D printed terrain. FDG uses the “DragonLock” to keep the tiles together. Nice models and support from the owner.

Fat Dragon Games
Printable Scenery

Printable Scenery has a huge set of terrain and it all uses the Open Lock system. I don’t know if Open Lock is compatible with DragonLock

Printable Scenery

Rocket Pig Games has some interesting dungeons but it uses a completely non compatible style of connecting the tiles which makes it unattractive. They are also more expensive than the previous three.

Tilescape Trial Pack
Rocket Pig Games, not Lock compatible

Open Forge is compatible with Dragon Bite, Open Lock, and Infinity Lock. It is also Free on Thingiverse! I just wish he would clean up his prints for the photographs.

So I’ve come to the conclusion that if it isn’t “Lock” compatible then it isn’t worth the effort no matter how affordable, or how amazing it looks. I will also have to resign myself to square tiles and use the GURPS Range Ruler during play. However I will not stop the Hex Dungeons and maybe someday I will learn how to 3D model enough to design my own HexCrawl 3D models. I also wonder about the wall height and how that works together.

Laminating

I finally bought a laminator. I went ahead and got the A3 size (297 x 420 mm or 11.7 x 16.5 in) so I can make laminated book covers for my handmade books. However I found another use for it as well. I.D. laminator pockets are A7 size (74 x 105 mm or 2.9 x 4.1 in) and fits my playing card size Combat Maneuver cards perfectly.

The biggest problem I’ve had with them is they don’t slide like normal playing cards. Well now they do and they are protected from spills as well! Now to spend most of a day laminating enough for all eight players! I’ve also ordered a corner rounder so I can trim off the excess plastic so they fit in card cases.

You can download the form fill pdf’s to make your own cards HERE

A3 Laminator
Will round corners at 3mm, 5mm, and 8mm

Mini Magnetic Battle Tiles

I found some A4 magnetic glossy sheets for inkjet printers. I wanted to see if i could print out the Battle Tiles at 2 inches vertical hexes. This way it can be a ‘mini map’ during play and I can pull out the appropriate 7 inch Battle Tiles during combat or special situations like trying to find traps and secret doors.

Testing them out on my metal filing cabinet.  I have a white board that we have used in the past for gaming and will be using that set on the table during play.

I am really pleased at the print quality that my Epson EcoTank ET-7750 was able to produce on these glossy magnetic sheets.  The stairs, doors, pits, and traps are a pain to cut out but they do stick to the top of the tiles allowing me to add features to the dungeon as well!

They cut better with a scissors then they did with the hobby knife. Now when we play I can place down the tiles as they explore the dungeons and they are just fun to play with on their own.

Binding PDF’s – Adding the cover

PART ONE

PART TWO

Using Adobe CS2 I created the cover in three parts as I don’t yet have my roll of 115 gsm paper to do a continual cover in one piece.  I’m very impatient and didn’t want to wait another week.

Measure the thickness of the book with the front and back cover on.

Measure the thickness of the book.  The suggested gap between spine and cover is twice the width of the thickness of the cover.  I’m using 2mm greyboard so I’ve placed a 4mm gap.

Cover cut guide

Once you know the size of your cover either measure it out or make a cutting guide like I did.

Normally I would have used a longer steel ruler with a blade attachment to cut these out. However I still have not unpacked it and I’m unsure which box it is in.

Jakar photo mat cutter. Now where did I place it?

My covers got slightly sloppy and I did my best to square them up.

A bit longer on the bottom then the top. Remember to make several shallow cuts rather than attempt to cut it in one go.

Printed out the front, back, and spine art of the book.

How it should look, unfortunately I made an error somewhere.

Now tape your boards together with masking tape.  They are only there temporarily to keep them at the right distance.

Coat the board with acid free PVA glue.

Place the artwork on and use something to smooth it out. This is where I found out I made an error as it doesn’t fit perfectly.

Weigh it down so it doesn’t warp. PVA Glue still has a high water content so things can warp if you use too much.

At this point I’m pretty much giving up and a good cover.  I’ve made a ton of errors so far.

Error 1 is either my board cuts, my Illustrator file, or the actual distance I’ve placed the boards from each other. Or it could be a combination of the three.

Error 2 : Placing the cover on. I did not centre the spine.

Carefully remove the tape

Glue and wrap around the rest of the cover.
Error 3: I didn’t make these long enough.

Fold a sheet of A3 in half. Using scrap paper only expose about 4mm on the papers spine (where it is folded) then glue that bit. Now place it to the first page of the book.

Place the A3 sheet in the book. The 4mm strip of glue is attached to the first or last page near the spine. Then glue the Muslin to the cover

Glue the other half of the A3 sheet to the cover and press.

Since my clamp broke I must press the book between two boards with considerable weight on the top, evenly dispersed

Adhesive plastic film

Next time I will place the book upside down but open at 45 degrees when placing the plastic cover on it.

Tons of air bubbles. Just like my first GURPS 4e Characters book!

So I’m very pleased with the binding method up until I do the covers.  I need to spend a bit more time researching the best way to do it.  The loss of a clamp and the high heat did not help either.  Overall I’m fine with the look of it.  I should have made something triangular to lay the book open over when applying the plastic covering. Or gotten a second person to help me move and stretch.

I will do issues 6-10 next week.

Printing and Binding your pdf

Part One HERE

The one thing I forgot about EPSON printers (I used to use them exclusively in the 00’s) is they only let you select EPSON brand paper.  This is understandable as when using Epson products which are specifically made to be used with Epson inks the end results are stunning.  However you may want to use water colour paper, or in my case Silk (which is like a semi gloss).  What you need is ICC Profiles that will work with your paper.  I emailed EPSON Technical support and hope I actually get a response.

Before printing I added a Table of Contents with the new page numbers in MS Word then saved it as a pdf then using Soda PDF I merged the contents with the rest of the document.

Then after experimenting with the limited paper options I chose to go with telling the computer I’m using plain paper but I told the printer I loaded semi-gloss.

Once your print is done make sure they are in order, I added test sheets to the front and back to protect the main book.  I will carefully tear or cut them out when the main part of the book is done. Then joj the pages so the are squared at each corner.

Cut guides for the spine

The string will be placed in the groves

I found this saw in my garage, it is absolutely perfect for this job!

Pres back and fan the pages out

Then apply glue. It was very hot and I had issues with accelerated drying.

Bring it up and get it back into normal position before fanning the pages the opposite way

Now glue the other side, the scribbles on the sheet is because that was a test print page

Press the book between two boards

Leave the top of the spine sticking out


Add the string to the spine cuts

You can either loop them back and forth or cut strips.

Add some glue to the spine then stretch Muslin cloth over the spine

Add a bit more glue. I was adding a fair bit due to the heat and the glue drying quickly

Let it dry for about an hour to be safe, or even overnight.

Carefully cut away the board and spare sheet. Make sure you use a sharp knife and take your time.

A Double Fan Bind lays flat

Do you even lift?

Project on hold until new clamp can be acquired.

So far I would say it was a success! Next time I might glue when it is cooler out.  They heat caused me to have to hurry a bit on the gluing which made it a bit sloppy.

I’m not sure I have the print quality down yet.  I thought having a nice paper like Silk would give me a great finish but there are some ink smears on some of the pages.  However in my haste I purchased a lot of silk paper because I thought I new better so I will have to make do with what I have.

Now the question is Soft Cover or Hard Cover?  Either way I will need a clamp before I continue.

PART THREE

Hirst Arts diving into hexes

We need your voice now!  Bruce Hirst from Hirst Arts Fantasy Architecture is asking if anyone would actually use 1″ hexes as most board games that are coming out are using 1.5 inch to 2 inch hexes.  I’ve been asking for years for him to delve into 1″ hexes as I stopped purchasing his moulds (I have a lot of them) when I got seriously into GURPS and was put off by the lack of hexes.  I think I’ve proven that hex dungeons work and I’ve done some work on overland and buildings with hex bases as well.

1.5″ Hex Mould Master Pieces

1.5″ Hex Floor Boards

So if you are interested in creating your own hex based terrain get over to the forums and let your voice be heard!  When Bruce was first experimenting with the “Hex Hills” he started out with 1″ but soon abandoned the idea.

1″ hex tile

You can read the thread for that HERE

Gurps Campaign Manager ver. 2.2

You can now save your progress as a pdf! In all previous versions there was no option to save your progress unless you had some kind of pdf printer software to print as pdf. However as long as you have the latest Adobe Acrobat Reader DC (the only thing I’ve tested it with) you can now save the progress and come back to it later.

Get it HERE

Spell Cards!

After finally getting the Maneuver Cards done after about five years of working on them off and on I decided to get moving to the Spell Cards. Like the other cards they are a form that you can fill and print yourself.  However since there are so many varieties of spells and what they are capable of doing I only made the Page field permanent.  The rest of the cells can be entered by the user.  The information panel looks just like the other cards but for the cover I opted for a spell book cover with each College having the same colour represented in GURPS Magic. I also added a symbol for each college.

The symbols are from Game-icons.net  I’ve made a card for each college and one set of “Generic” Spell cards.  Next up will be Psi cards, Path/Book, Ritual, Syntactic, Symbol, and Wild Magic. All but the Psi cards will probably have to have a different format for the information so they may take a little longer.
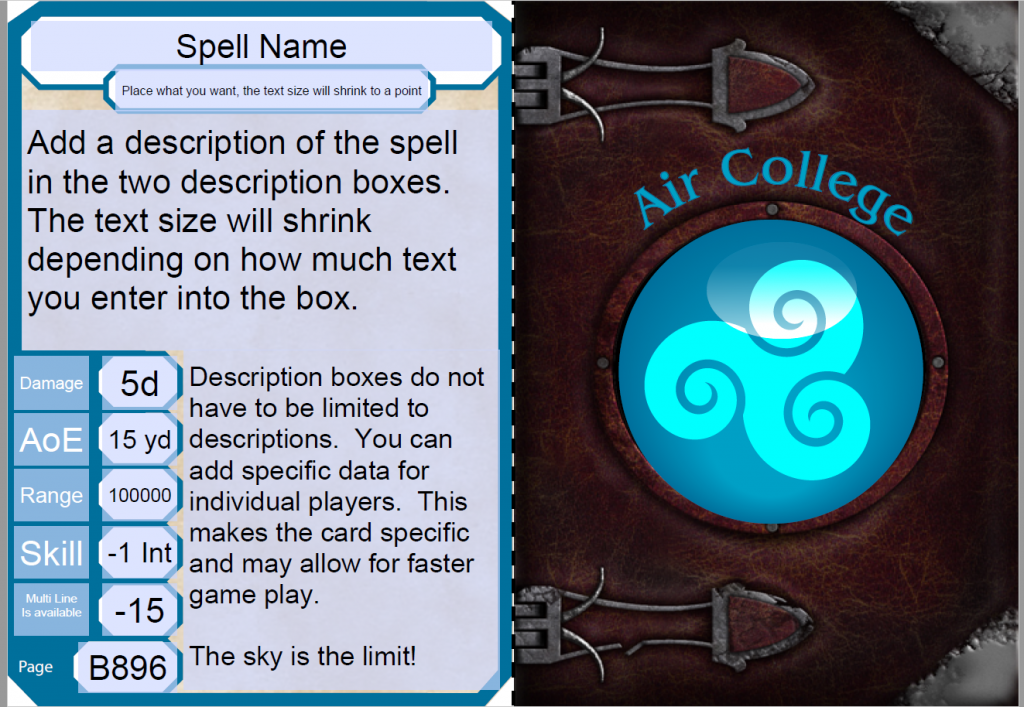
You can view all the Spell Cards HERE

If you end up using them please send me pictures of your cards!