Using Adobe CS2 I created the cover in three parts as I don’t yet have my roll of 115 gsm paper to do a continual cover in one piece. I’m very impatient and didn’t want to wait another week.
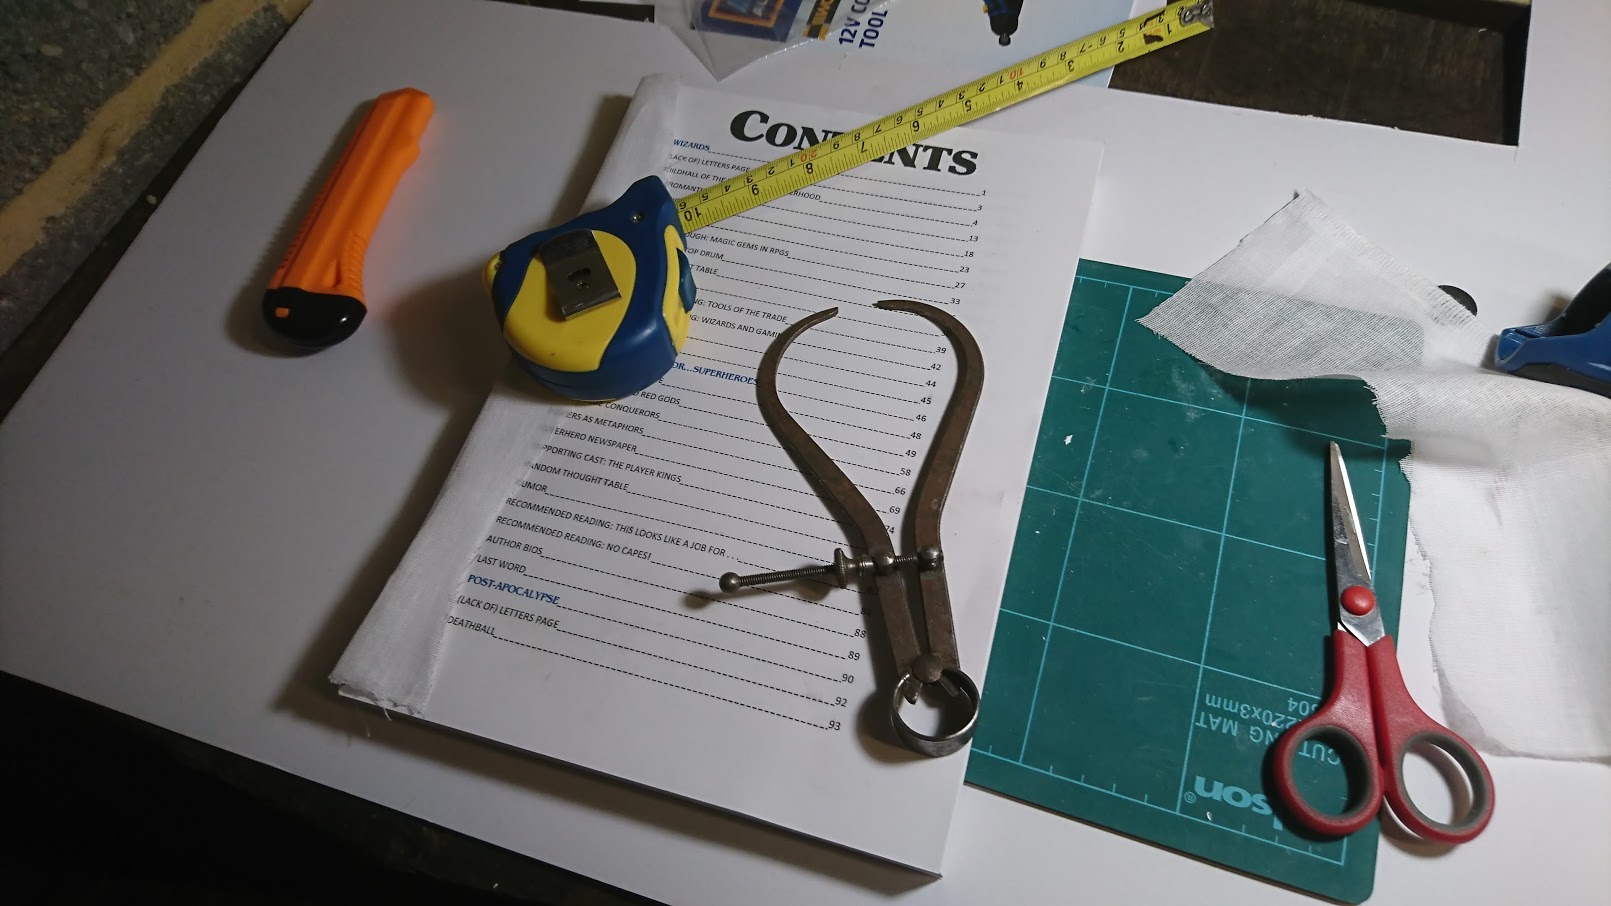
Measure the thickness of the book with the front and back cover on.
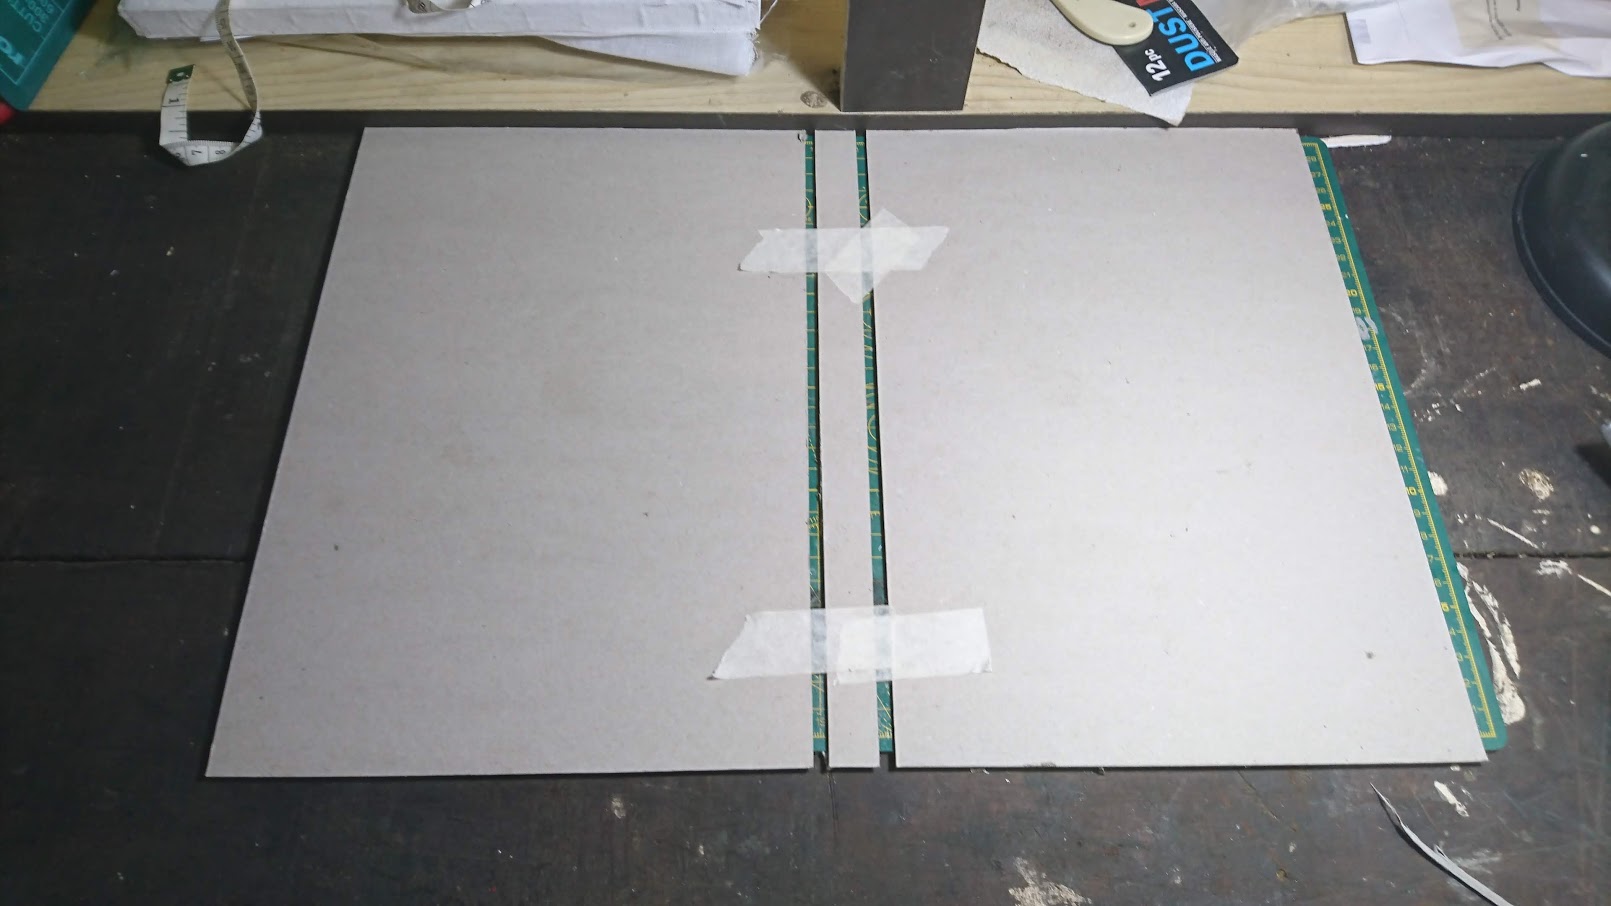
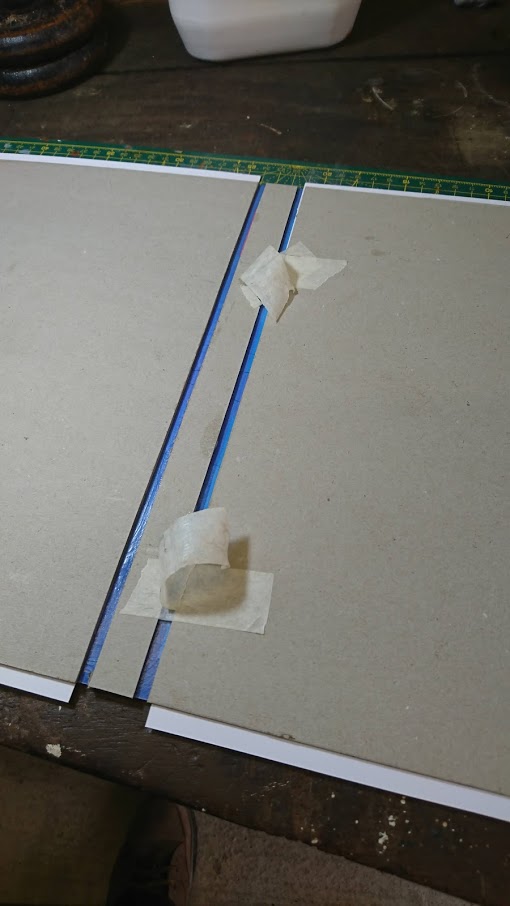
Measure the thickness of the book. The suggested gap between spine and cover is twice the width of the thickness of the cover. I’m using 2mm greyboard so I’ve placed a 4mm gap.
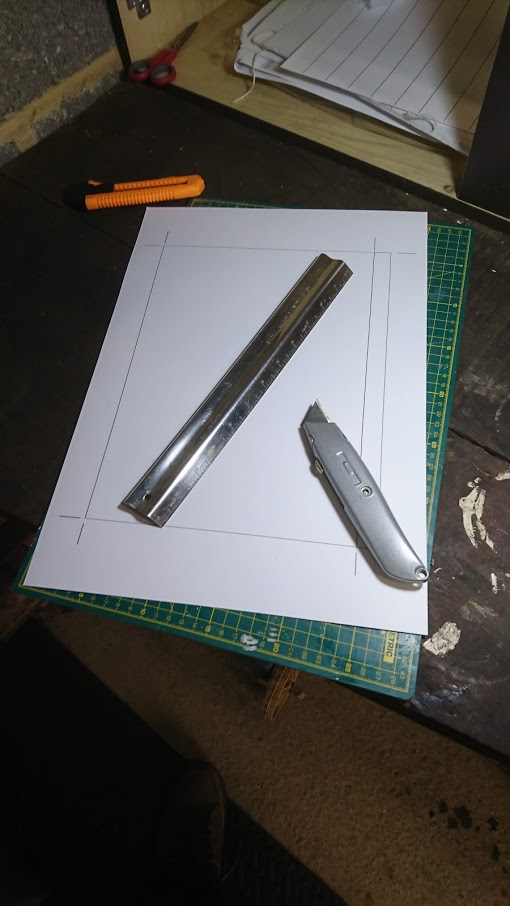
Cover cut guide
Once you know the size of your cover either measure it out or make a cutting guide like I did.
Normally I would have used a longer steel ruler with a blade attachment to cut these out. However I still have not unpacked it and I’m unsure which box it is in.

Jakar photo mat cutter. Now where did I place it?
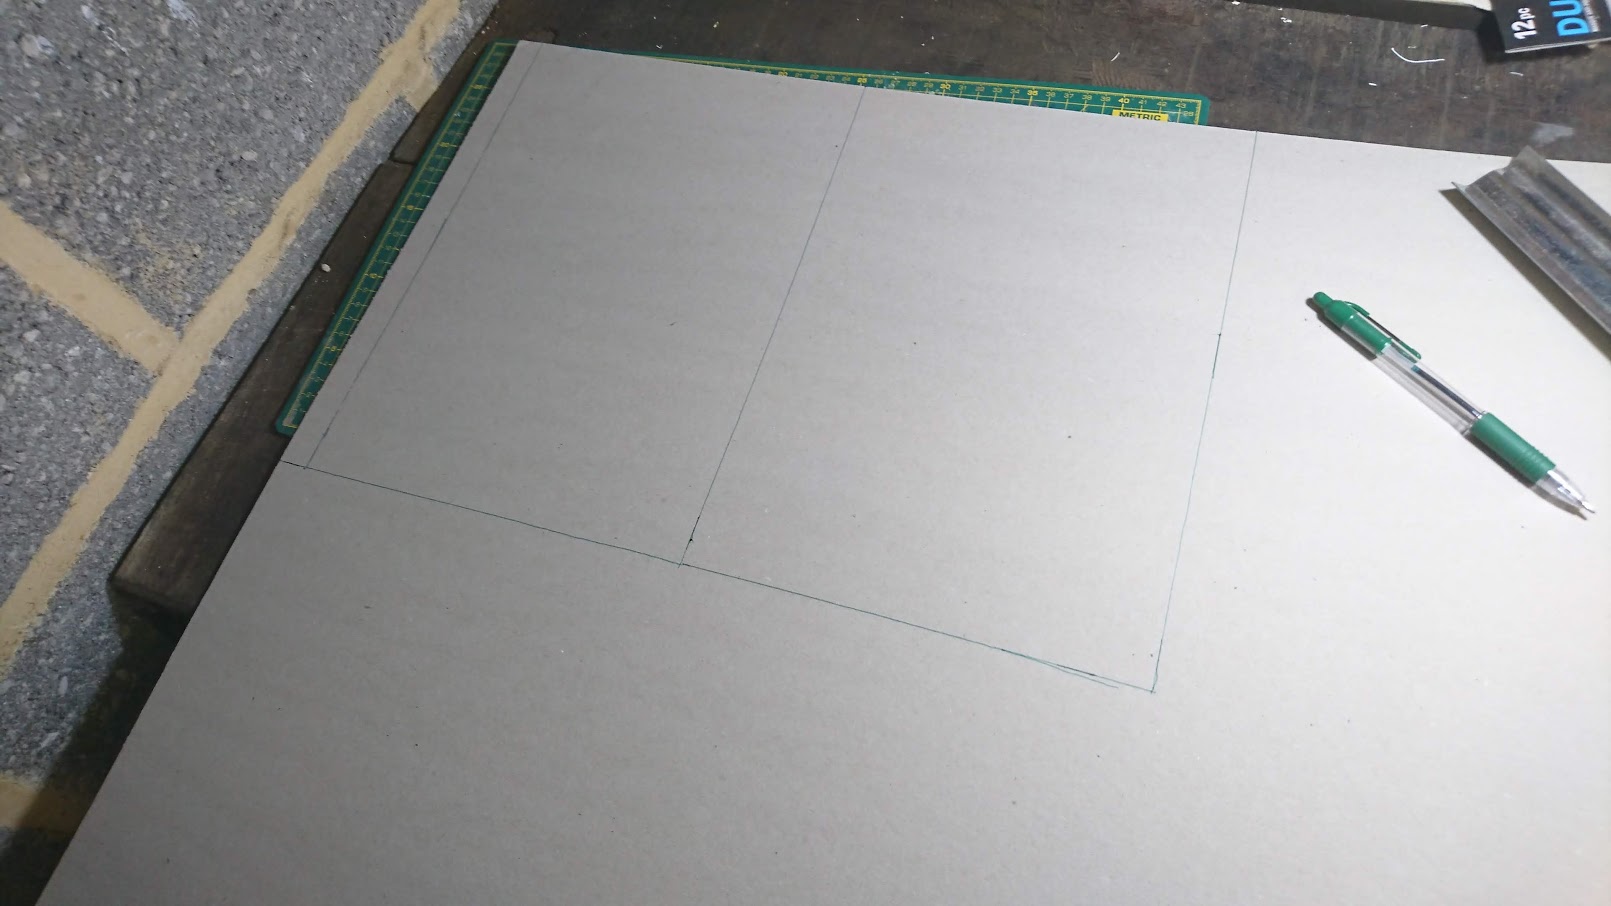
My covers got slightly sloppy and I did my best to square them up.

A bit longer on the bottom then the top. Remember to make several shallow cuts rather than attempt to cut it in one go.

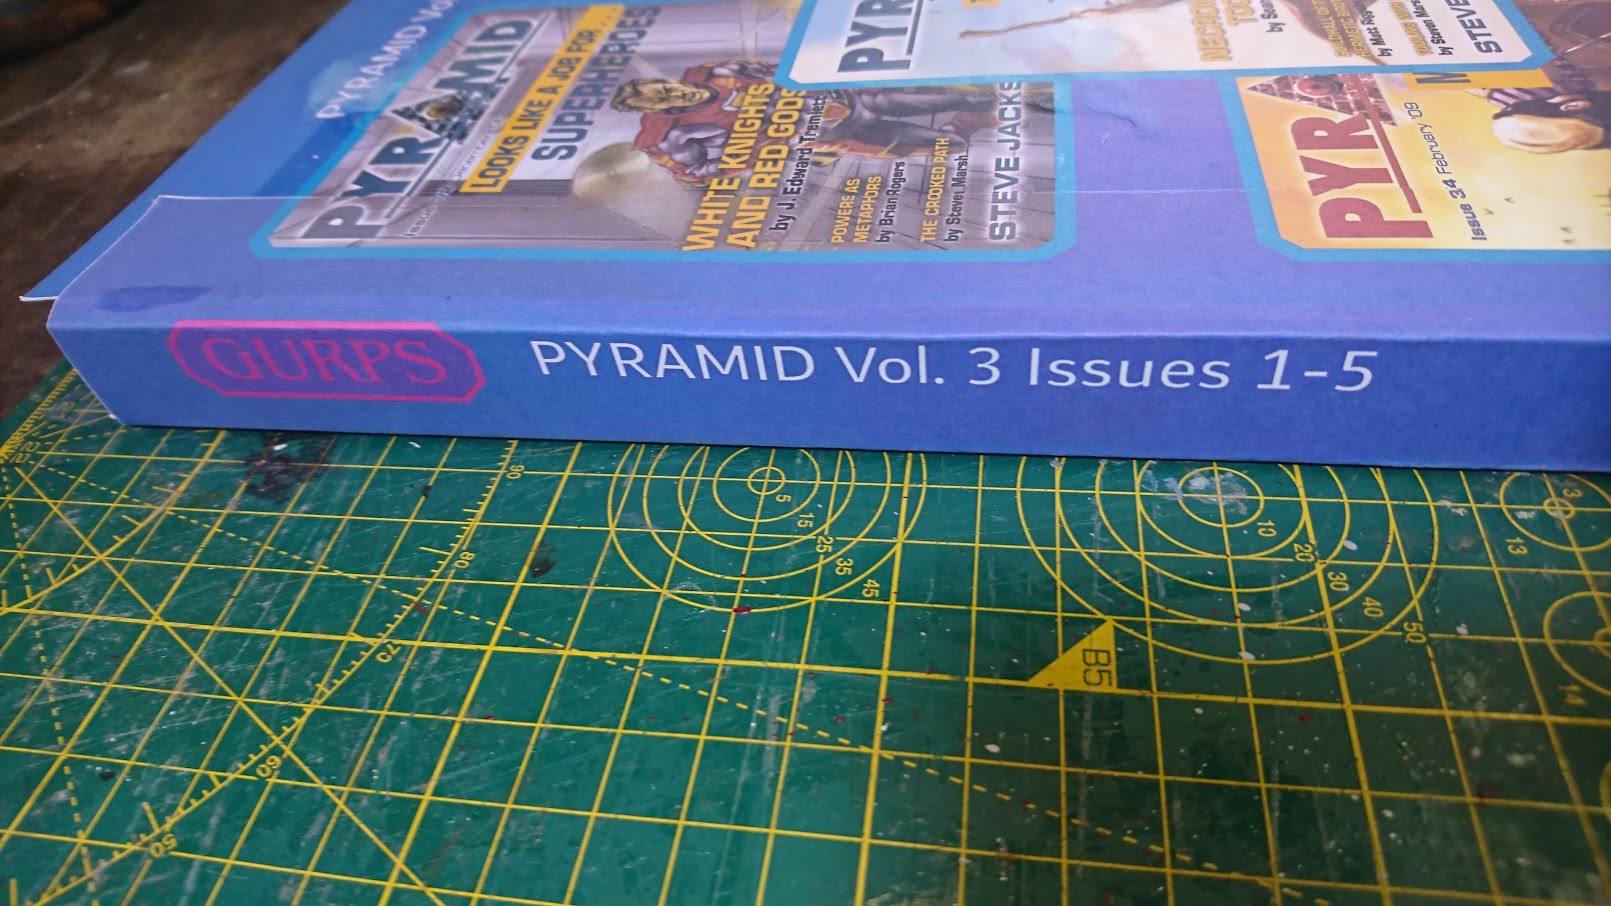
Printed out the front, back, and spine art of the book.
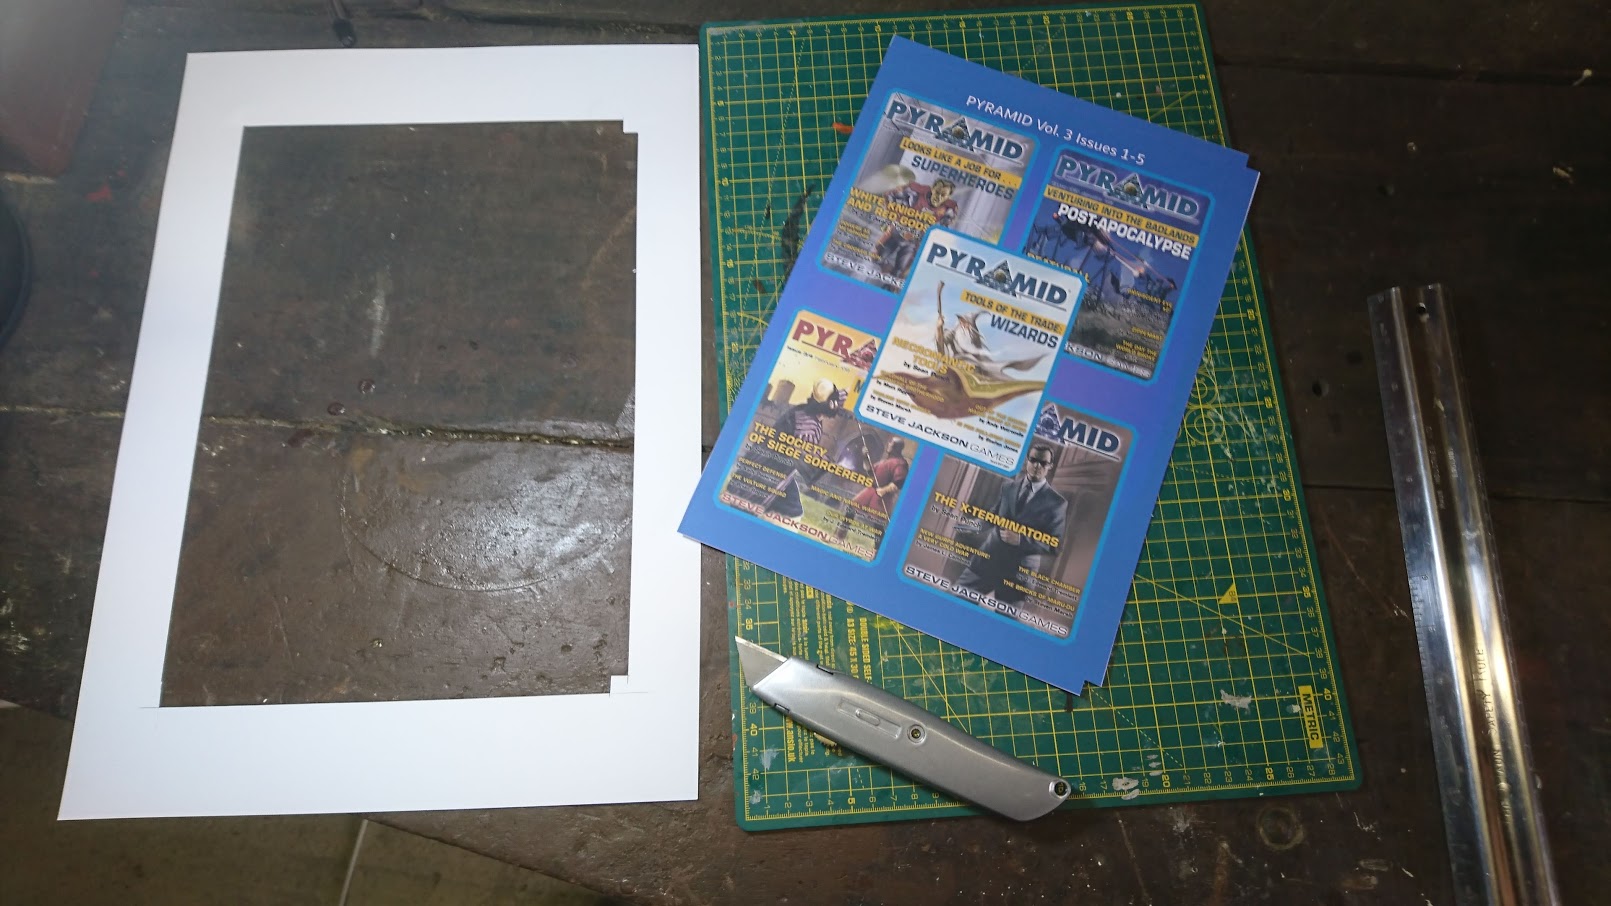
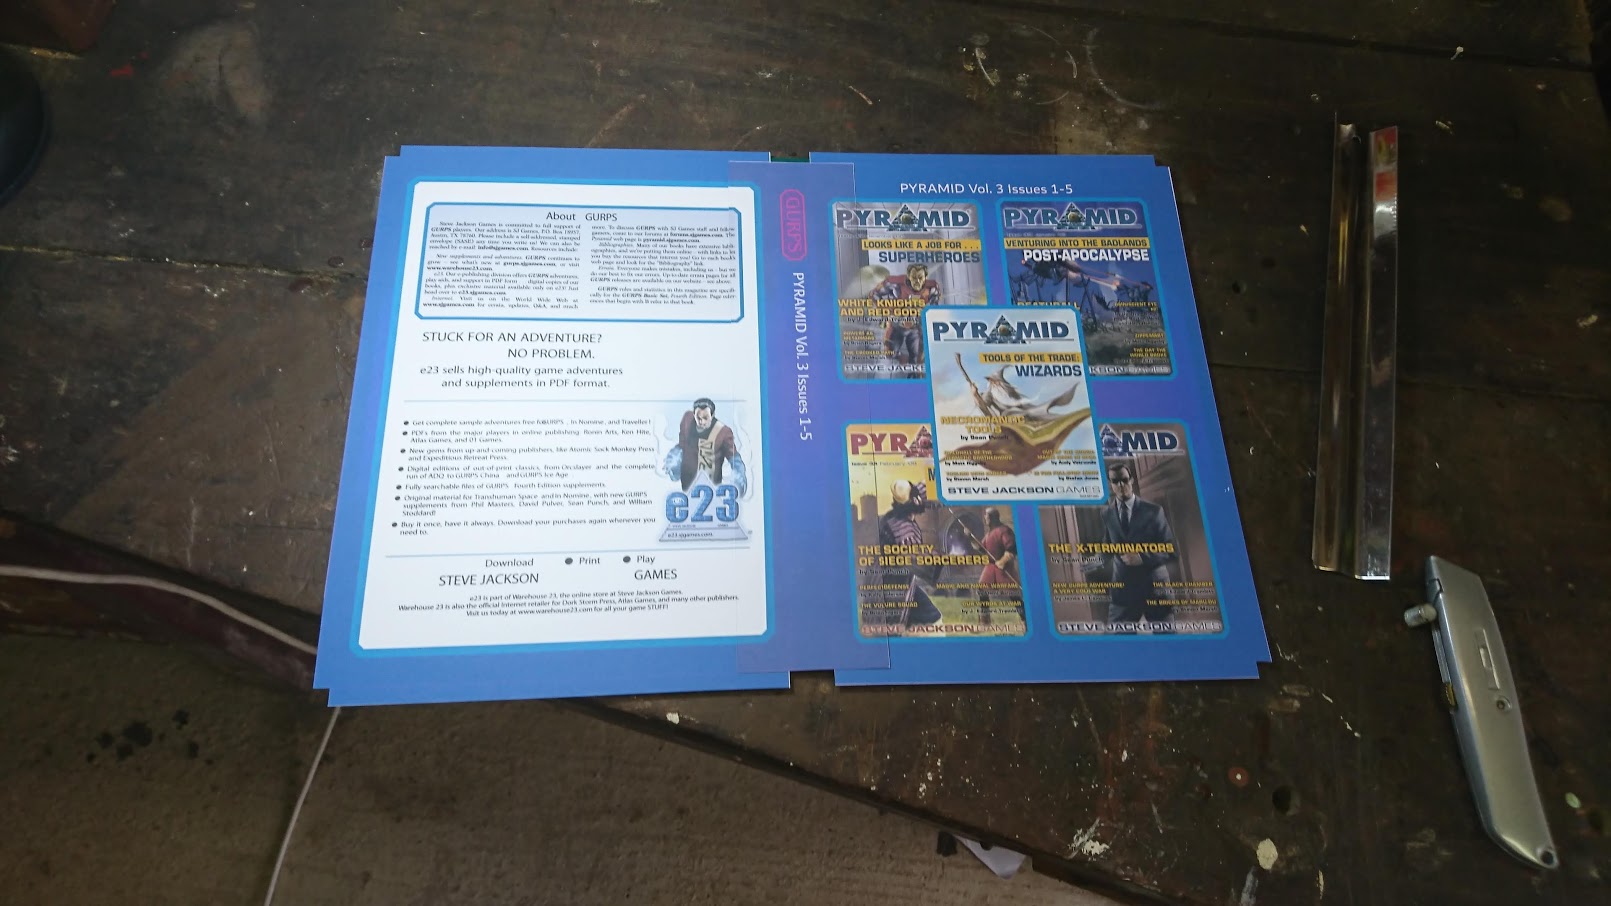
How it should look, unfortunately I made an error somewhere.
Now tape your boards together with masking tape. They are only there temporarily to keep them at the right distance.

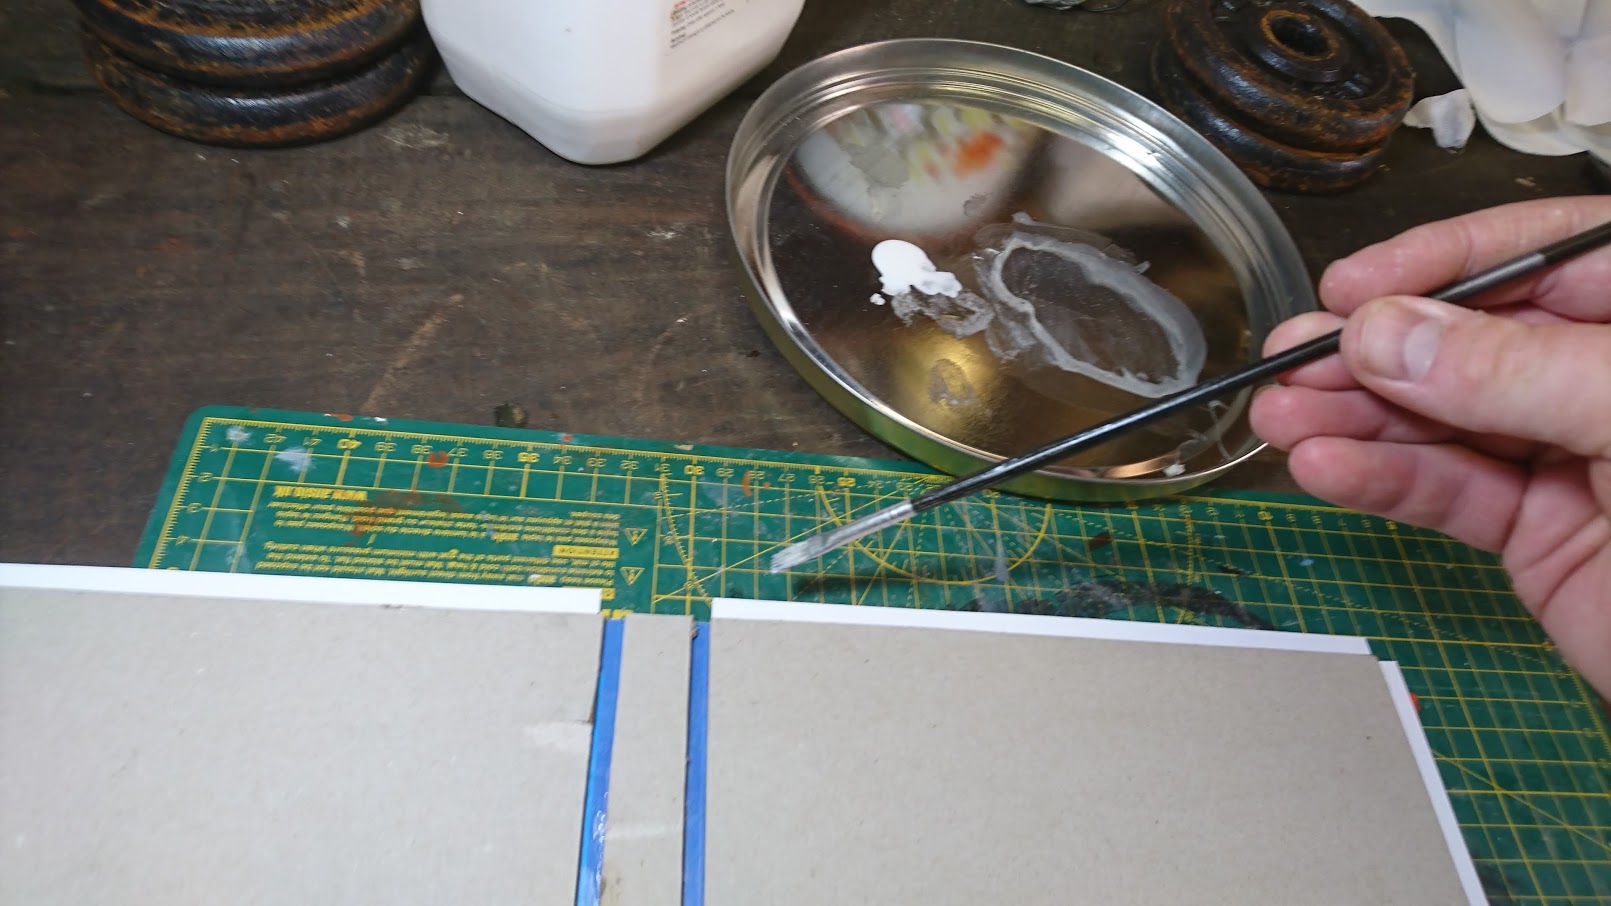
Coat the board with acid free PVA glue.
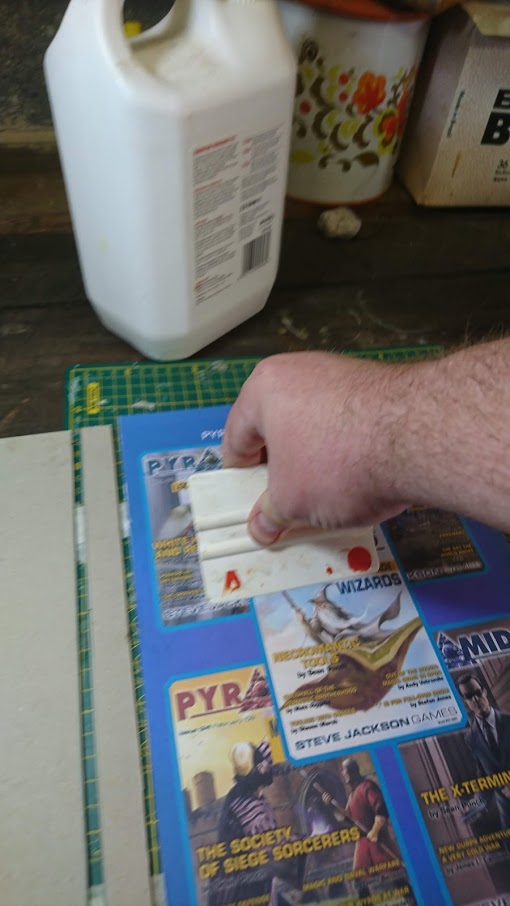
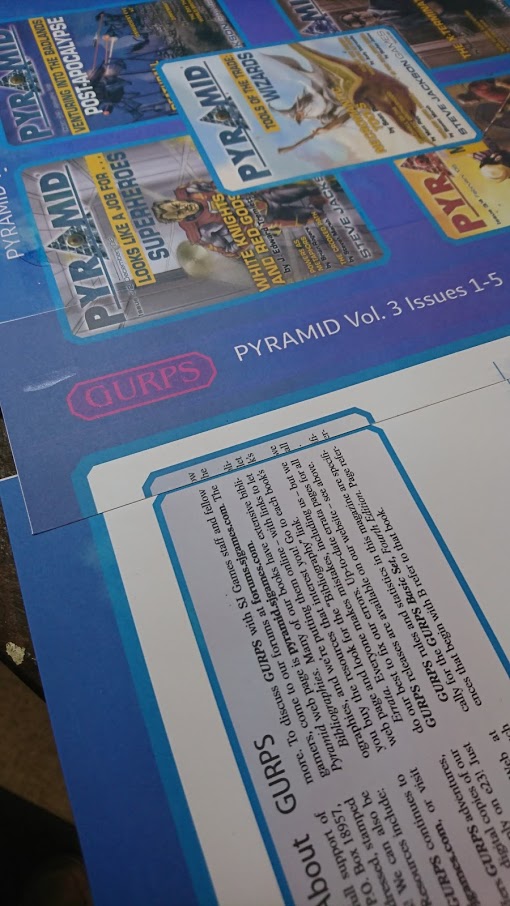
Place the artwork on and use something to smooth it out. This is where I found out I made an error as it doesn’t fit perfectly.

Weigh it down so it doesn’t warp. PVA Glue still has a high water content so things can warp if you use too much.
At this point I’m pretty much giving up and a good cover. I’ve made a ton of errors so far.
Error 1 is either my board cuts, my Illustrator file, or the actual distance I’ve placed the boards from each other. Or it could be a combination of the three.
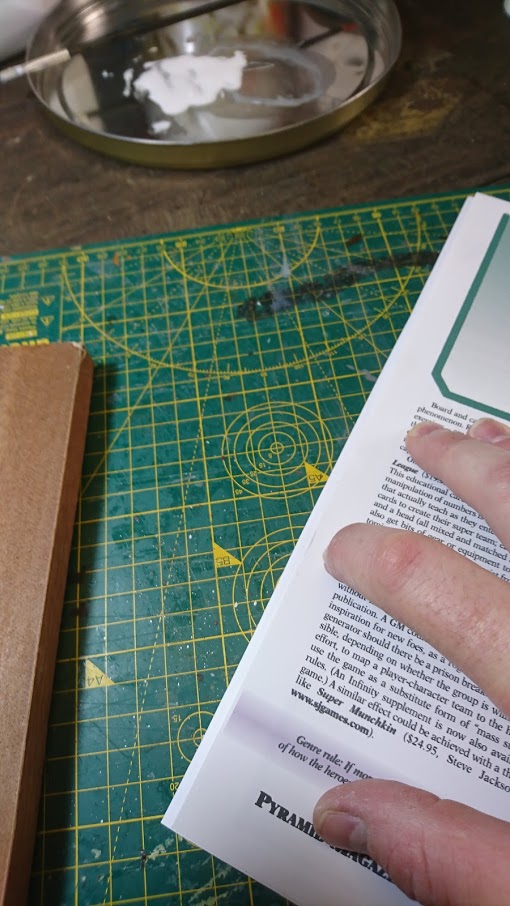
Error 2 : Placing the cover on. I did not centre the spine.
Carefully remove the tape
Glue and wrap around the rest of the cover.
Error 3: I didn’t make these long enough.
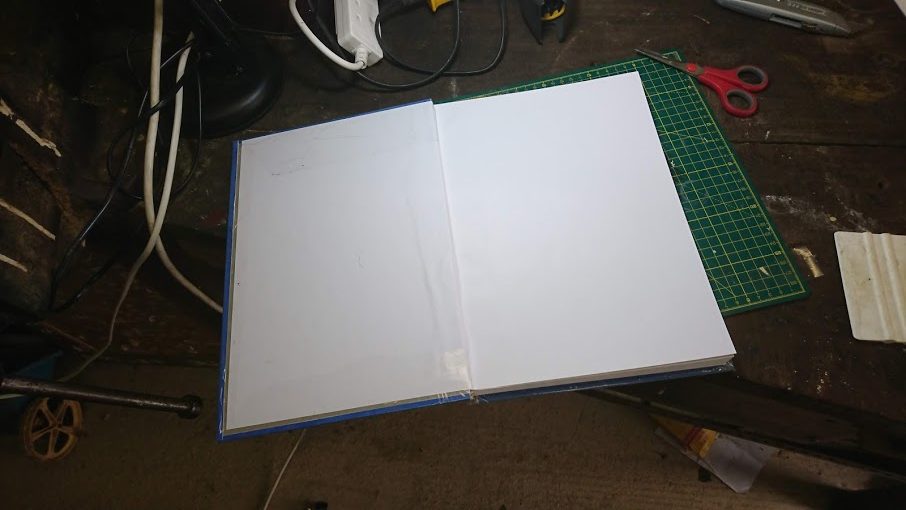
Fold a sheet of A3 in half. Using scrap paper only expose about 4mm on the papers spine (where it is folded) then glue that bit. Now place it to the first page of the book.
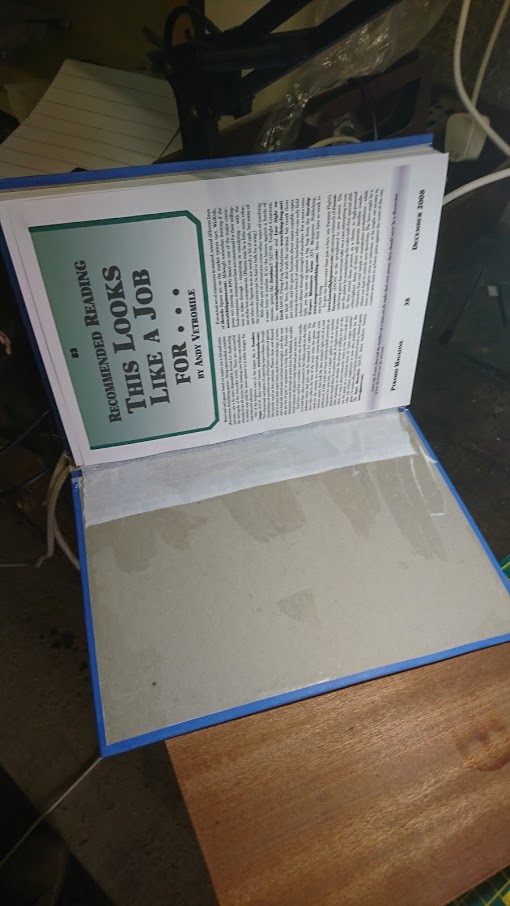
Place the A3 sheet in the book. The 4mm strip of glue is attached to the first or last page near the spine. Then glue the Muslin to the cover
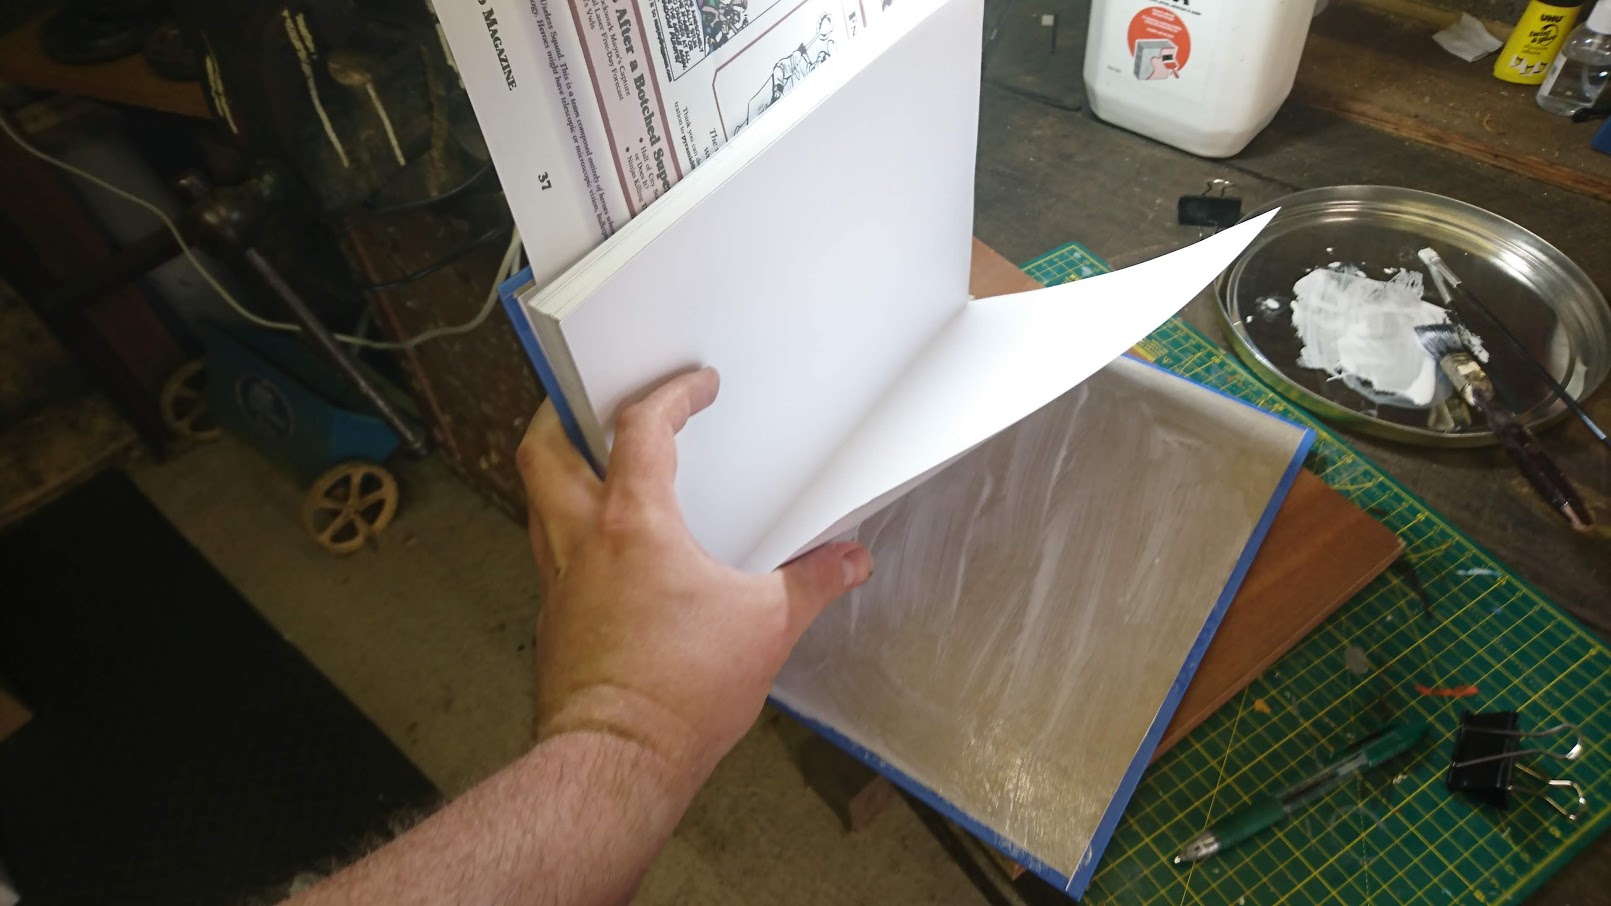
Glue the other half of the A3 sheet to the cover and press.
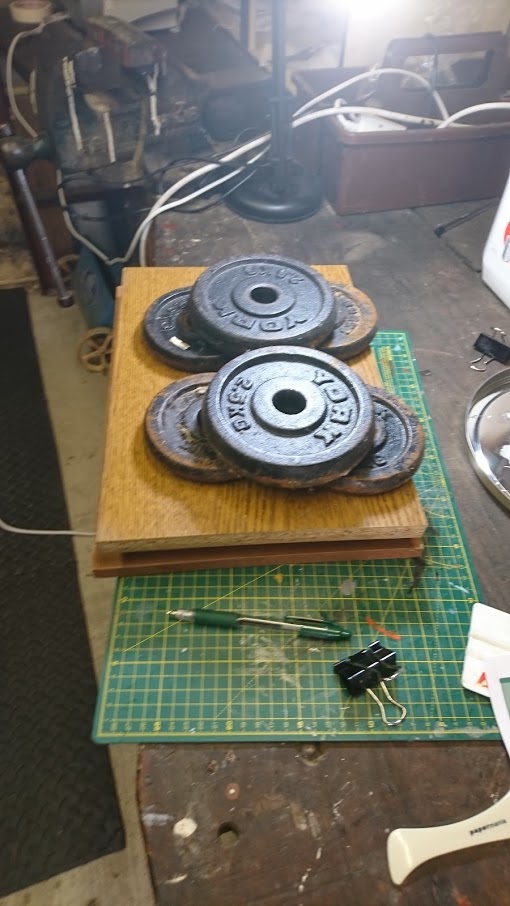
Since my clamp broke I must press the book between two boards with considerable weight on the top, evenly dispersed
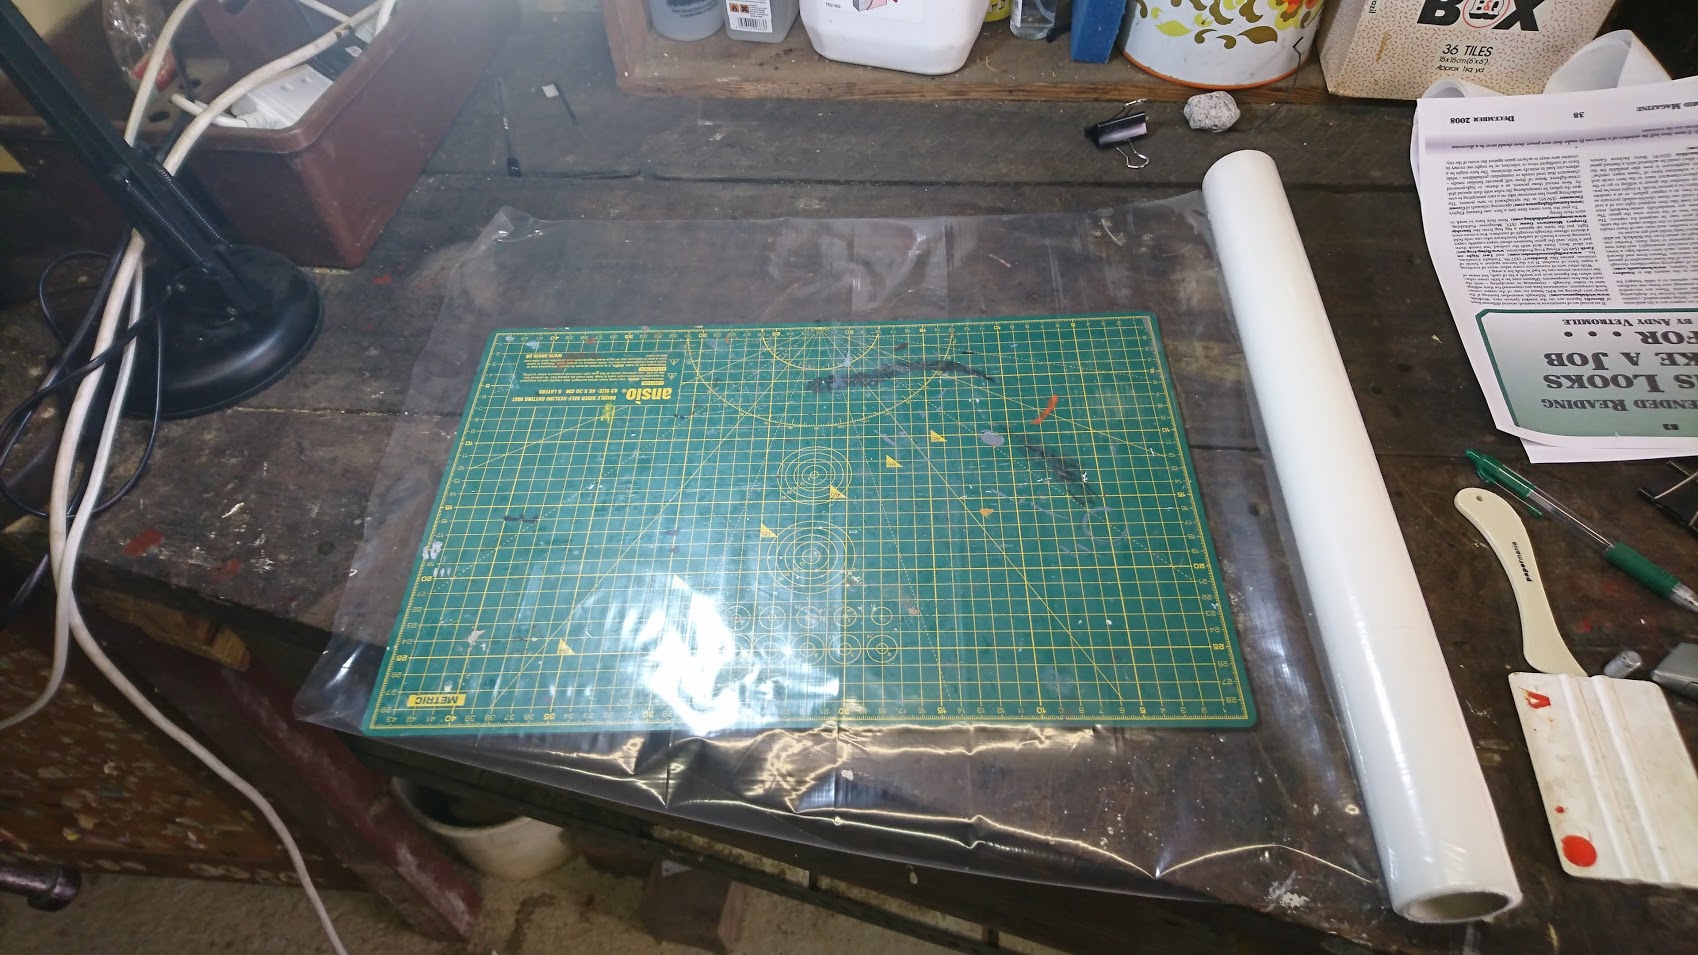
Adhesive plastic film

Next time I will place the book upside down but open at 45 degrees when placing the plastic cover on it.
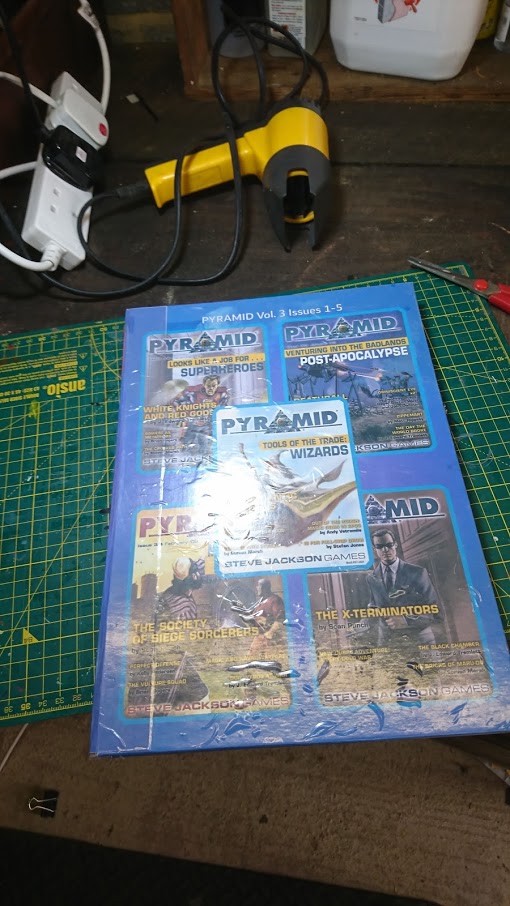
Tons of air bubbles. Just like my first GURPS 4e Characters book!

So I’m very pleased with the binding method up until I do the covers. I need to spend a bit more time researching the best way to do it. The loss of a clamp and the high heat did not help either. Overall I’m fine with the look of it. I should have made something triangular to lay the book open over when applying the plastic covering. Or gotten a second person to help me move and stretch.
I will do issues 6-10 next week.
This was meant to be a learning experience and it looks like you learned plenty! I think it looks great – esp for a first attempt so you should be pleased!