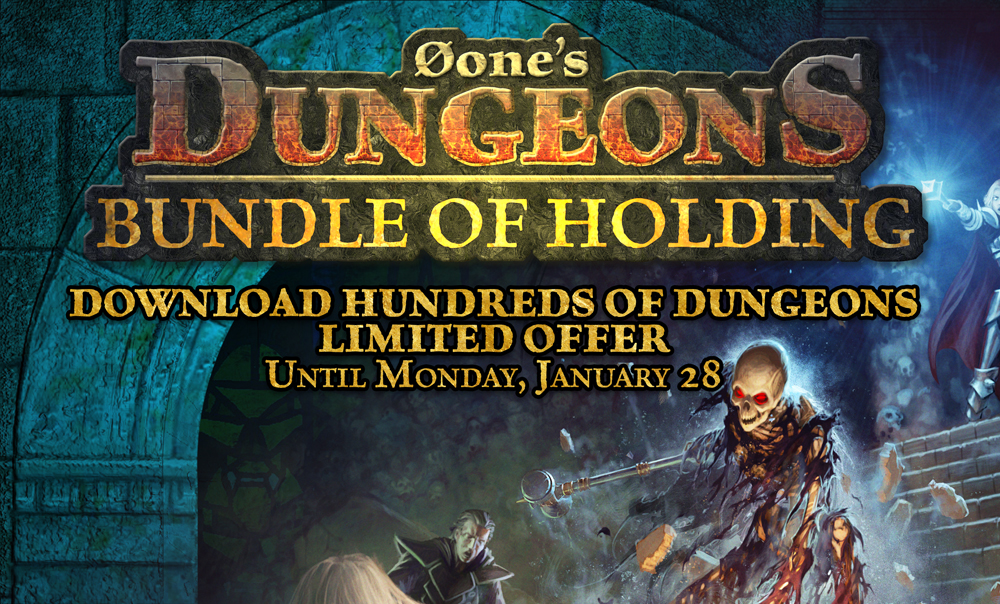
Bundle of Holding is having a sale on 0one Dungeon Maps! I’ve been a customer of 0one maps for some time. I enjoy the fact that their pdf’s are layered and I can turn off the square grid for a more useful hex grid!
If you are looking for a Megadungeon then this is your chance to own all ten levels of “The Dungeon Under the Mountain”!
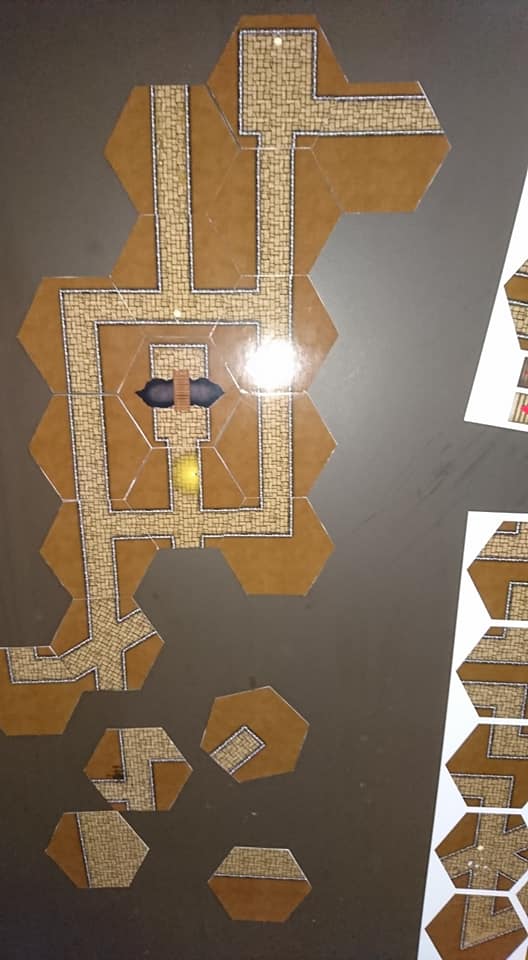
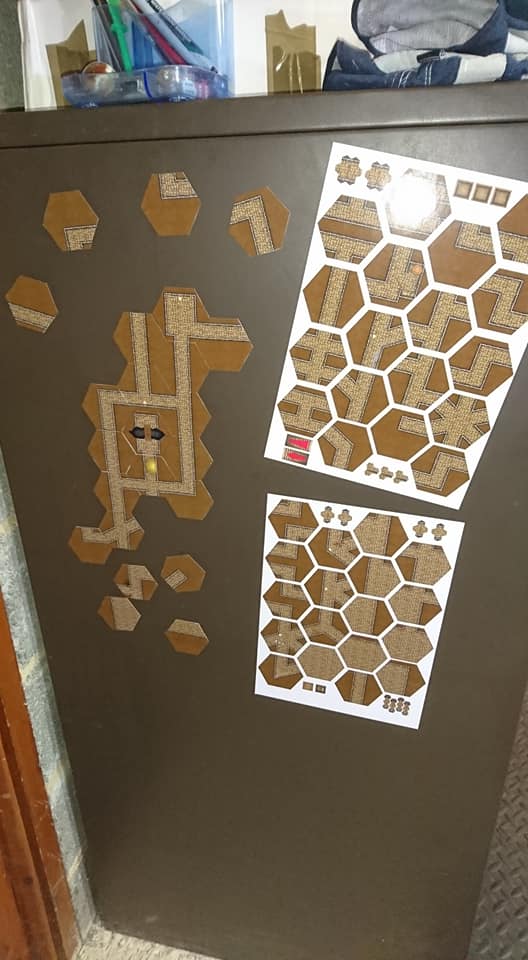
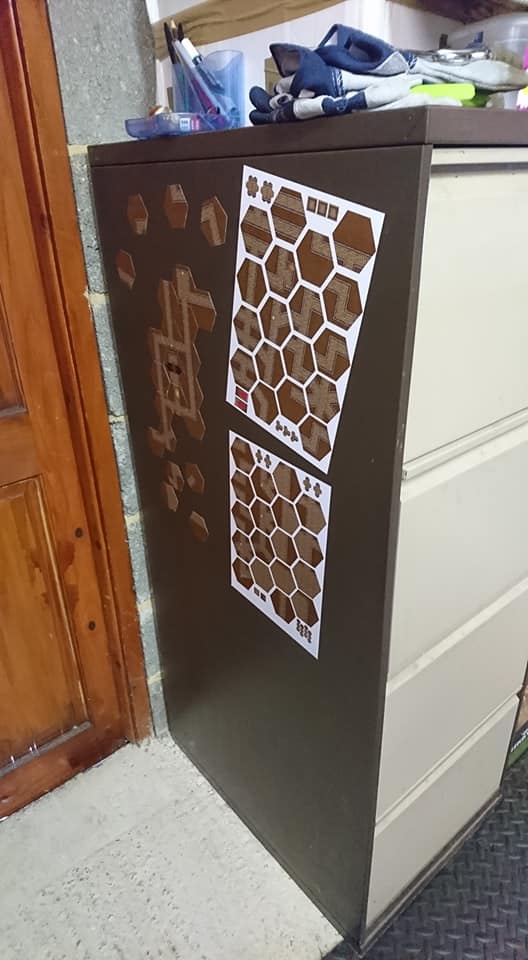
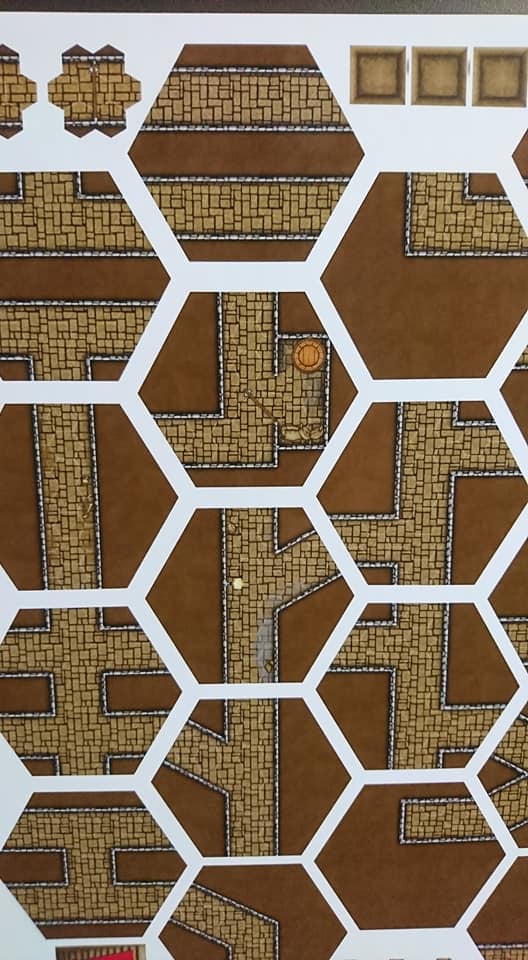
I found some A4 magnetic glossy sheets for inkjet printers. I wanted to see if i could print out the Battle Tiles at 2 inches vertical hexes. This way it can be a ‘mini map’ during play and I can pull out the appropriate 7 inch Battle Tiles during combat or special situations like trying to find traps and secret doors.
Testing them out on my metal filing cabinet. I have a white board that we have used in the past for gaming and will be using that set on the table during play.
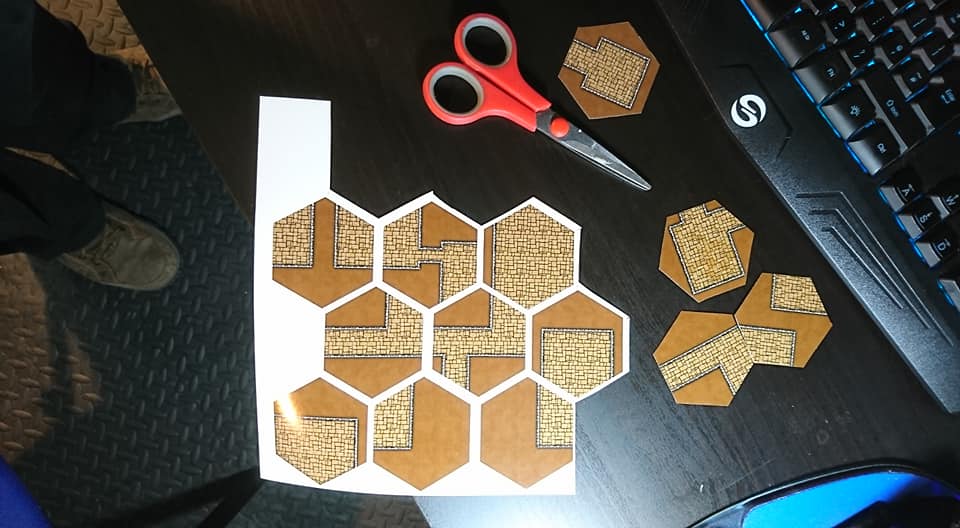
I am really pleased at the print quality that my Epson EcoTank ET-7750 was able to produce on these glossy magnetic sheets. The stairs, doors, pits, and traps are a pain to cut out but they do stick to the top of the tiles allowing me to add features to the dungeon as well!
They cut better with a scissors then they did with the hobby knife. Now when we play I can place down the tiles as they explore the dungeons and they are just fun to play with on their own.
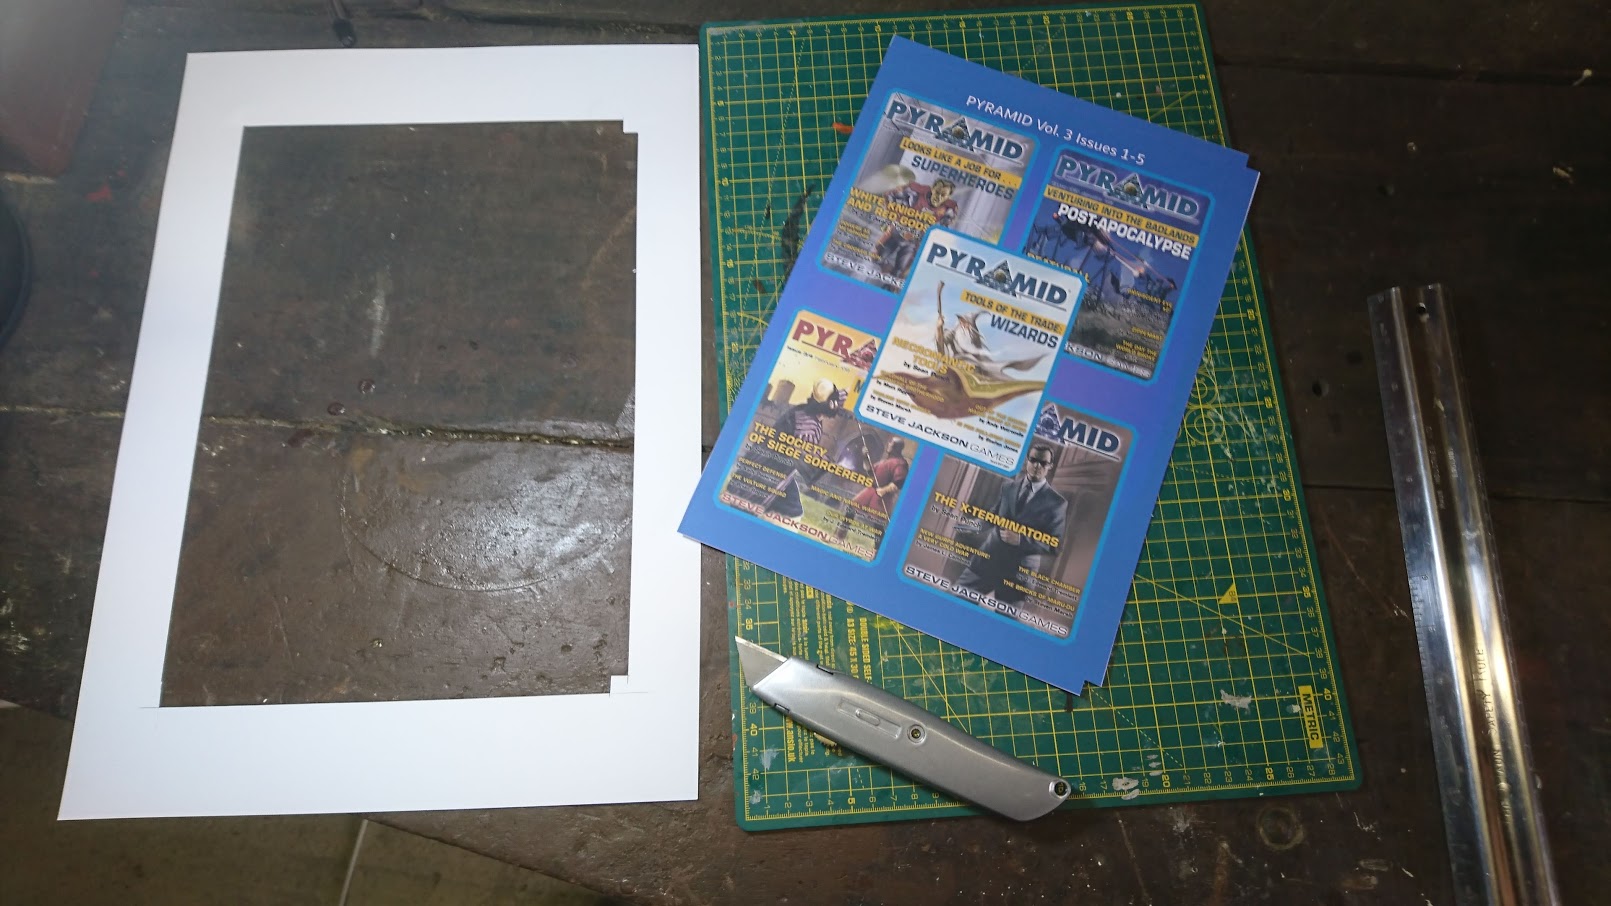
Using Adobe CS2 I created the cover in three parts as I don’t yet have my roll of 115 gsm paper to do a continual cover in one piece. I’m very impatient and didn’t want to wait another week.
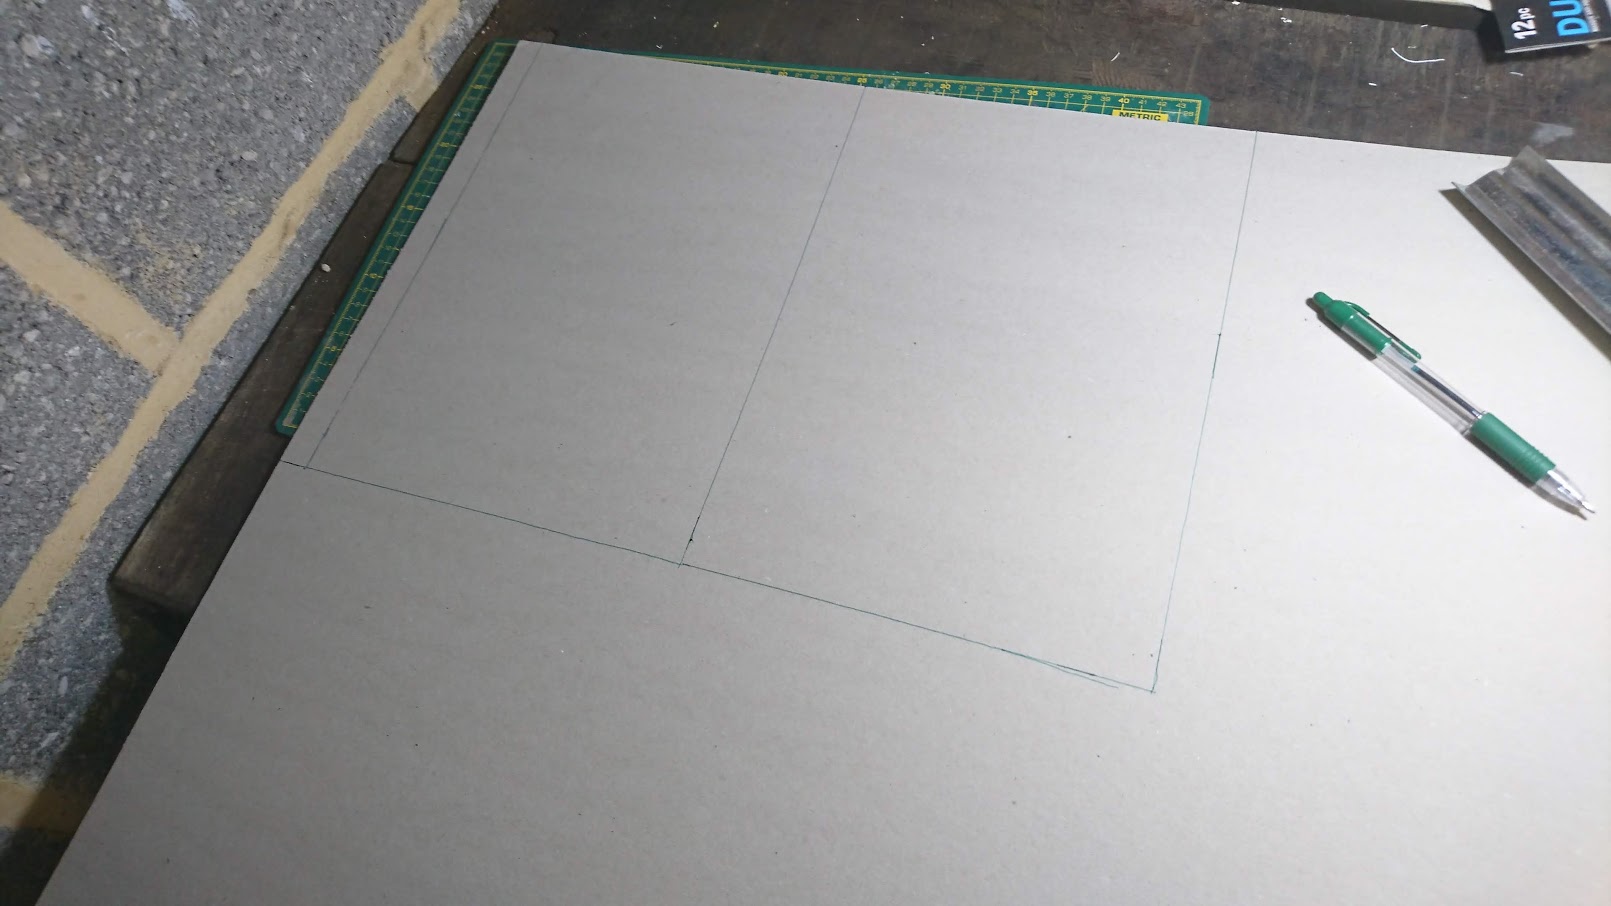
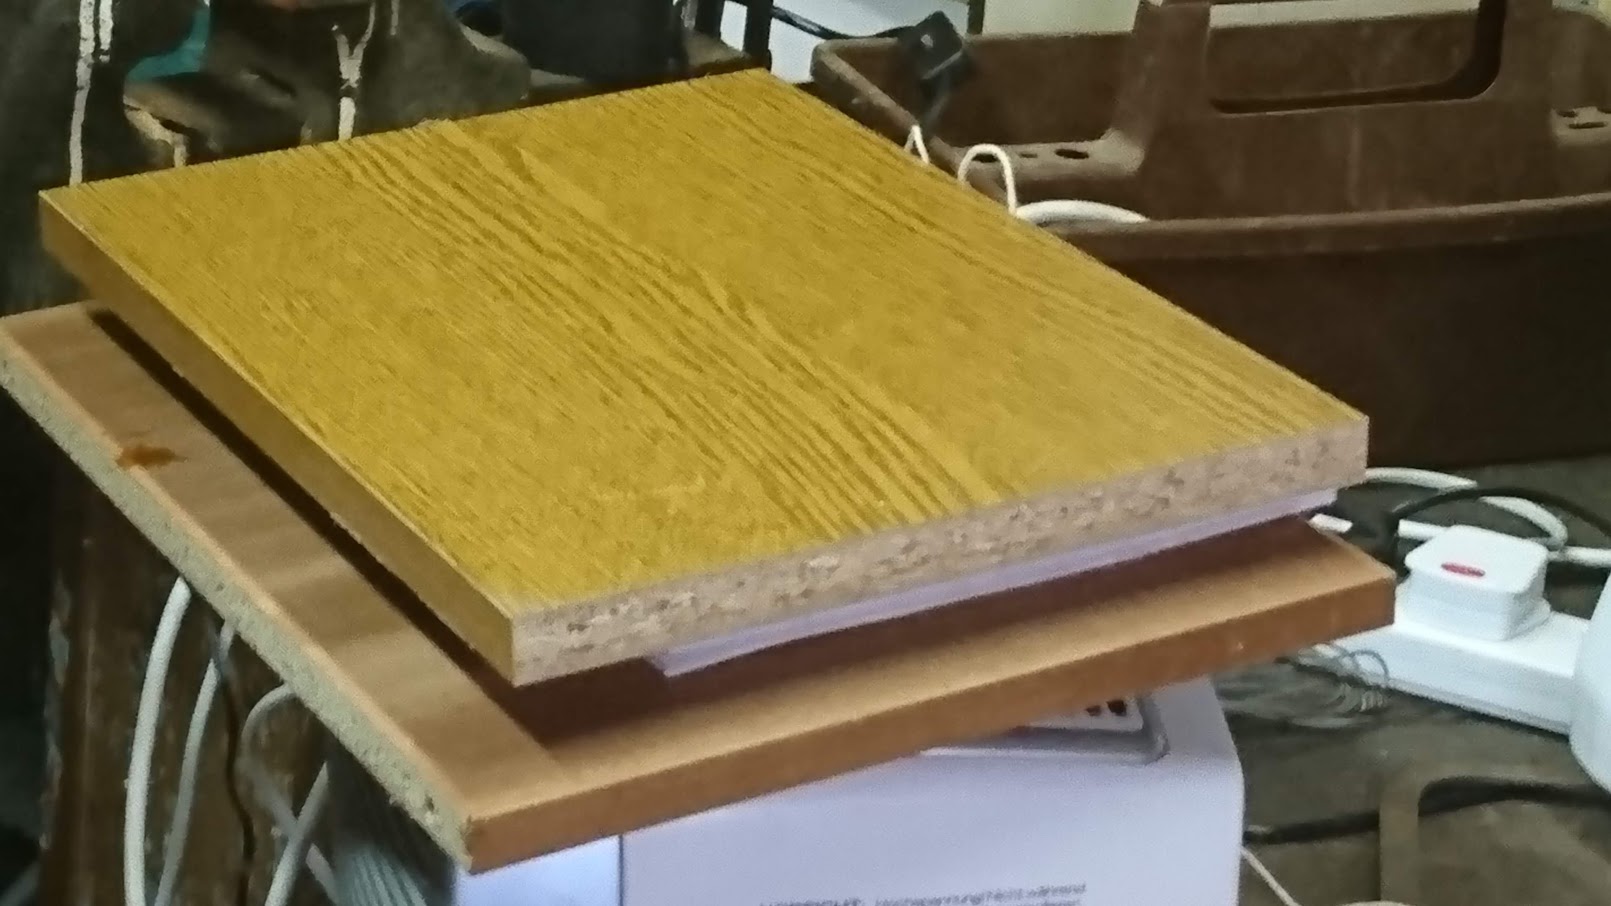
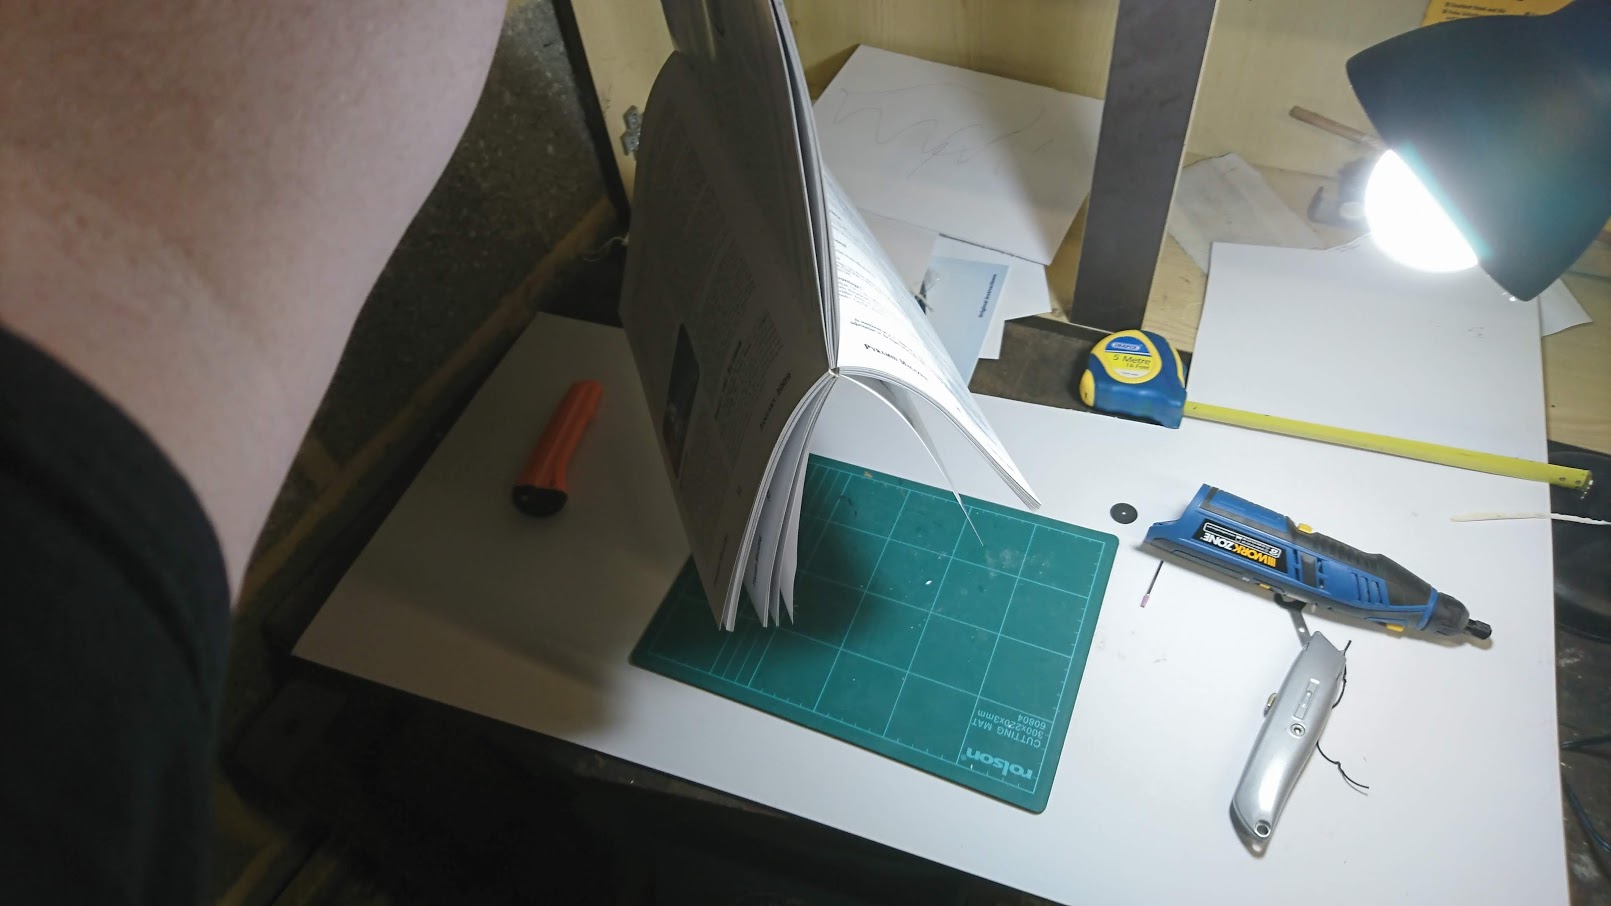
Measure the thickness of the book with the front and back cover on.
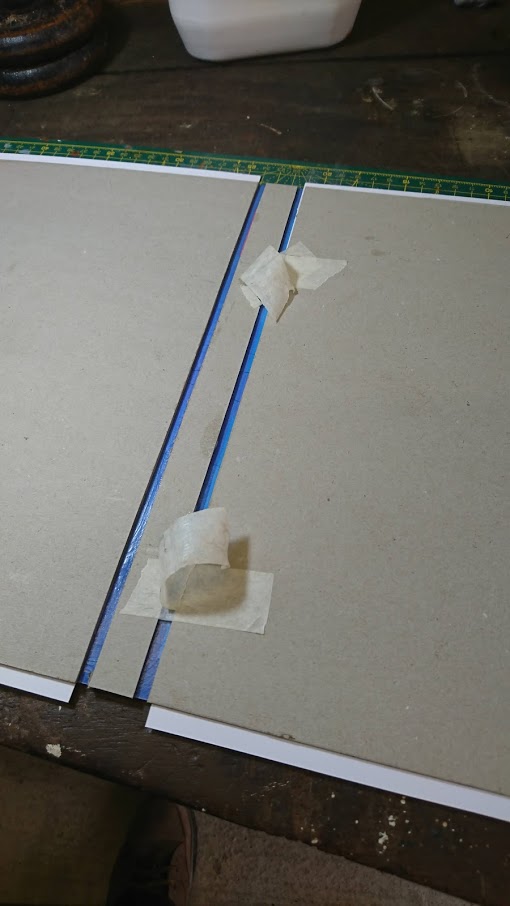
Measure the thickness of the book. The suggested gap between spine and cover is twice the width of the thickness of the cover. I’m using 2mm greyboard so I’ve placed a 4mm gap.
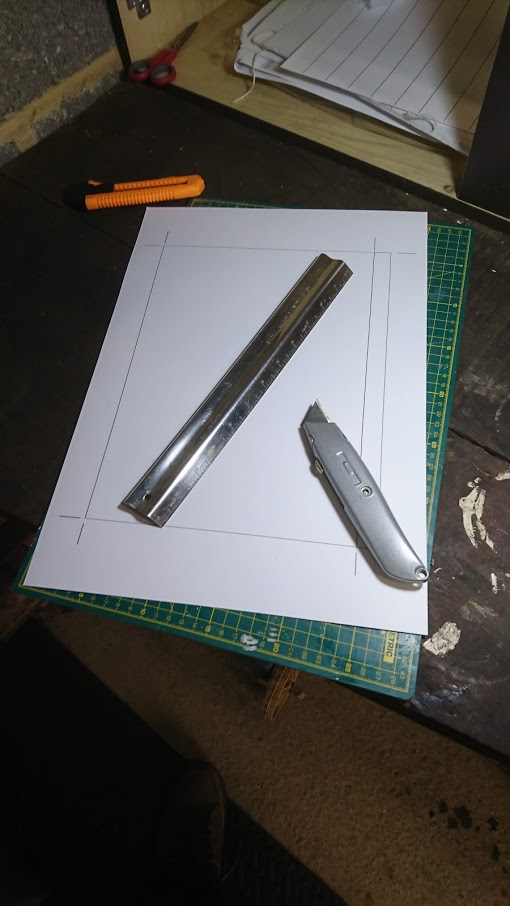
Cover cut guide
Once you know the size of your cover either measure it out or make a cutting guide like I did.
Normally I would have used a longer steel ruler with a blade attachment to cut these out. However I still have not unpacked it and I’m unsure which box it is in.
Jakar photo mat cutter. Now where did I place it?
My covers got slightly sloppy and I did my best to square them up.
A bit longer on the bottom then the top. Remember to make several shallow cuts rather than attempt to cut it in one go.
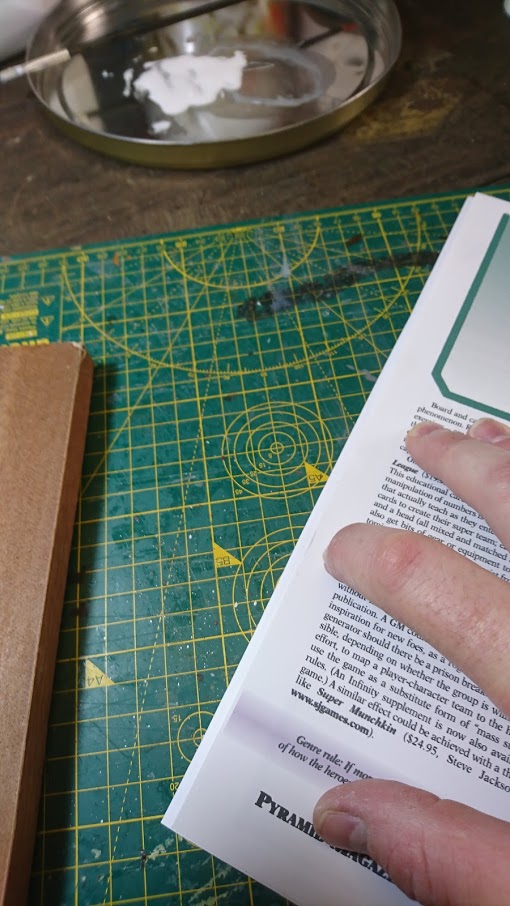
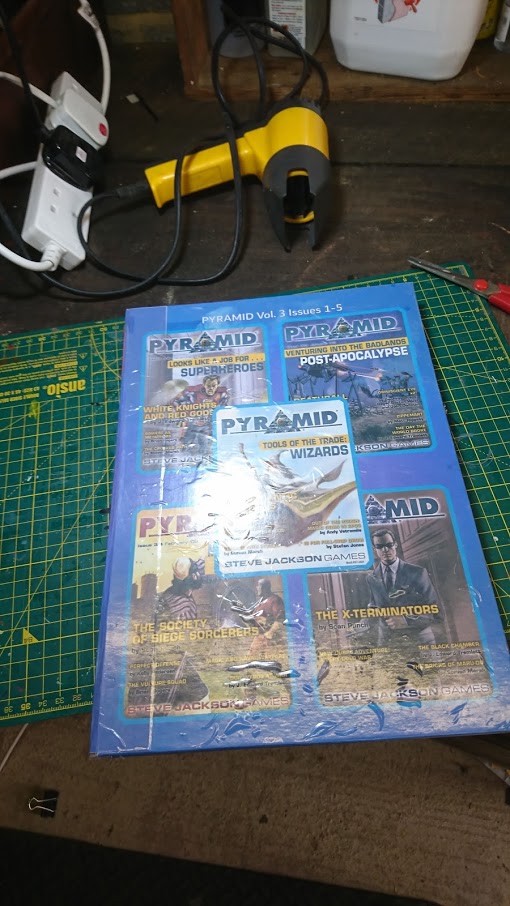
Printed out the front, back, and spine art of the book.
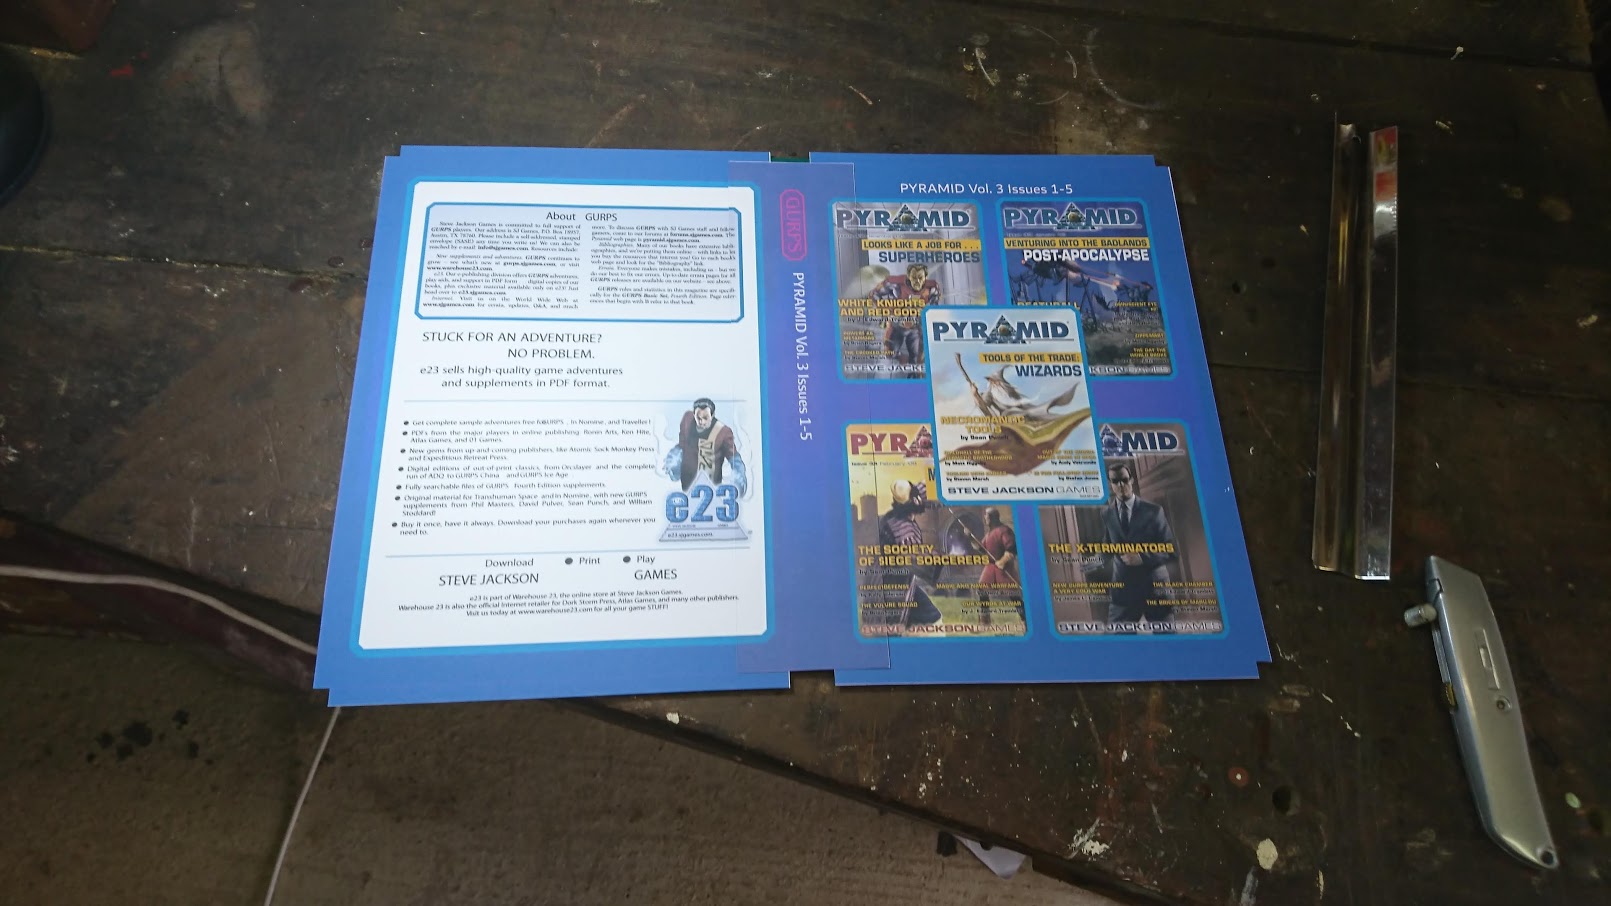
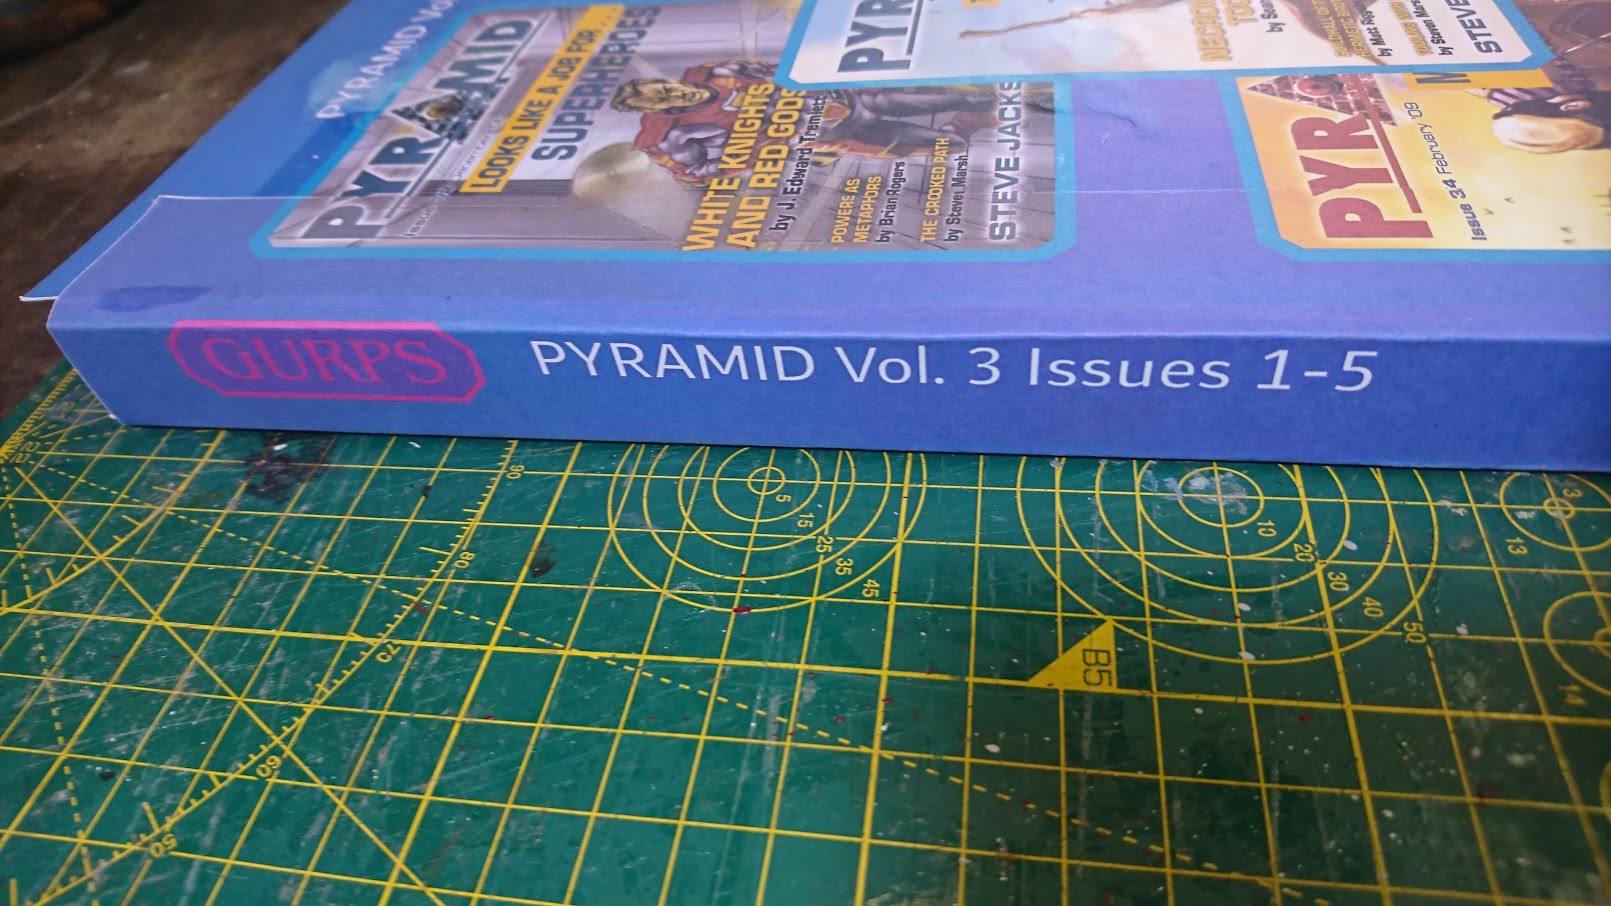
How it should look, unfortunately I made an error somewhere.
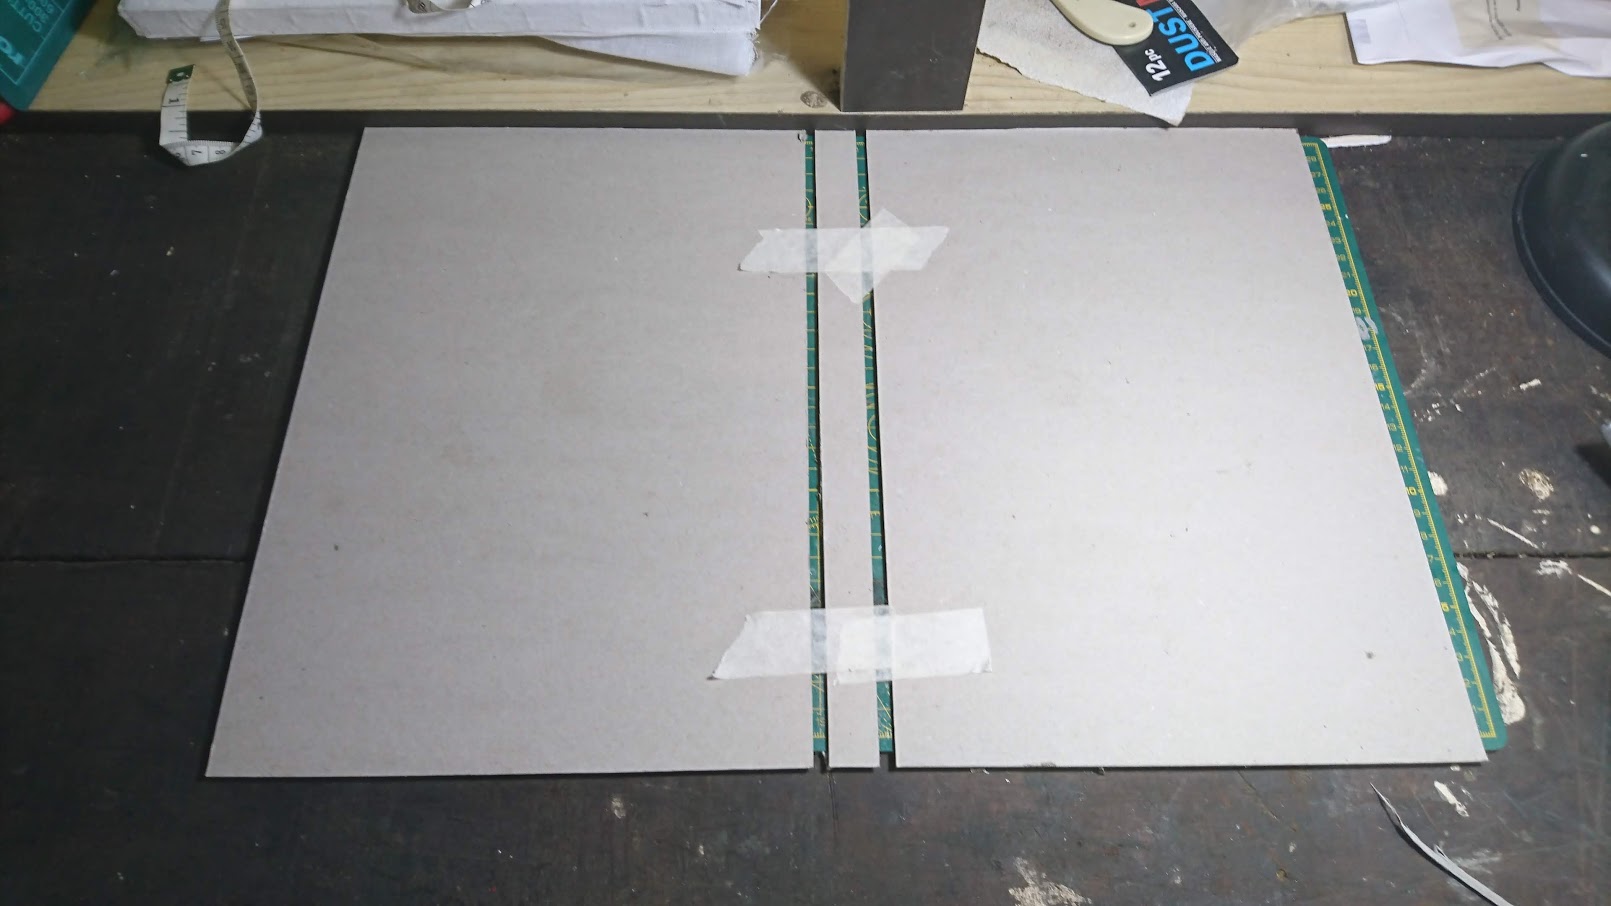
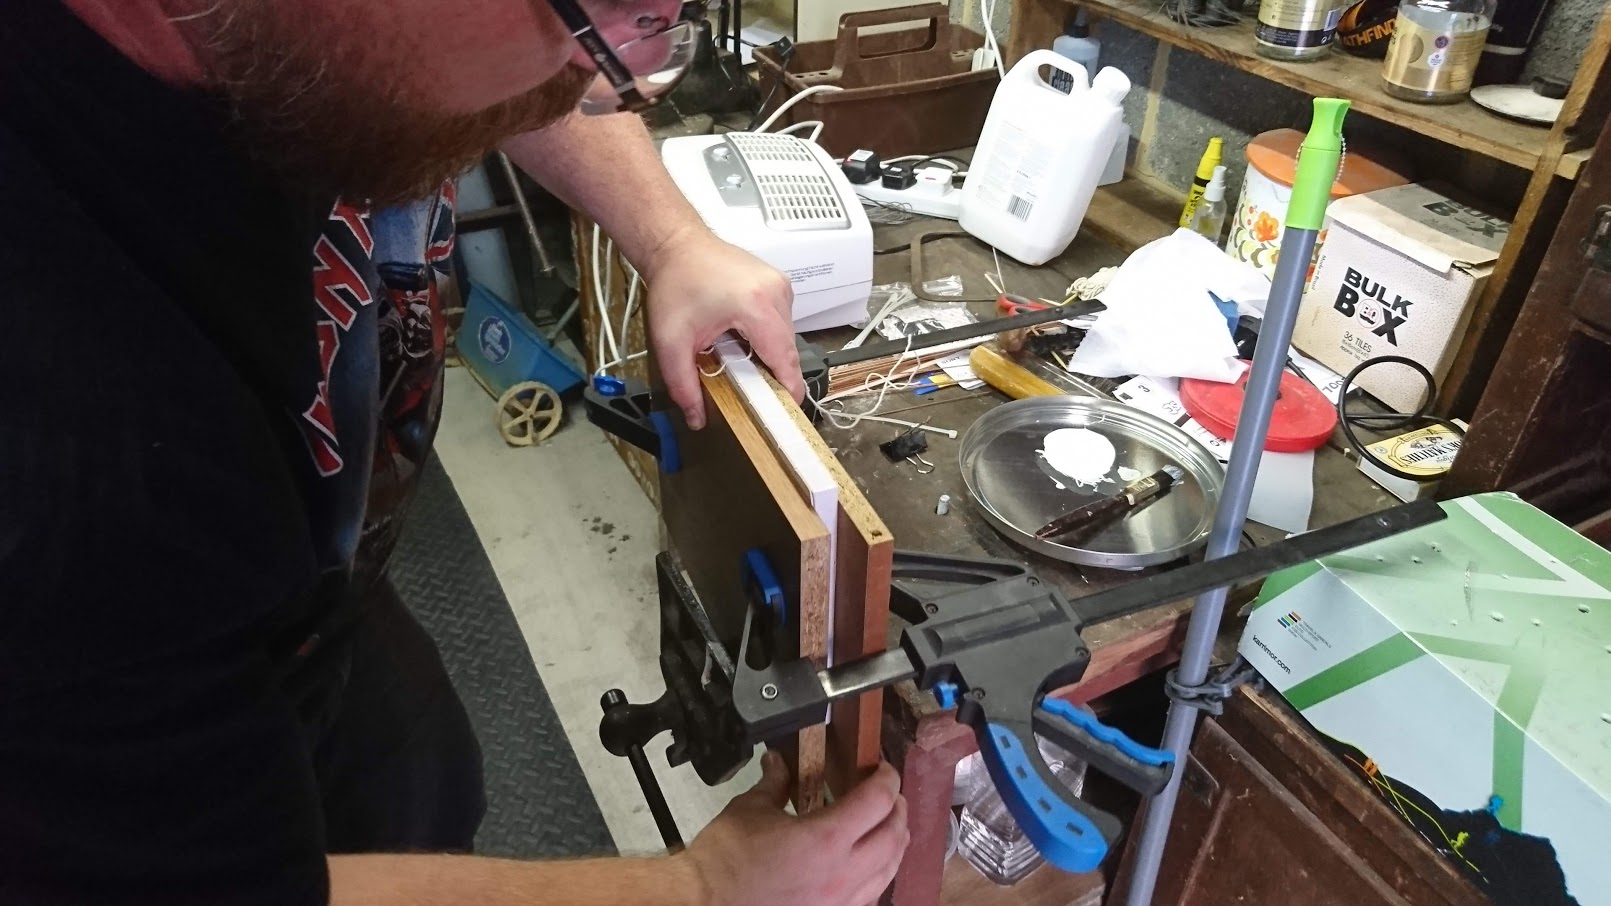
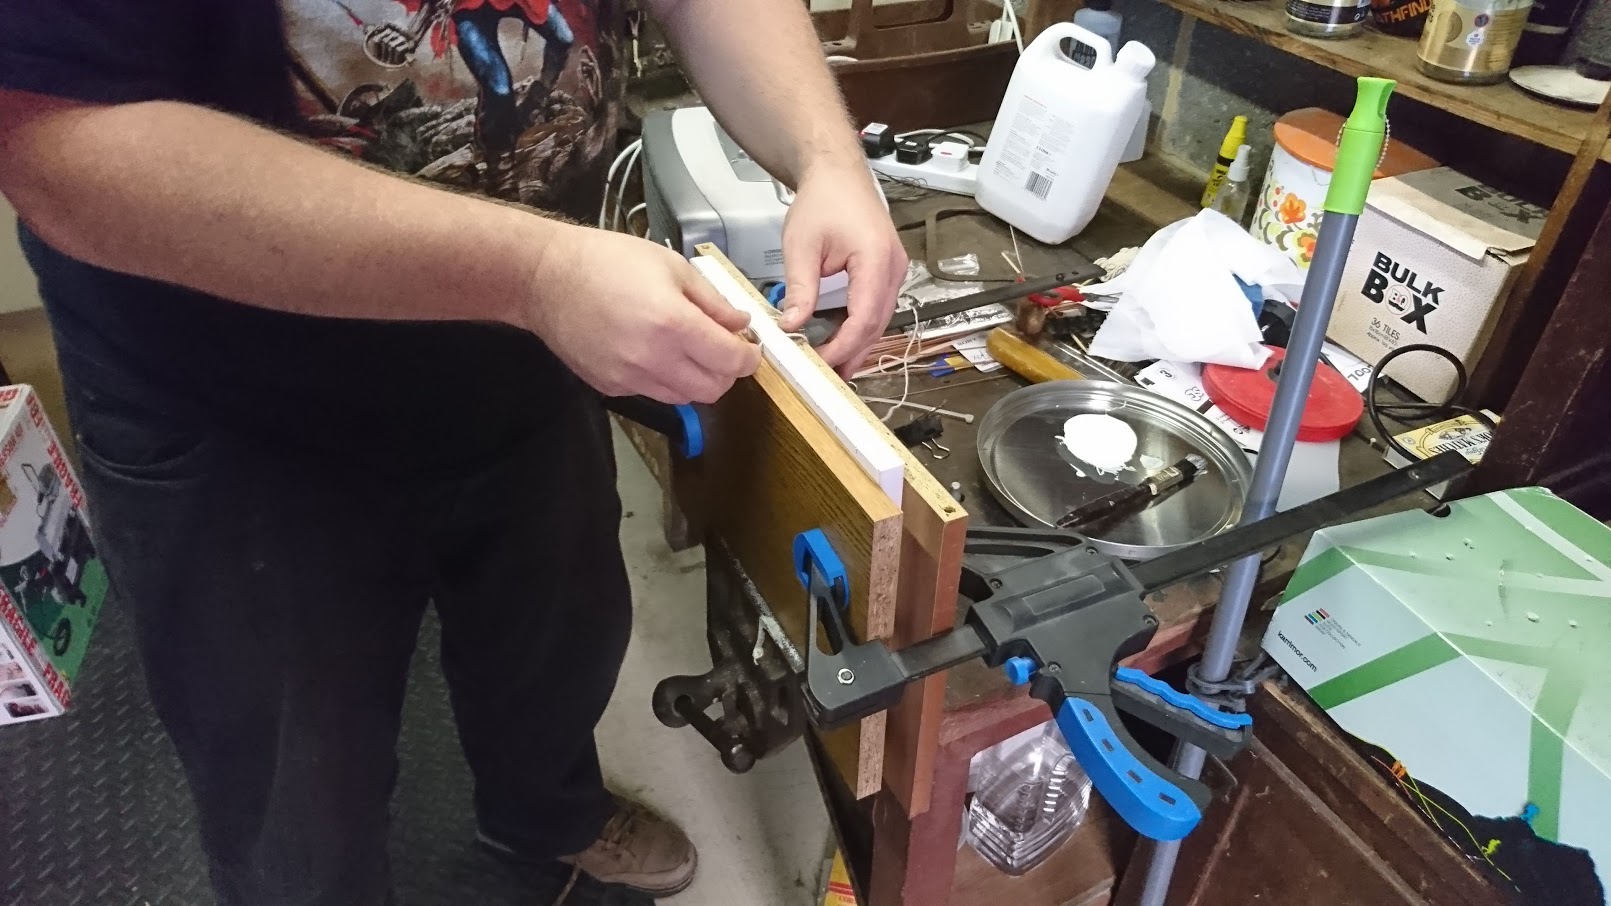
Now tape your boards together with masking tape. They are only there temporarily to keep them at the right distance.
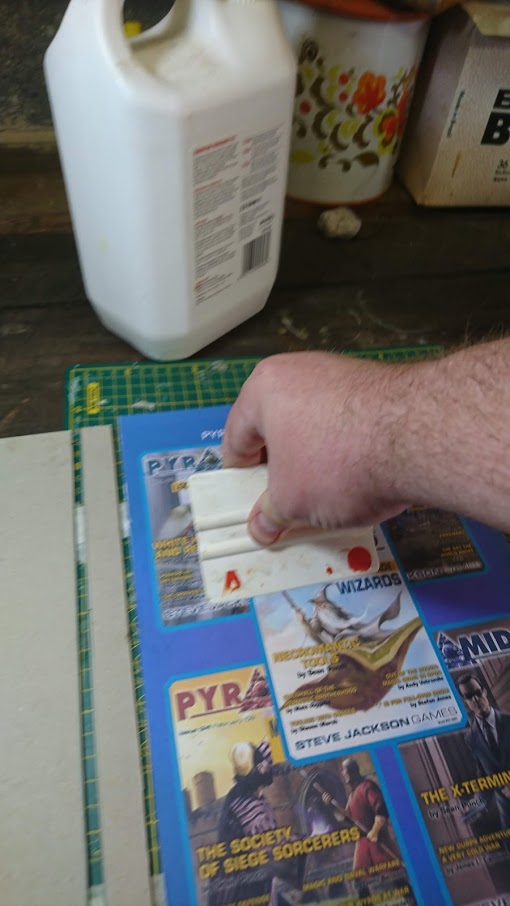
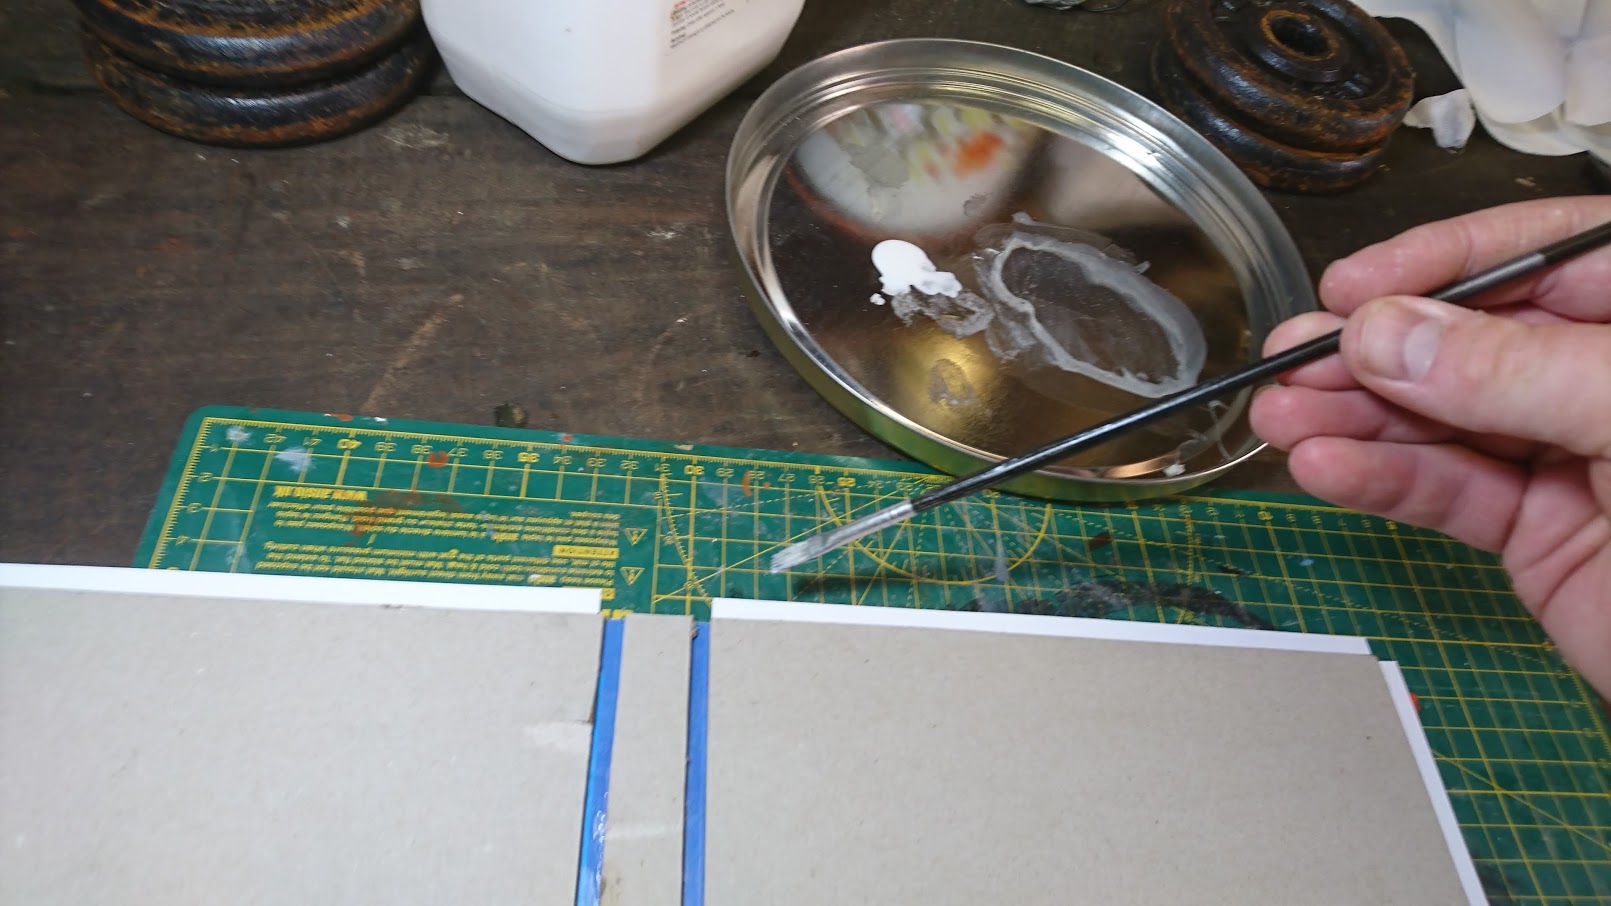
Coat the board with acid free PVA glue.
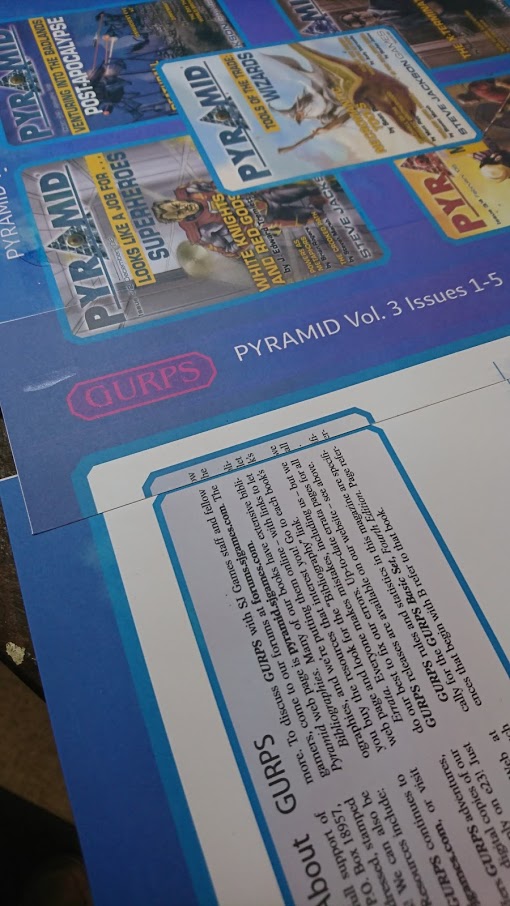
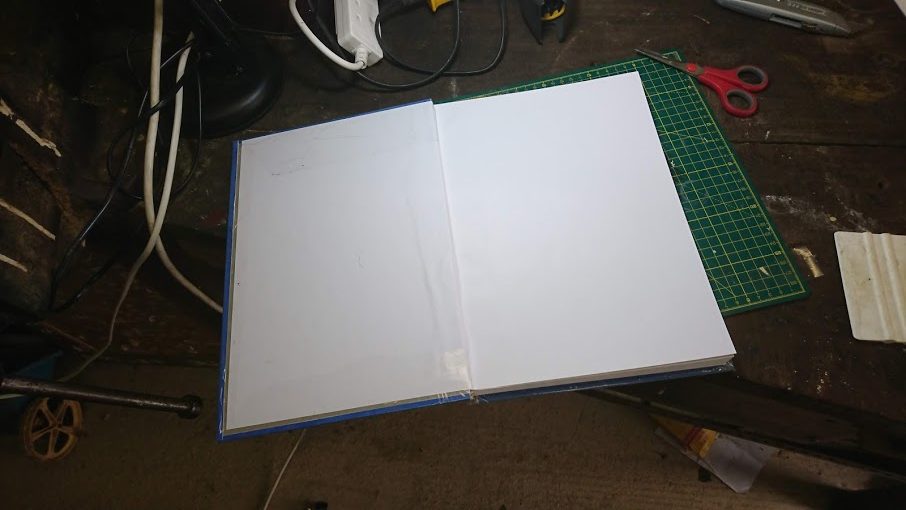
Place the artwork on and use something to smooth it out. This is where I found out I made an error as it doesn’t fit perfectly.
Weigh it down so it doesn’t warp. PVA Glue still has a high water content so things can warp if you use too much.
At this point I’m pretty much giving up and a good cover. I’ve made a ton of errors so far.
Error 1 is either my board cuts, my Illustrator file, or the actual distance I’ve placed the boards from each other. Or it could be a combination of the three.
Error 2 : Placing the cover on. I did not centre the spine.
Carefully remove the tape
Glue and wrap around the rest of the cover. Error 3: I didn’t make these long enough.
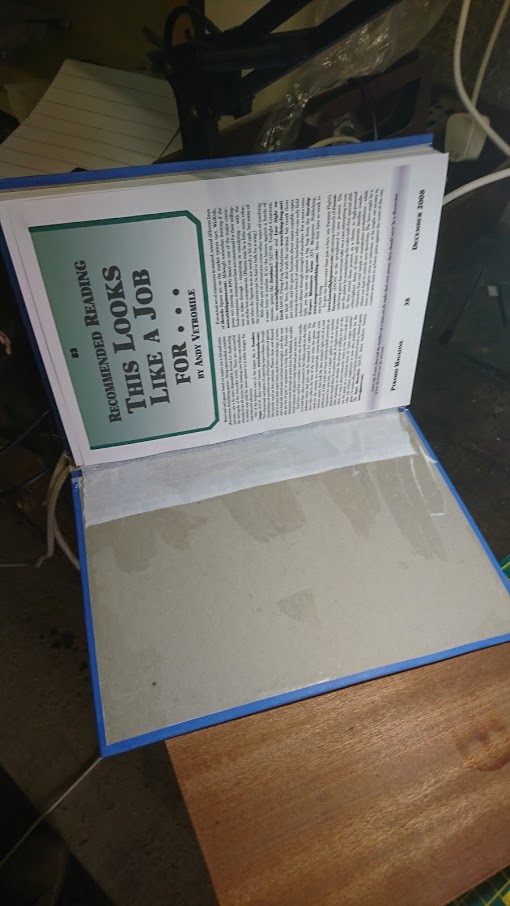
Fold a sheet of A3 in half. Using scrap paper only expose about 4mm on the papers spine (where it is folded) then glue that bit. Now place it to the first page of the book.
Place the A3 sheet in the book. The 4mm strip of glue is attached to the first or last page near the spine. Then glue the Muslin to the cover
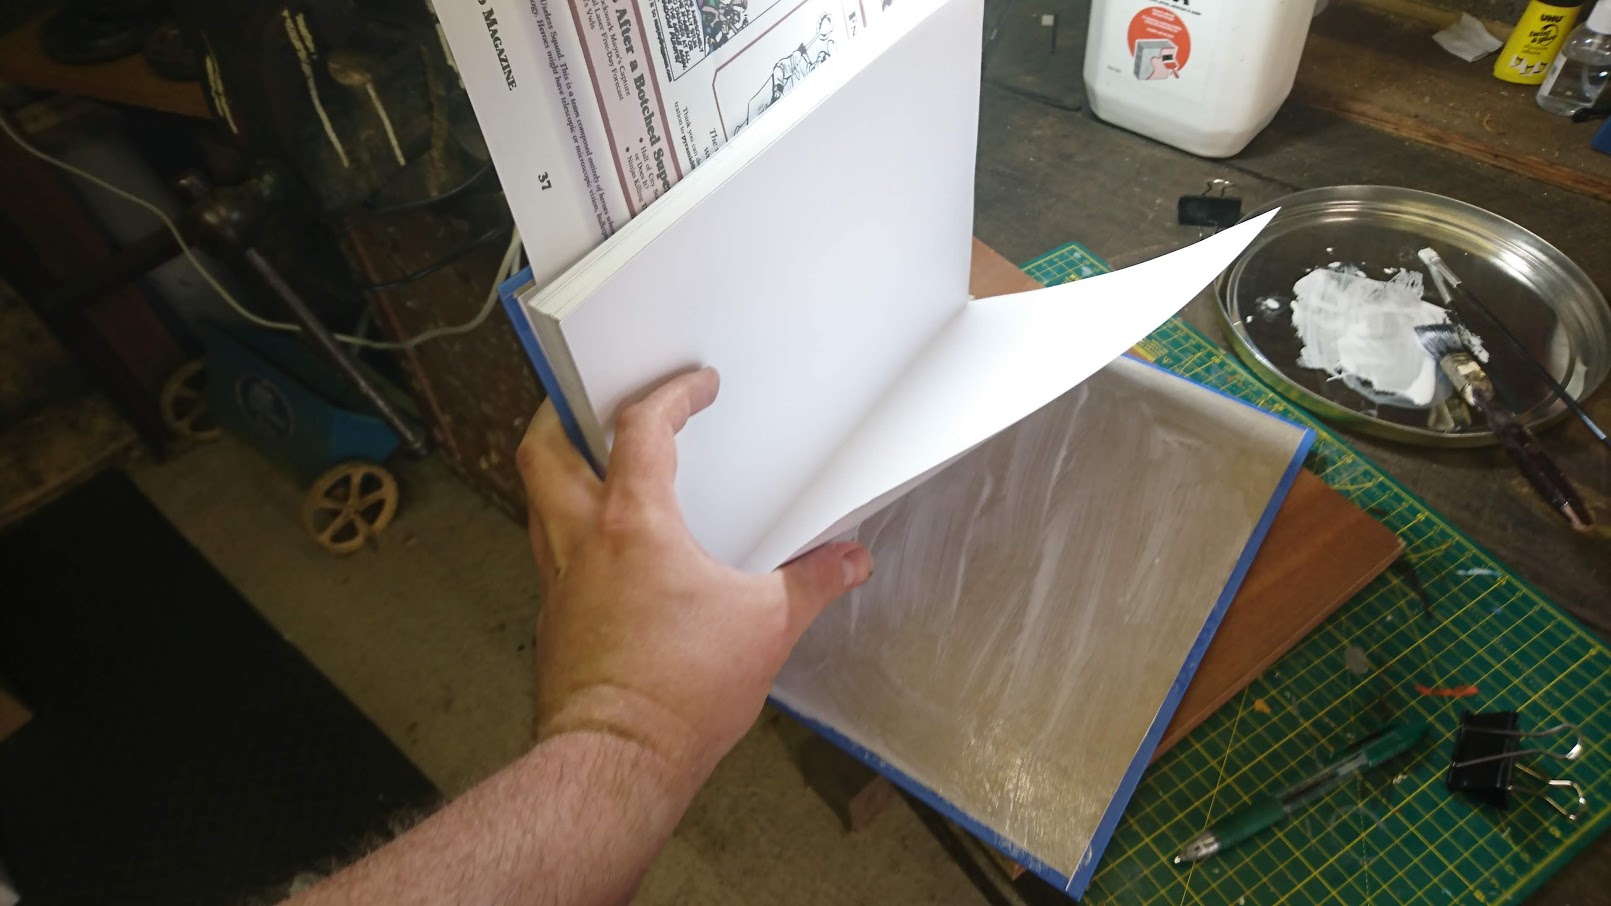
Glue the other half of the A3 sheet to the cover and press.
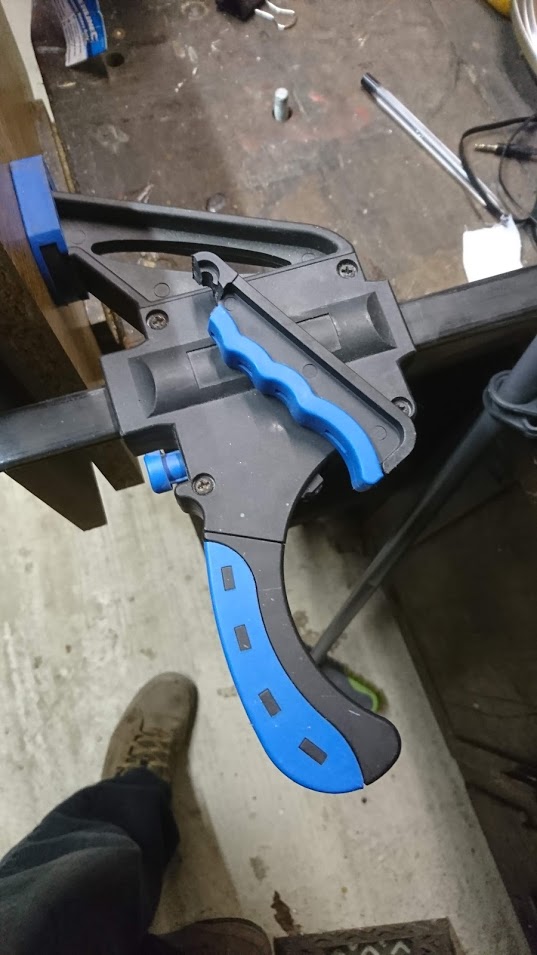
Since my clamp broke I must press the book between two boards with considerable weight on the top, evenly dispersed
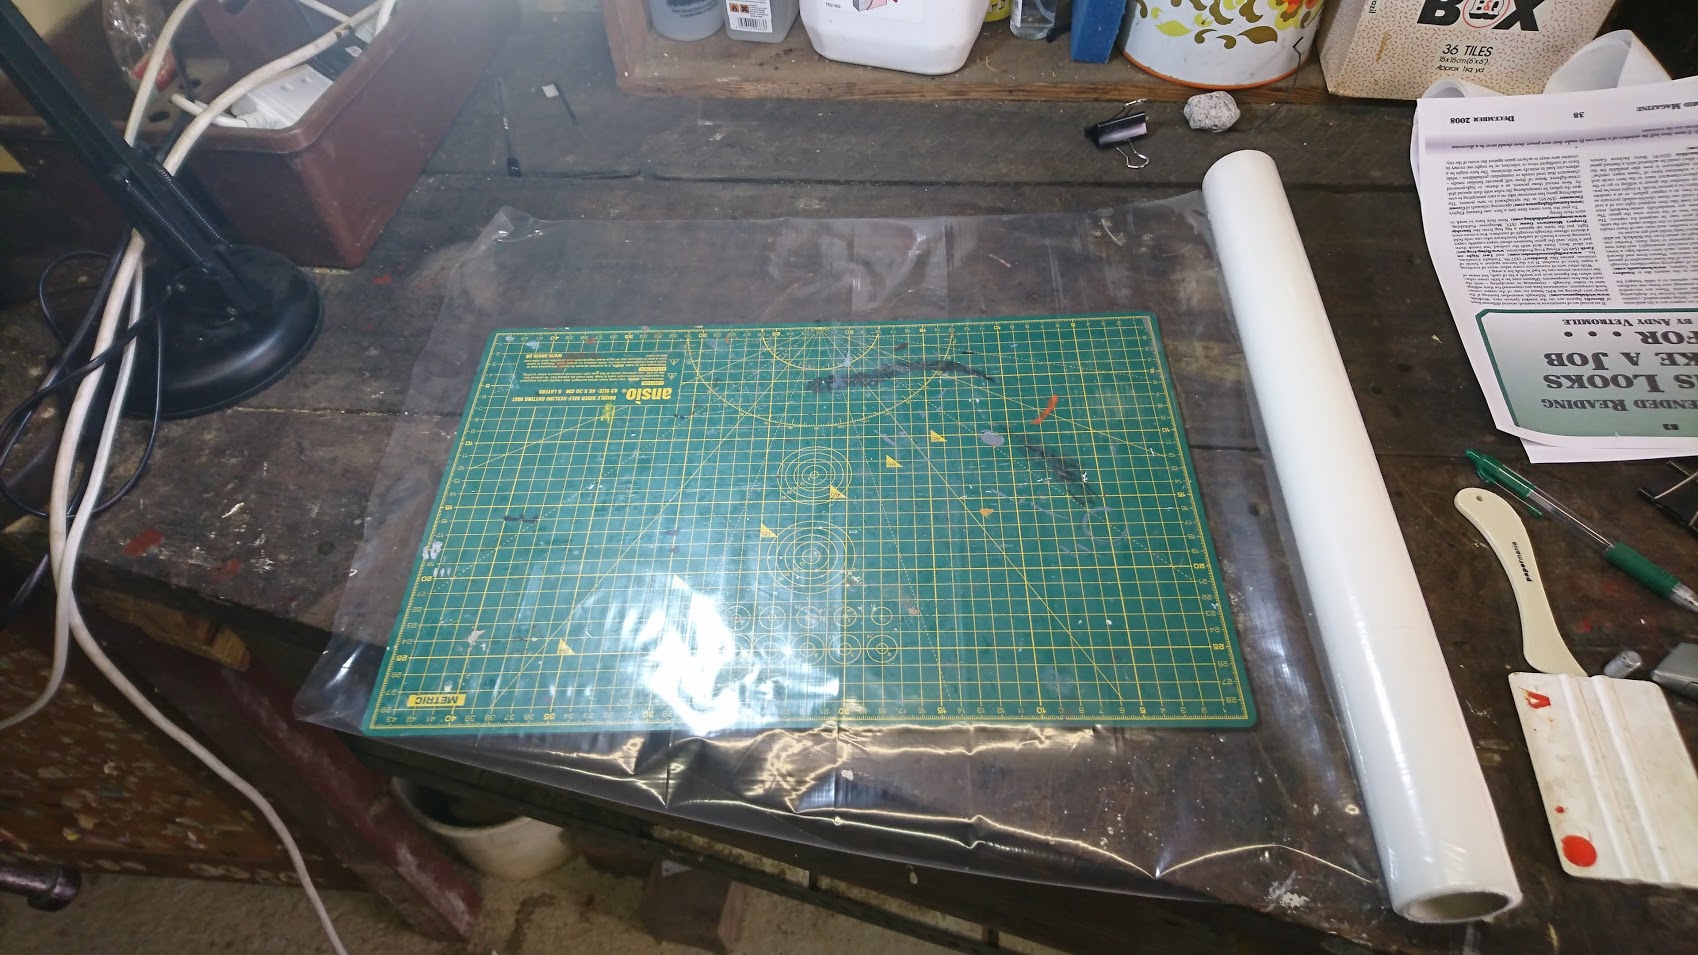
Adhesive plastic film
Next time I will place the book upside down but open at 45 degrees when placing the plastic cover on it.
Tons of air bubbles. Just like my first GURPS 4e Characters book!
So I’m very pleased with the binding method up until I do the covers. I need to spend a bit more time researching the best way to do it. The loss of a clamp and the high heat did not help either. Overall I’m fine with the look of it. I should have made something triangular to lay the book open over when applying the plastic covering. Or gotten a second person to help me move and stretch.
The one thing I forgot about EPSON printers (I used to use them exclusively in the 00’s) is they only let you select EPSON brand paper. This is understandable as when using Epson products which are specifically made to be used with Epson inks the end results are stunning. However you may want to use water colour paper, or in my case Silk (which is like a semi gloss). What you need is ICC Profiles that will work with your paper. I emailed EPSON Technical support and hope I actually get a response.
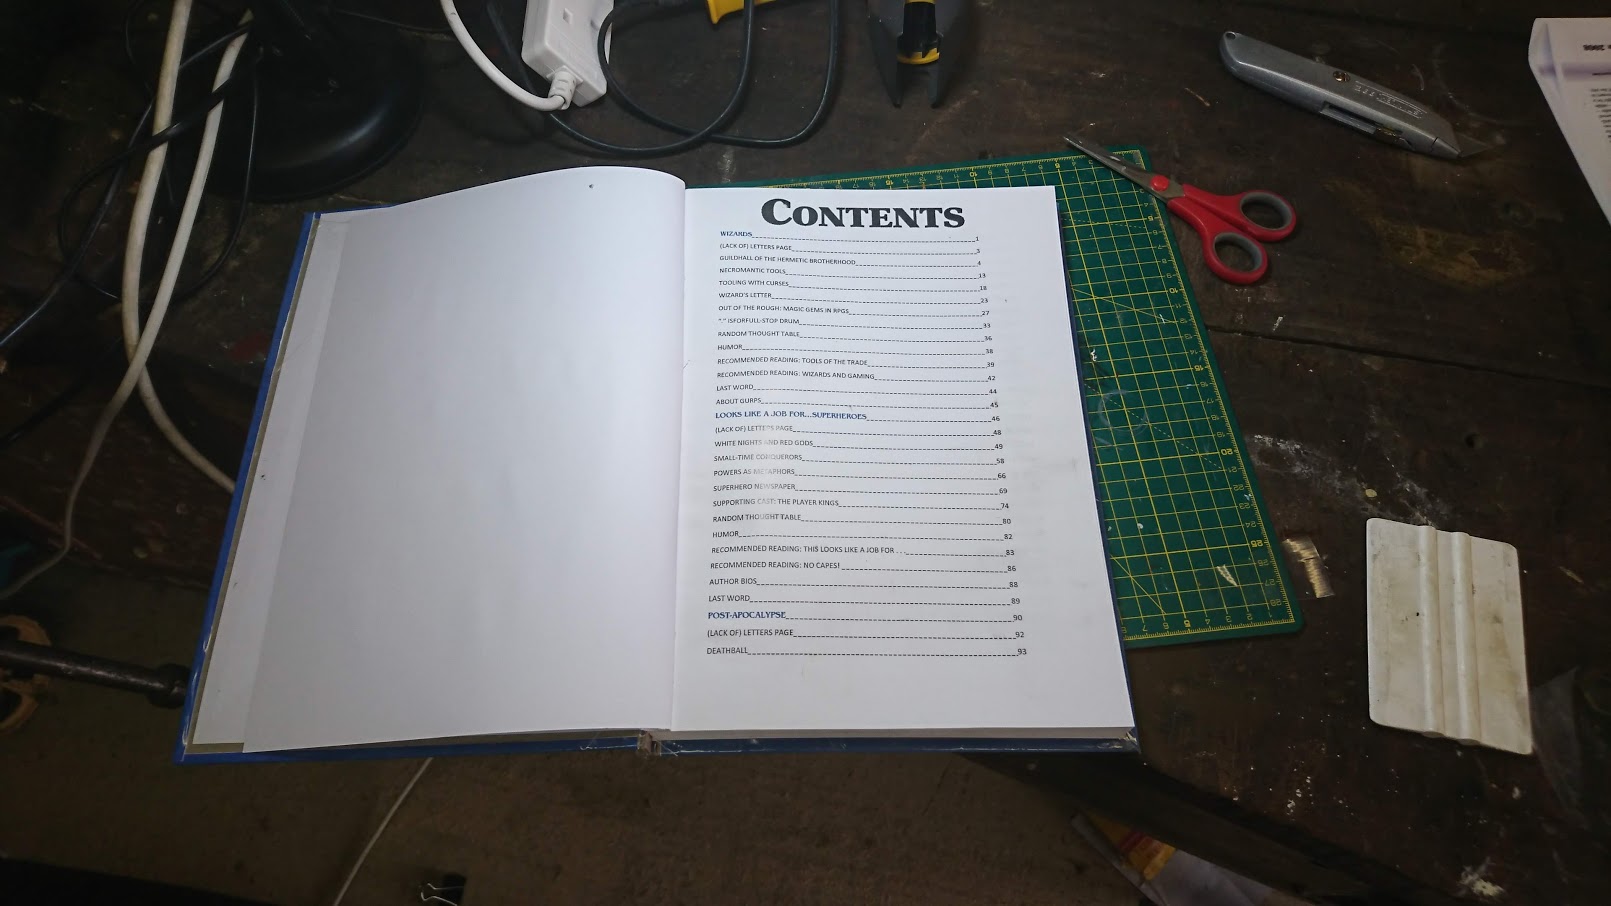
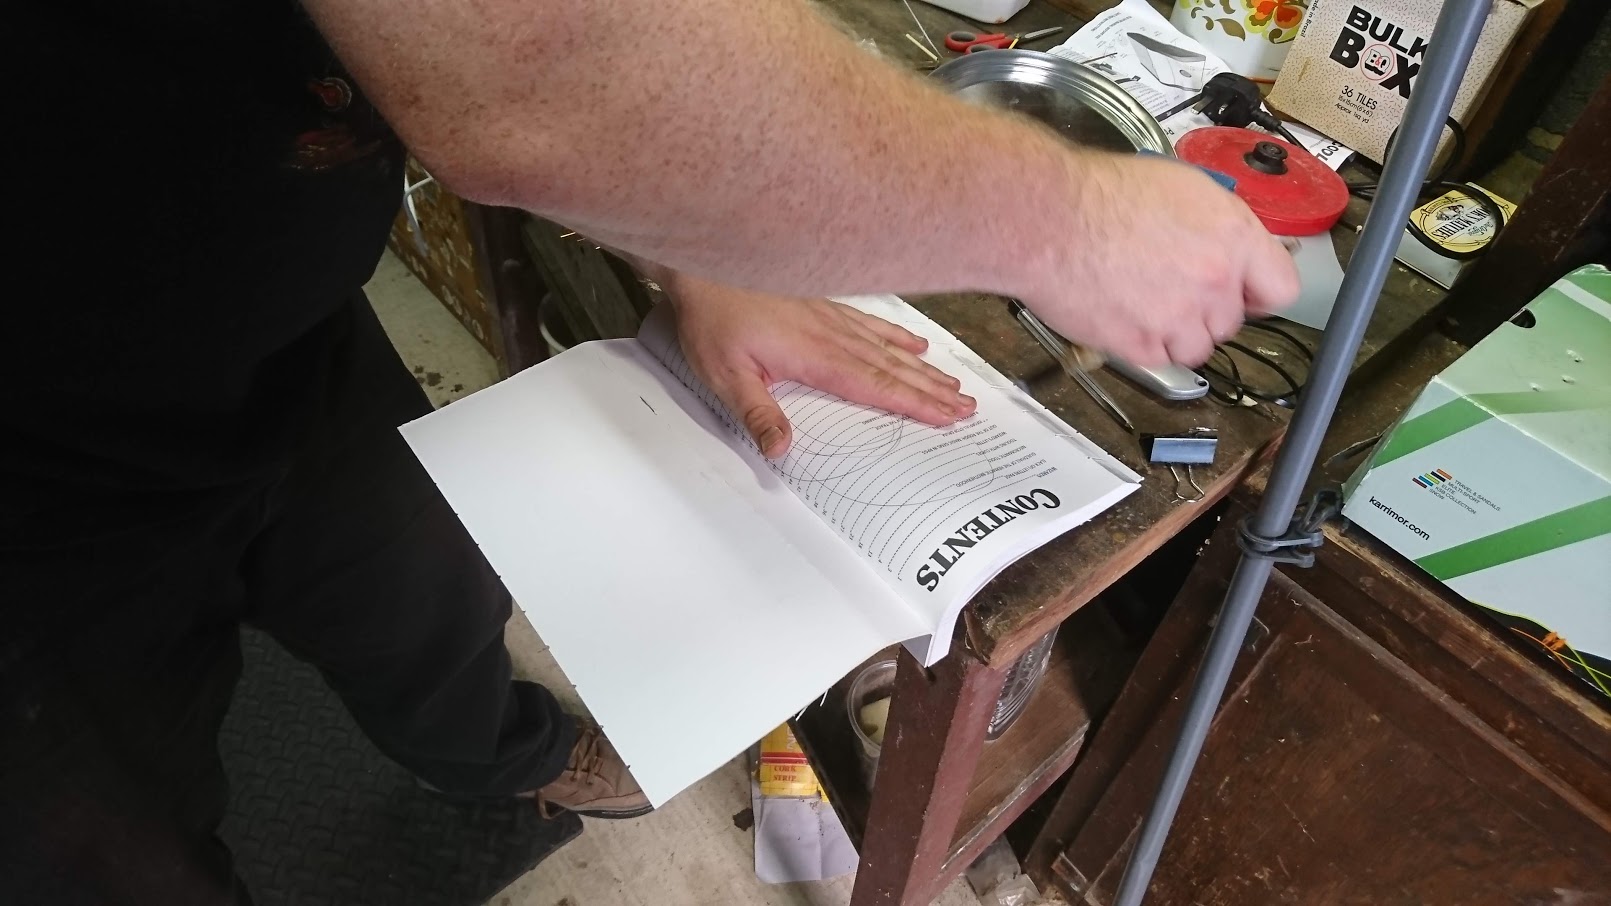
Before printing I added a Table of Contents with the new page numbers in MS Word then saved it as a pdf then using Soda PDF I merged the contents with the rest of the document.
Then after experimenting with the limited paper options I chose to go with telling the computer I’m using plain paper but I told the printer I loaded semi-gloss.
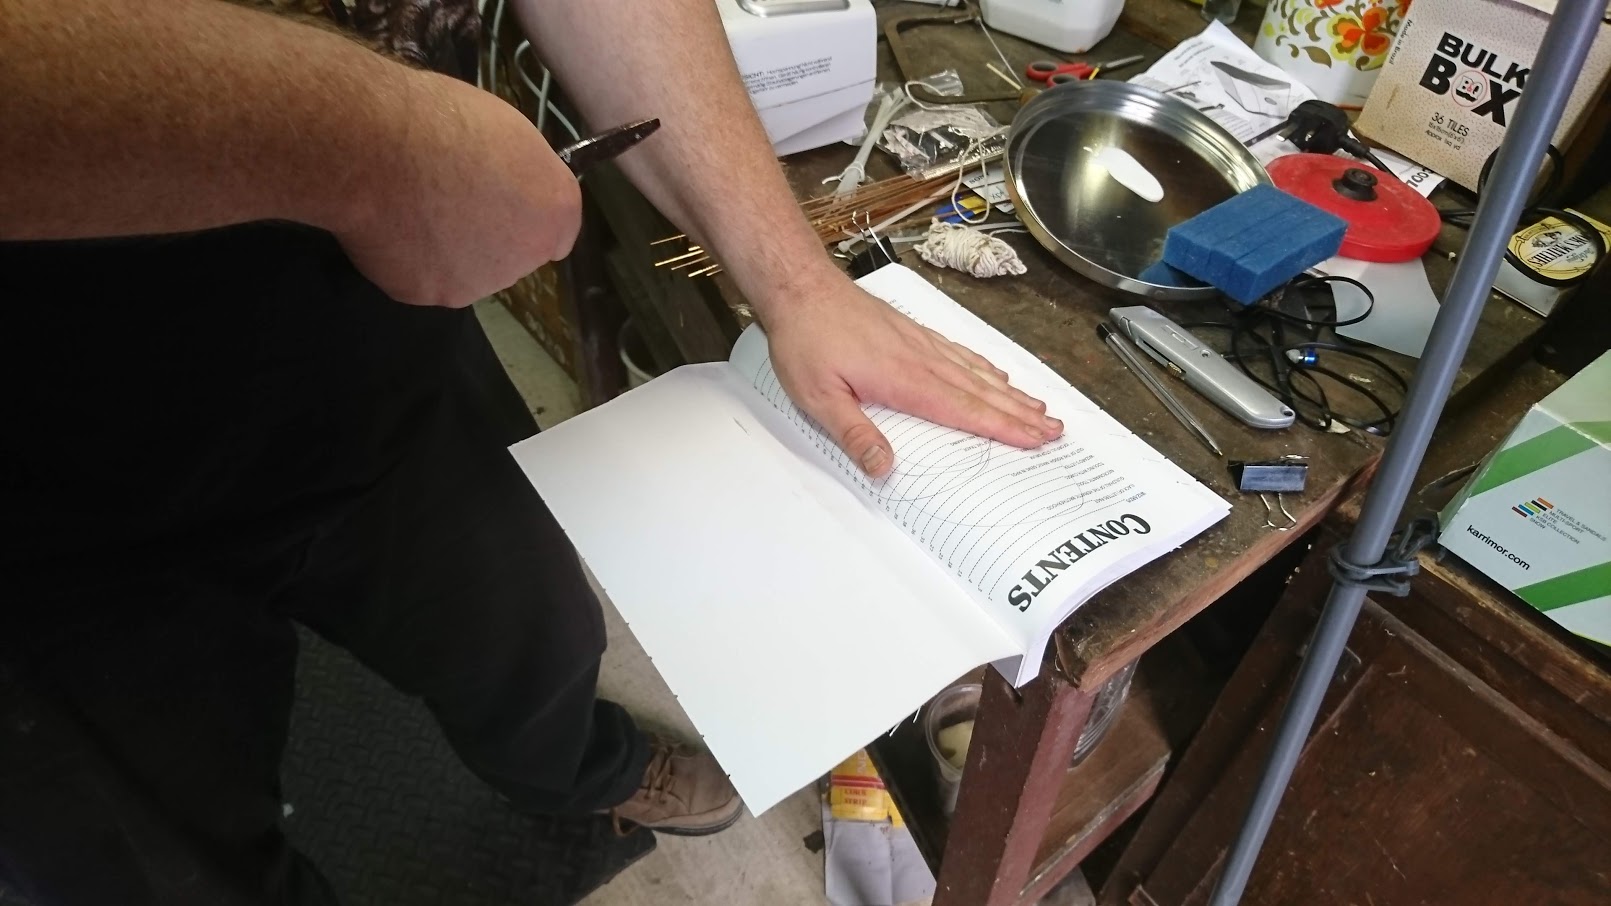
Once your print is done make sure they are in order, I added test sheets to the front and back to protect the main book. I will carefully tear or cut them out when the main part of the book is done. Then joj the pages so the are squared at each corner.
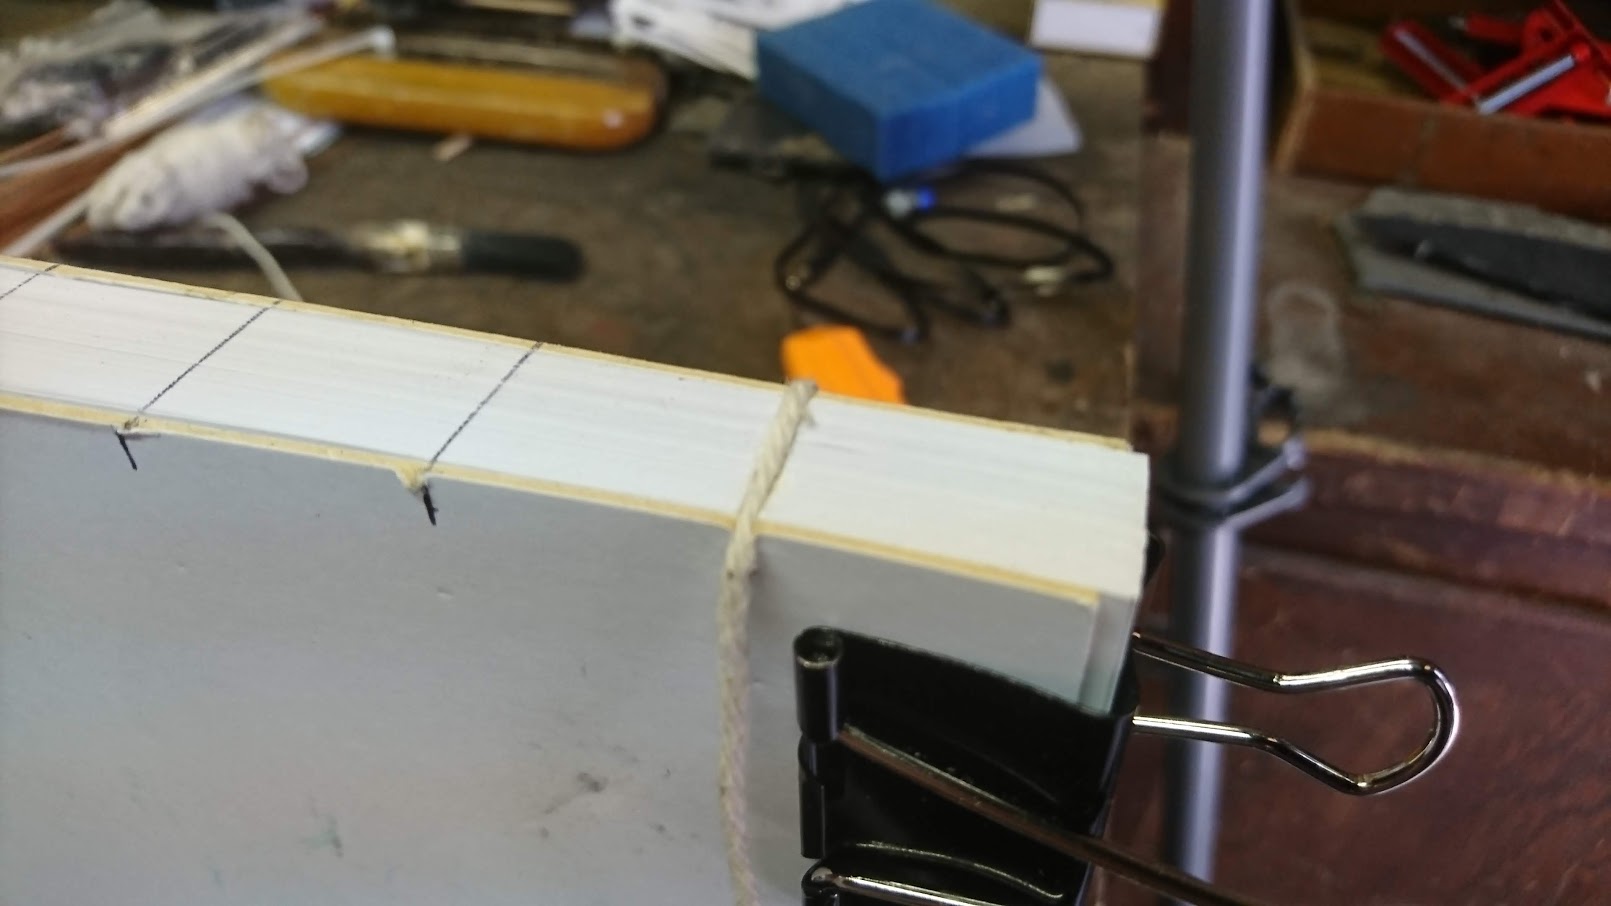
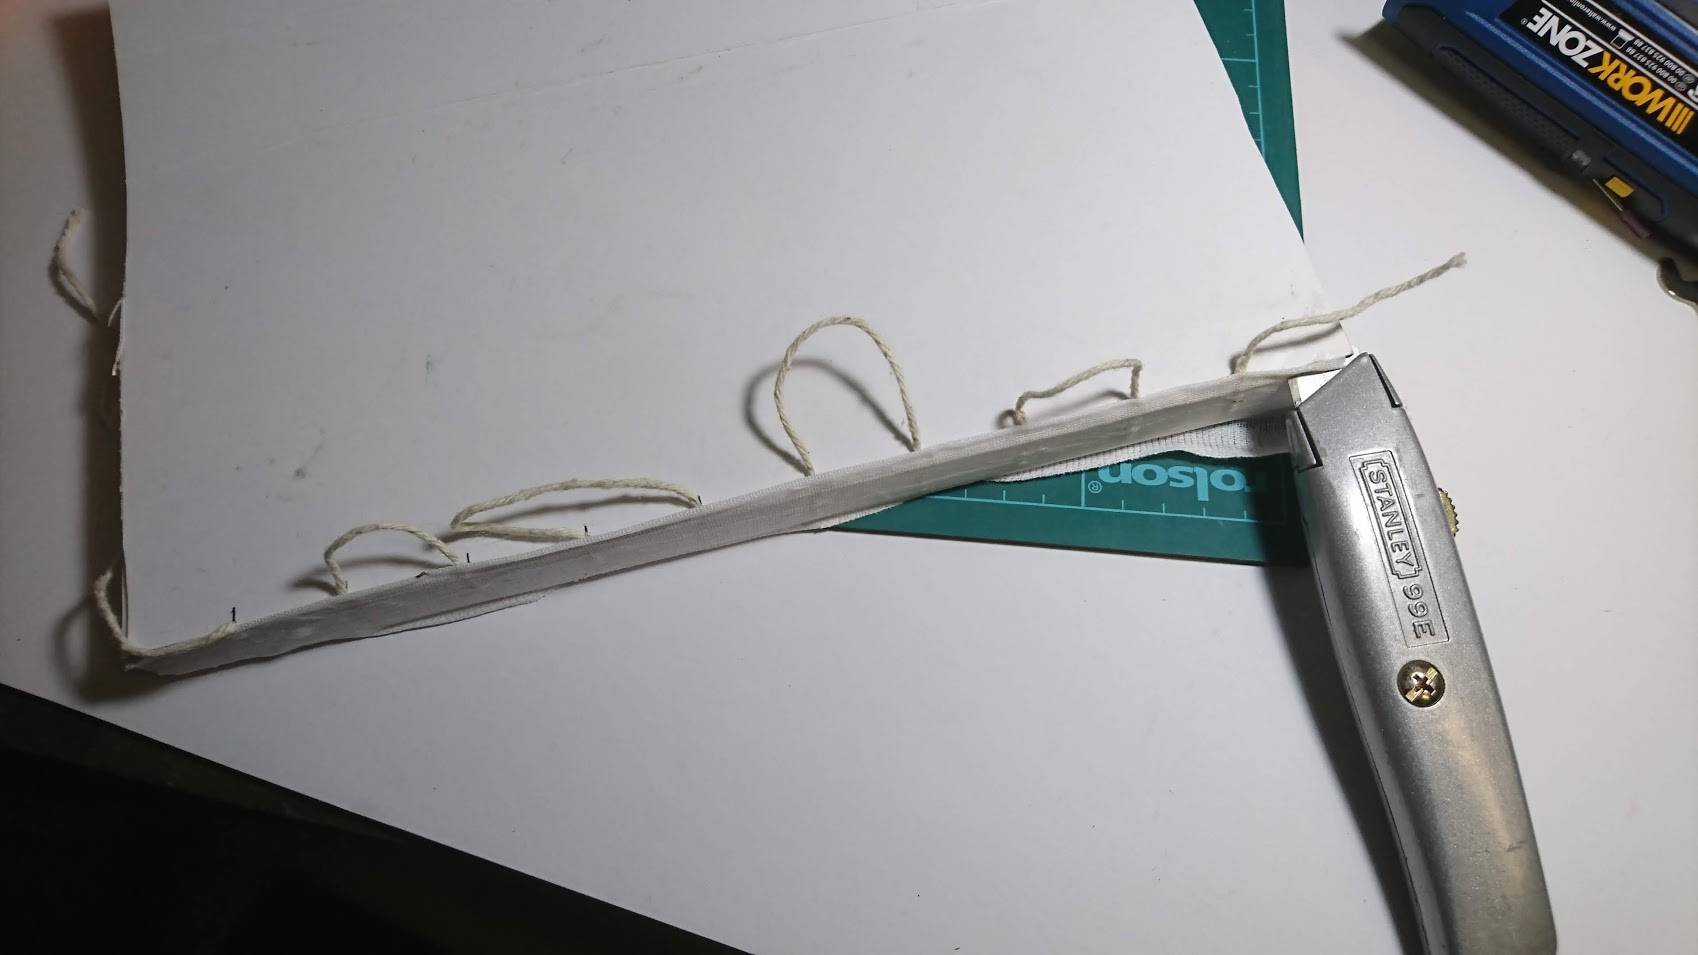
Cut guides for the spine
The string will be placed in the groves
I found this saw in my garage, it is absolutely perfect for this job!
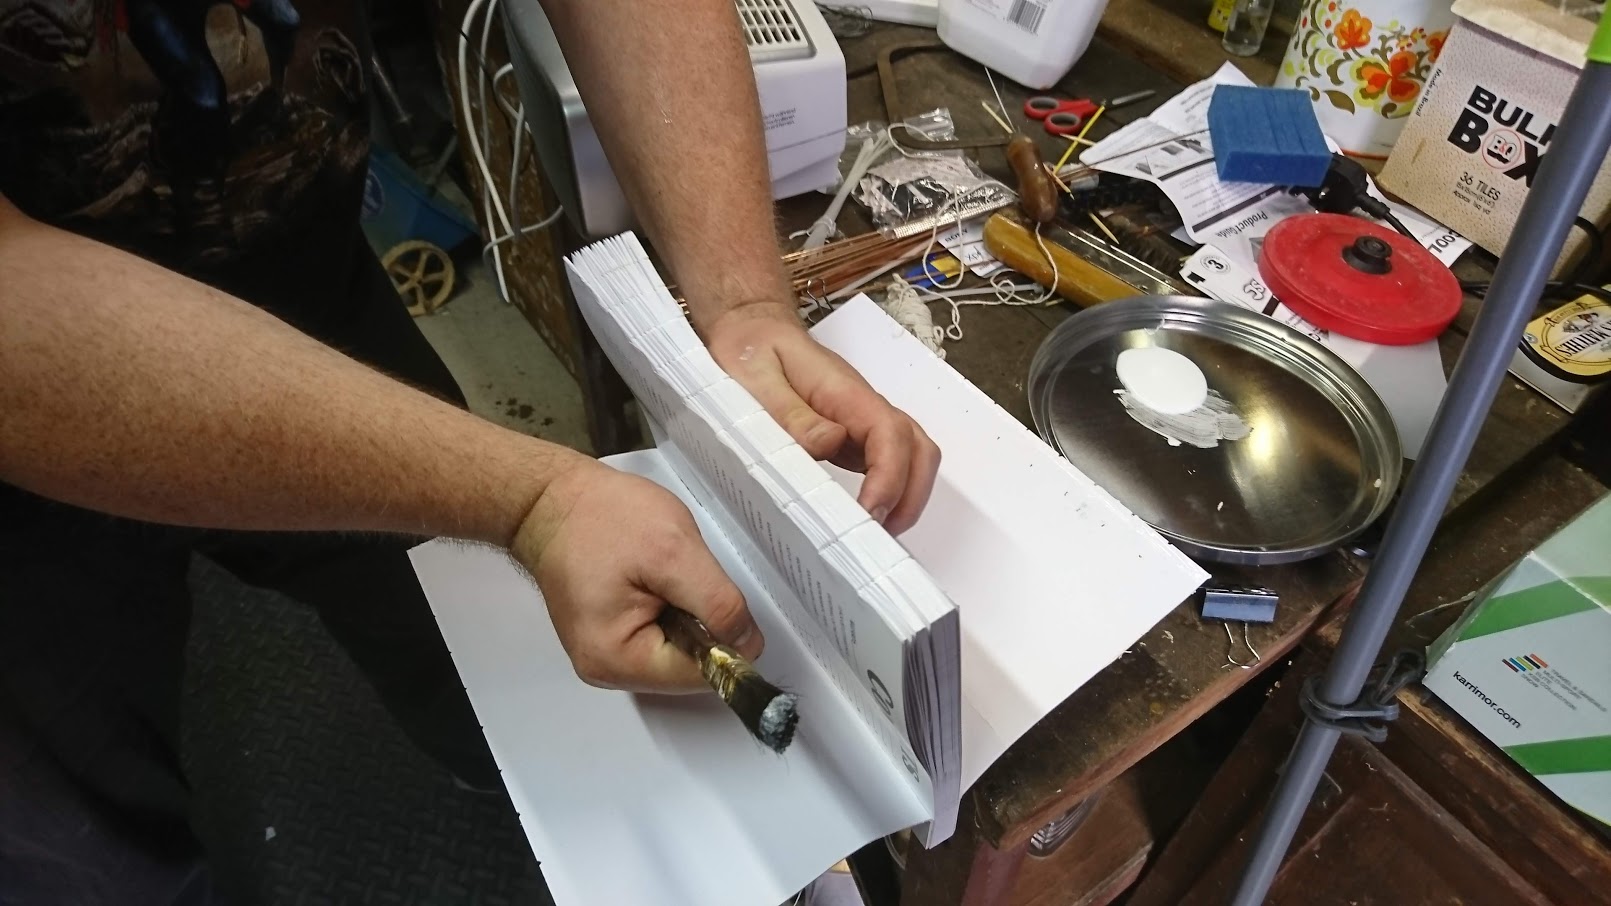
Pres back and fan the pages out
Then apply glue. It was very hot and I had issues with accelerated drying.
Bring it up and get it back into normal position before fanning the pages the opposite way
Now glue the other side, the scribbles on the sheet is because that was a test print page
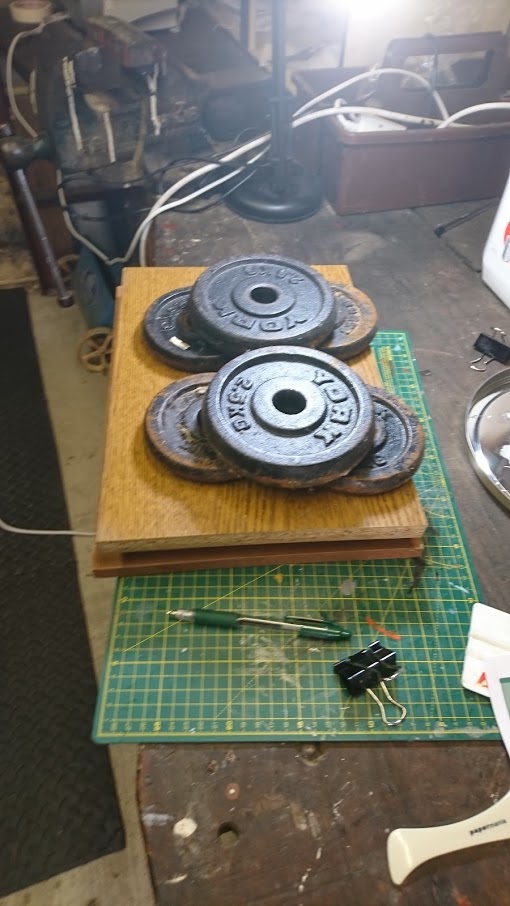
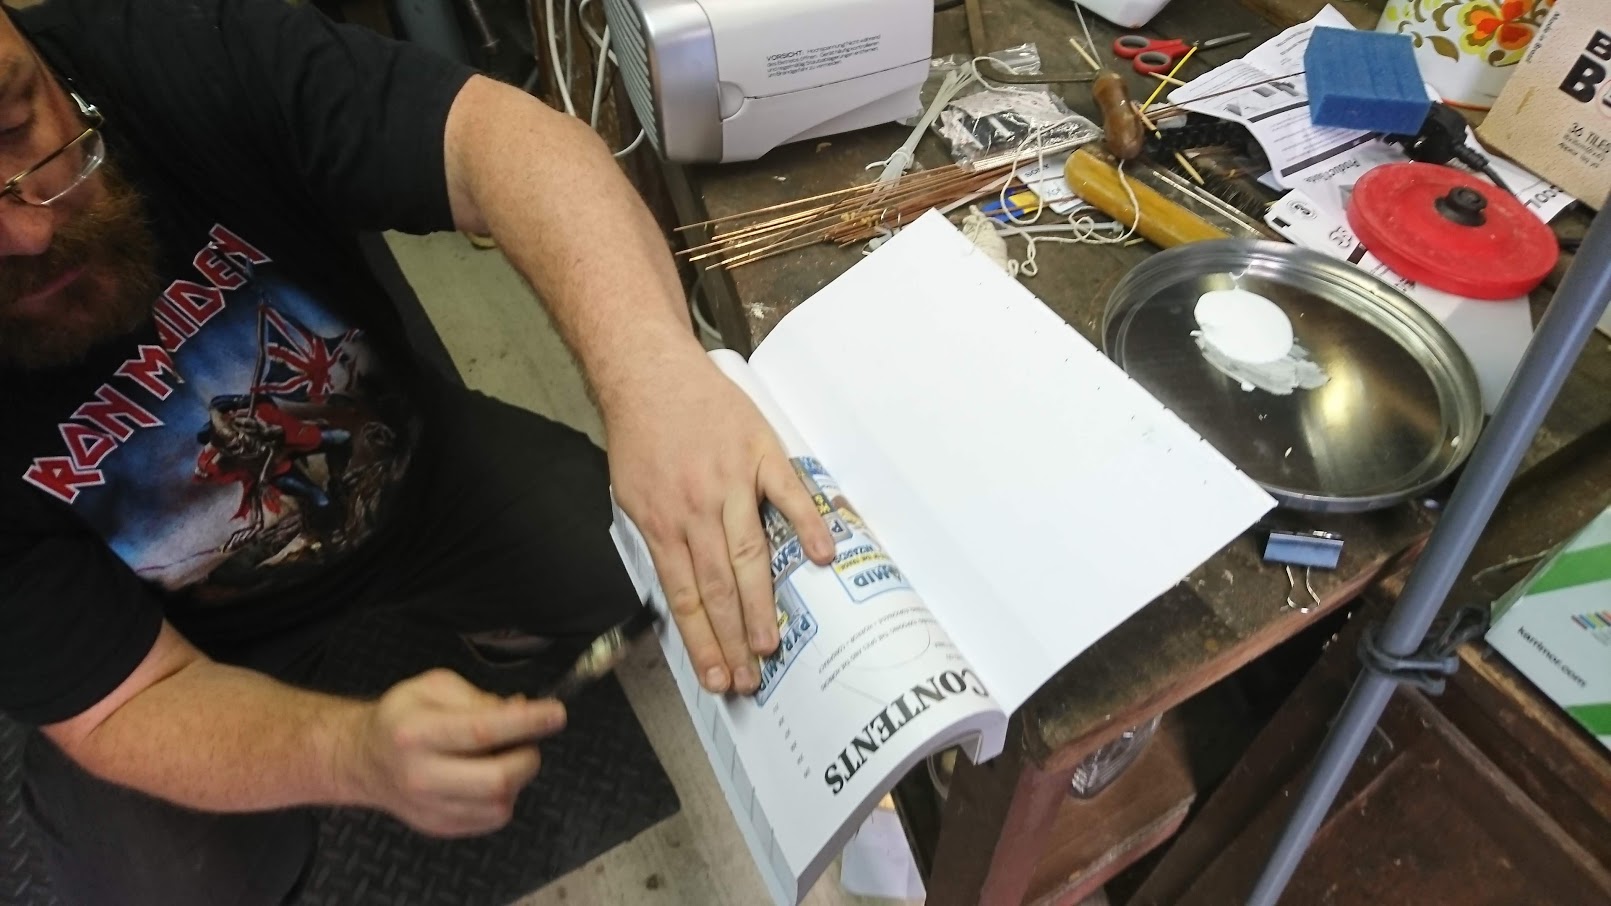
Press the book between two boards
Leave the top of the spine sticking out
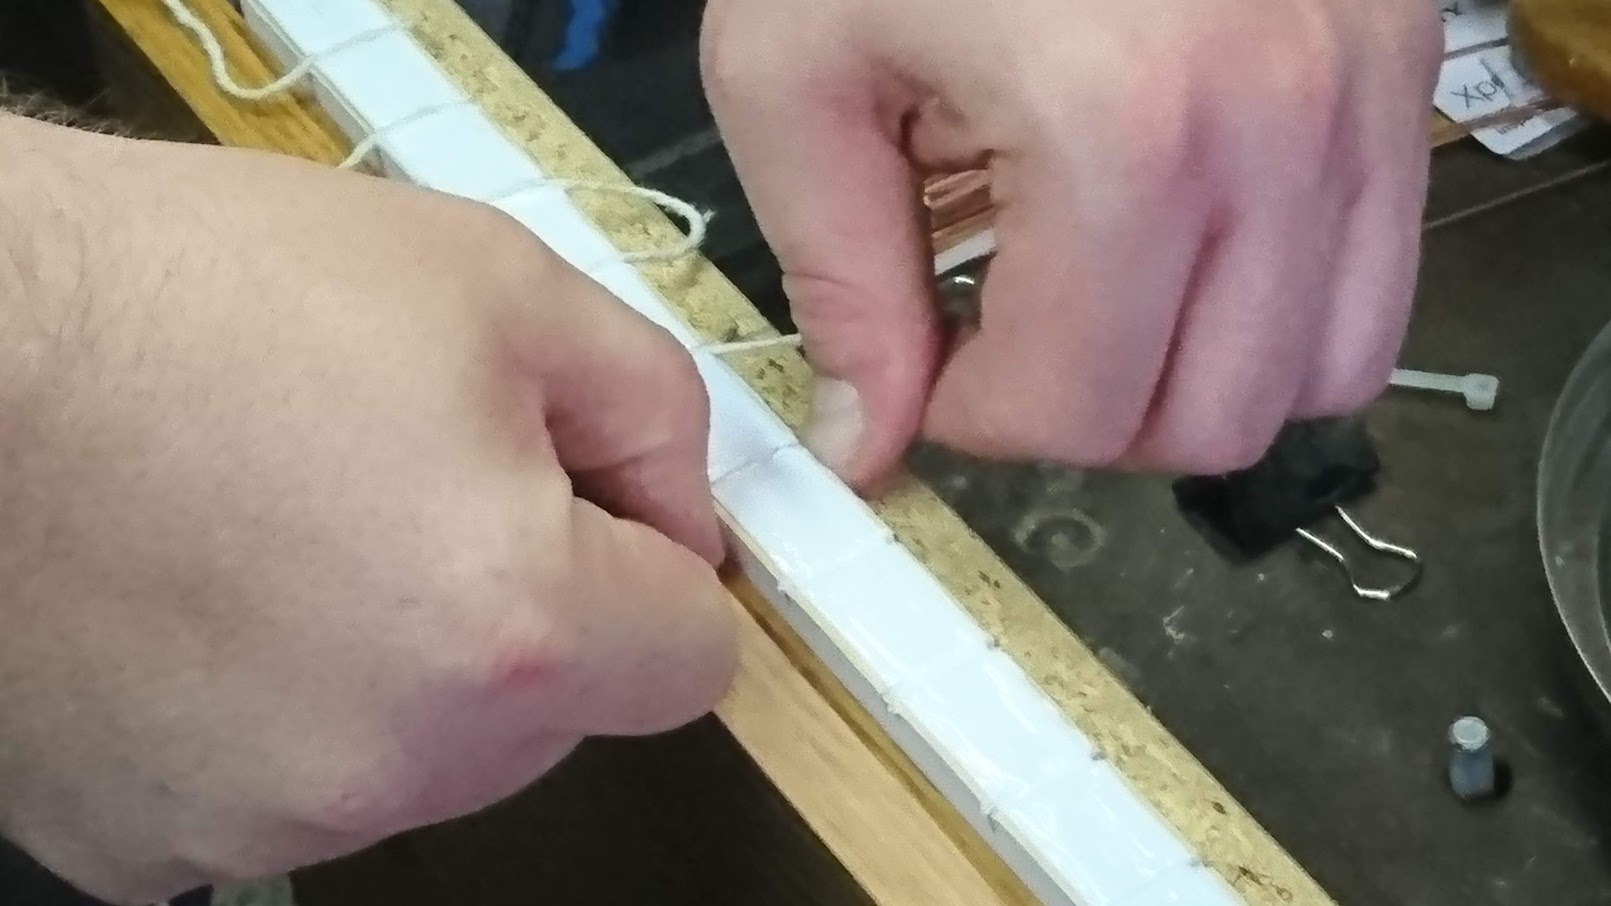
Add the string to the spine cuts
You can either loop them back and forth or cut strips.
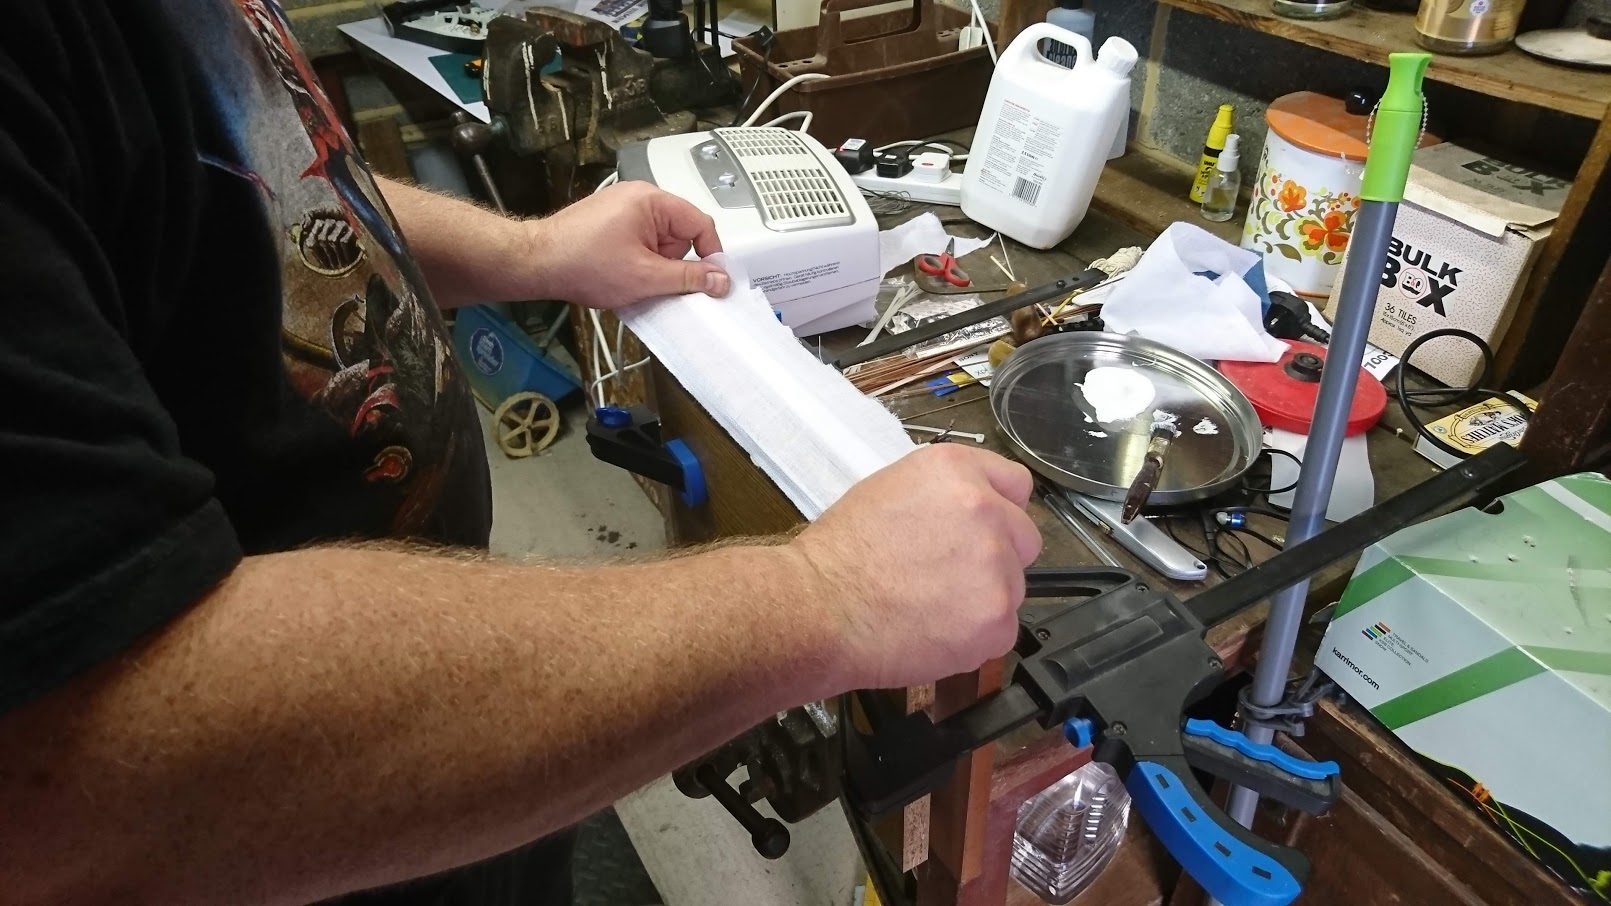
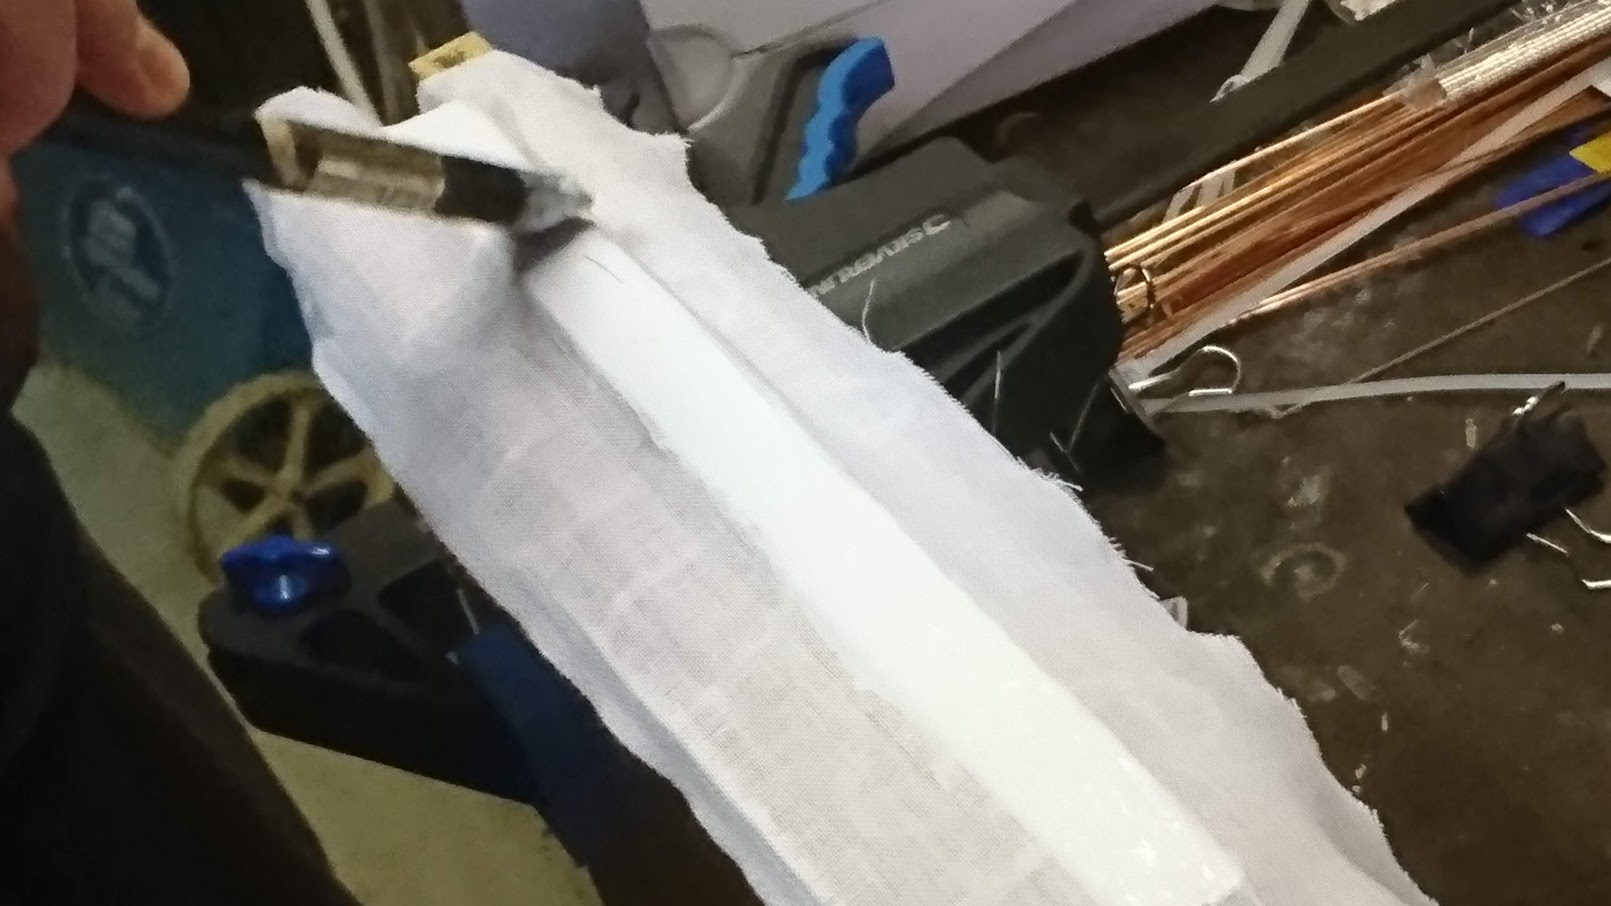
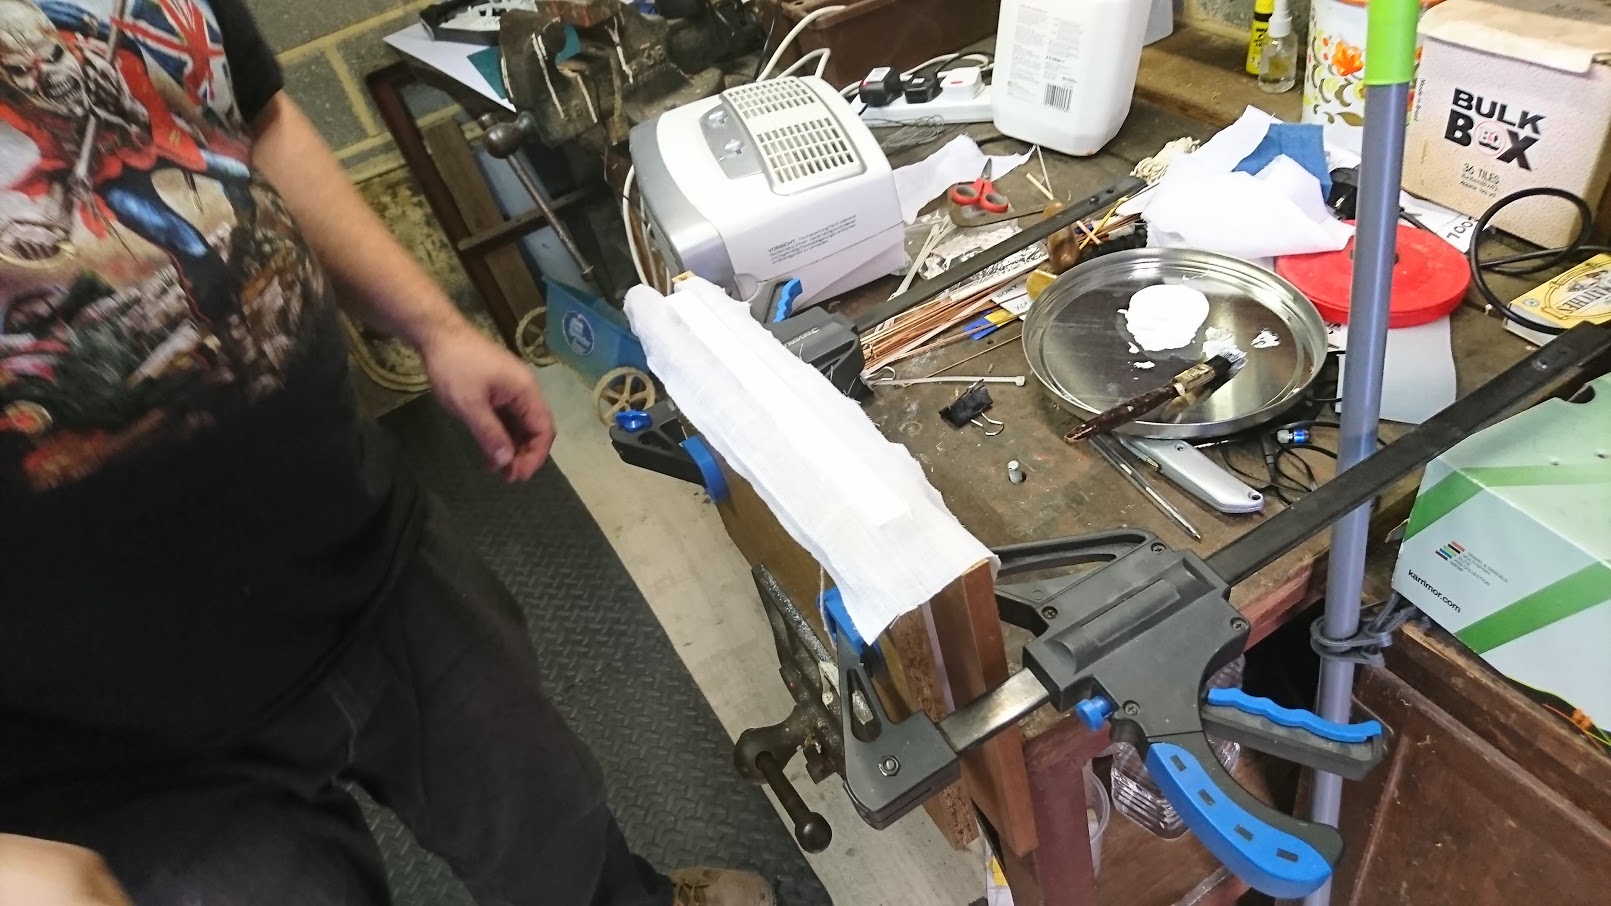
Add some glue to the spine then stretch Muslin cloth over the spine
Add a bit more glue. I was adding a fair bit due to the heat and the glue drying quickly
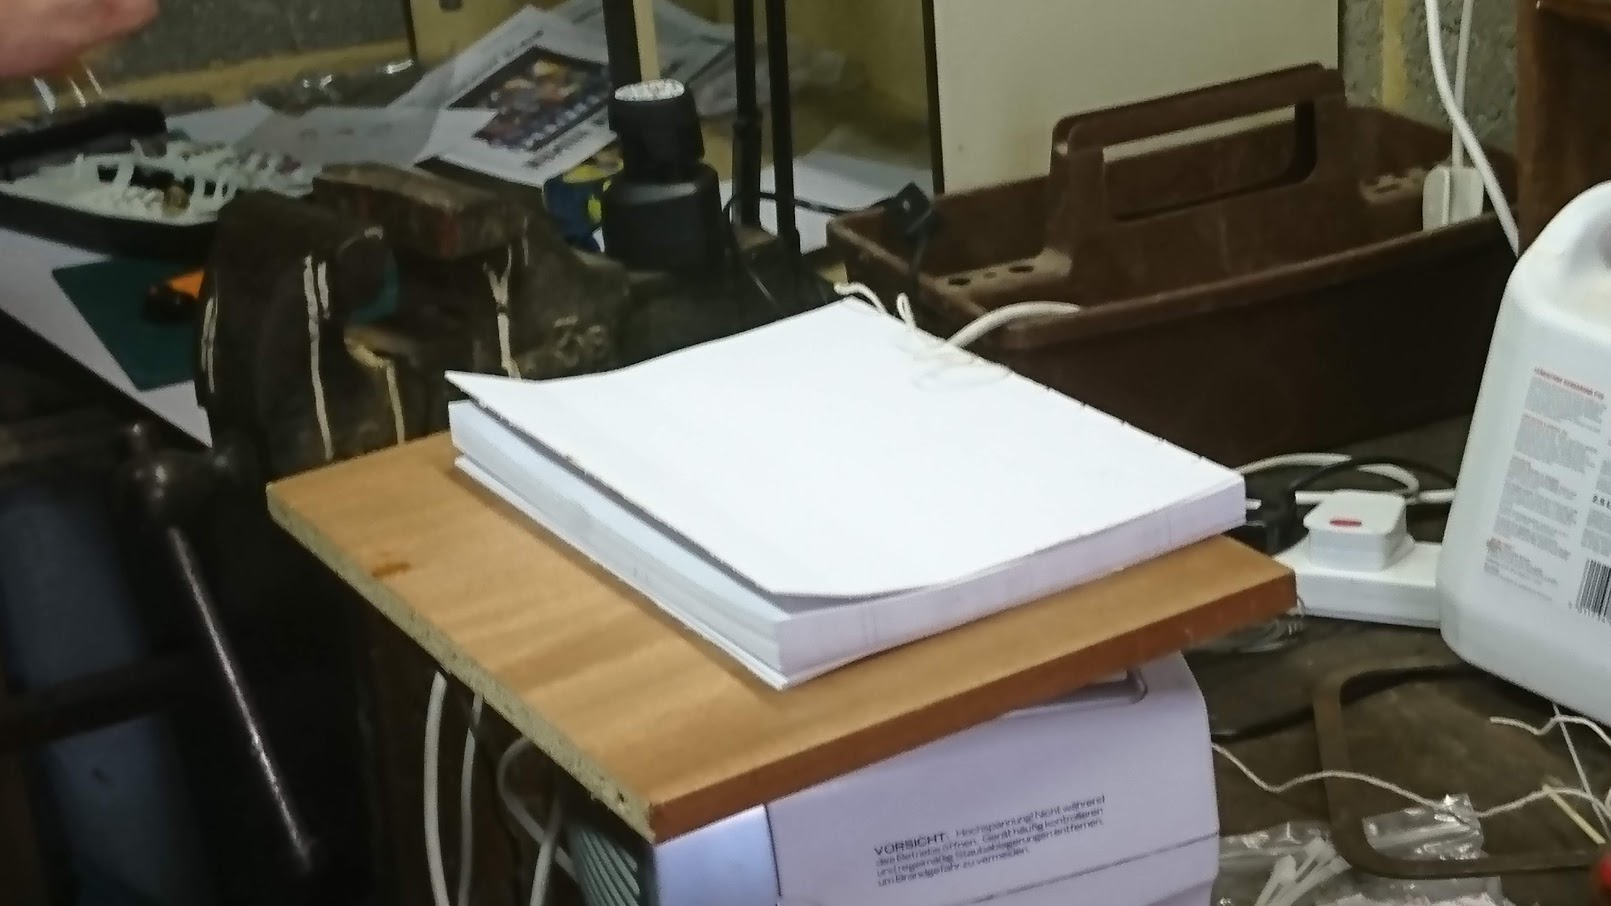
Let it dry for about an hour to be safe, or even overnight.
Carefully cut away the board and spare sheet. Make sure you use a sharp knife and take your time.
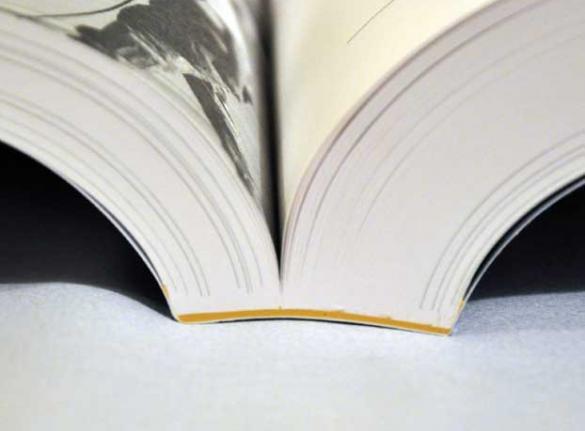
A Double Fan Bind lays flat
Do you even lift?
Project on hold until new clamp can be acquired.
So far I would say it was a success! Next time I might glue when it is cooler out. They heat caused me to have to hurry a bit on the gluing which made it a bit sloppy.
I’m not sure I have the print quality down yet. I thought having a nice paper like Silk would give me a great finish but there are some ink smears on some of the pages. However in my haste I purchased a lot of silk paper because I thought I new better so I will have to make do with what I have.
Now the question is Soft Cover or Hard Cover? Either way I will need a clamp before I continue.
Some might question why a person would go through all the trouble of printing and binding their own books at home these days when there are so many print on demand services offered by the likes of Amazon (which I have used in the past), or DriveThruRPG, and LuLu. For me it is curiosity, how far can I customise a book?
soft cover or hard cover
practical or ornate
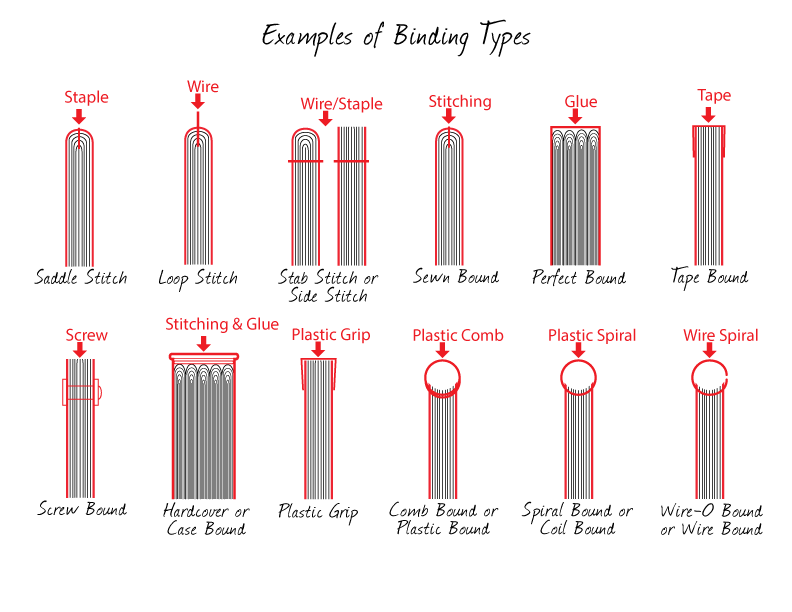
Comb, Spiral, Perfect, Saddle Stitch, Screw bound
do I want a ribbon bound in to mark pages
Maybe two or three smaller ribbons
Transparencies over maps
Fold out pages
Perforated tear out sheets
Do I want it to lay flat
There is plenty to consider.
So where would I start in allowing me to take my pdf RPG books and get a bound copy that I made with my own hands? Research is the answer. I looked at many websites and YouTube videos to give me a basic idea of how to create my own books. So the first thing I had to understand was the Terminology. There is a lot of terminology. Once I had my head wrapped around that I had to know what options I had. I already own a comb binder and that has suited me just find for pdf books, but now I wanted something more. Each type of binding was different and had something to offer but I soon realised that if I wanted to print in signatures, then bind them together with a saddle stitch and turn the GURPS Pyramid Magazines into a durable Hardcover Book then I’d have to spend a lot of time changing the formatting. Pdf books are generally centred on the paper and I would need to move them away from the spine and towards the outer edges. I don’t feel like opening up the pdf in a pdf editor (at this moment) and change the inside margin of each page! The cheapest and simplest way is to Perfect Bind
Perfect binding is commonly used for catalogues, directories and paperback books that have a higher page count. Pages are glued together at the spine with a strong, flexible glue. The cover is wrapped around the glued pages, and the brochure or catalogue is then trimmed to its finished size.
There are plenty of videos and websites that will show you how to perfect bind your books.Because we live in an age where you can purchase any product you want and have it delivered within a few days it is easy to bind a book at home. Adhesives are cheap, plentiful, and of better quality than you could get 20 years ago. This allows us to print at home and if you take the time you can have yourself a reasonably decent book. Mind you I’ve had bought RPG books from a brick and mortar shop that are perfect bound and they have fallen apart (I’m looking at your 1990’s Palladium Books!”) After pouring over videos on YouTube I came across a video for Double Fan Binding. Much like Perfect Bind but it adds a few extra steps giving you a more secure bind.
This sounded ideal to me as I wouldn’t have to worry much about with Imposition, Creep, Signatures, Bleed, …see I told you there was a lot of terminology!
So now that I know what style of binding to do I still have the cost of printing out the pdf’s. Lots of things to consider here such as
print monochrome (blak & white) or full colour
Type of paper
Standard Photocopier paper 90 g/m²
Images would be seen from other side
Gloss, Satin/Silk paper for full colour
What weight (thickness/quality) 130 g/m², 150 g/m²?
My first run will be with A4 Silk 150 g/m². Silk is a good type of paper to use when you are using a combination of text and images. Since I’m binding the book myself I can stick in photo quality pages for full page artwork. I also have an old, but still functional Craft Robo which is a print plotter. It works like a printer but instead of ink it has a blade that you use to make precise cuts or even perforations. I could perforate pages with player hand outs if I wanted to.
Next is cost of printing. According to PC worlds test of 40 printers the cost of ink is roughly 3.4 cents for black and 10.4 centsforfourcoloursusing high yield cartridges. So even more expensive for the regular yield cartridges. It is around half that price for using compatible cartridges but then you also loose quality. My last batch of compatible inks faded in direct sunlight in less than 20 minutes of exposure. Not ideal if you forget it on the table and later find that the sun got to it as it traversed the sky.
You can always try Print on Demand, they offer good services but I wanted this to be an at home project. After asking for suggestions Jim Bowen (a fellow paper modeller) informed me of the Epson Eco Tank range of printers. I did some research on the, watched and read reviews and finally took the plunge and bought the Epson EcoTank ET-7750. These are not cheap printers, not by a long shot. What Epson has done is reverse the cost so instead of paying £30.00+ for a printer and £70.00+ for a full set of inks you are paying £200+ for the printer and £50.00 for ink that will last you over a year of printing.
I went ahead and got the Epson ET-7750 as it was the only A3 photo option of the EcoTank line. This also mean I paid a lot more for the printer. It did come with two sets of bottles allowing enough ink for three years worth of printing (roughly 3,600 colour prints). A full set would cost around £66.00 and last me almost two years according to their calculations. My previous printer (Cannon pixmia) would cost me £80 for a full set of original inks and I’d be lucky to have it last two months if I had heavy printing to do.
Testing the A3 borderless printing.
So I have my new printer, I’ve ordered some muslin cloth for the spine, I’ve ordered A4 Silk 150 g/m² paper and I will probably order some A4 Semi-Gloss photo paper for the cover if I decide to go soft cover. I already have acid free PVA glue and brushes, I own binder clips and my new house has a workbench with metal vice grips that I could use as well.
Preparing the pdf’s
I have owned Adobe CS2 since the early 00’s when I did some freelance graphic design work from home. Unfortunately Adobe Acrobat Pro 8 does not work with Windows 8.0 on up. That means I can not use it with my Windows 10. Seriously pisses me off as Illustrator, Photoshop, and InDesign CS2 all work with Windows 10. I don’t use it enough these days to justify the cost of purchasing it again, that and I despise the annual subscription cost. So I now have to use multiple programs to do what I used to be able to do with Acrobat 8 Pro.
If I print and bind five Pyramid Magazines it is an average of 225 pages per book (the first five will be 215 not including extra pages I add). So somewhere between the thickness of GURPS Space and GURPS Martial Arts. Soda PDF allows me to insert Page Numbers so each magazine will have two sets. The one in the bottom middle (original numbers) that only correspond with each individual Pyramid issue and the book page numbers which I will use and add a overall table of contents AND an index.
Since making this picture example I’ve decided to place the page number in the upper middle as Soda PDF can not alternate the location of the page number which would result in half the pages having the number near the spine.
Average COST FACTOR
Paper 225 pages: £0.05 per page of 150 g/m² Silk White A4 paper £11.25
2 sheets of A3 cardstock, 1 A4 for soft cover: £1.00
Ink Cost 225 pages: at 1.1 cents per colour page (mostly not coloured so high average) £2.47
Glue: £0.20 rough guess but acid free PVA is pretty cheap
Muslin Cloth: £0.50
Greyboard 1mm thick (if I go hard cover) £1.66
Book Cloth: £1.20 (If I go Hard Cover)
Softcover Cost estimate: £15.42
Hardcover Cost estimate: £17.28
LuLu cost is £6.10 for paper back B&W or £37.70 for colour perfect bound book of 225 pages. So not cheaper if I want to do a B&W book, but much cheaper if I do Colour. Plus LuLu uses 118 g/m² for colour and 89 g/m² for B&W. However where is the joy in the LuLu book? Soon I will have a bound book that I made myself (minus the contents of course)
The big expense was not getting a cheaper paper. In hindsight I could have gotten away with ordering 100 g/m² Silk White A4 paper. I’ve found some other sellers that are cheaper at £0.04 for 100 g/m² Silk A3 or £0.02 for 100 g/m² Silk White. That would have reduced the price considerably. It pays to shop around!
My next post will be assembling the book, I just need to wait for the rest of the items to arrive. Part TWO HERE
I must apologise for the hiatus on the site and of my hobbies as well. In the last twelve months I’ve lost my father and my uncle, changed jobs, wife changed jobs, and just moved house. I’m unsure if I made the right choice with my new job so I’ve that added stress as well.
Back on topic
Things I’d like to do in the near future
Finish the series of short encounters
An article on the cost of printing and binding your pdf books from home (I’ve signed up for a bookbinding course this autumn)
Finish physical dungeon geomorph tiles (new printer on its way)
Ritual Path editable, printable cards
I hope to slowly get more done once I’ve settled in to my new house.
Hall of Judgement – a Dungeon Fantasy RPG Supplement is a conversion and expansion of the adventure Lost Hall of Tyr for the Dungeon Fantasy Roleplaying Game (Powered by GURPS) written by Douglas Cole (of Gaming Ballistic). With four days to go it has exceeded its goal of £2,226 and currently sits at £9,246. This is a win for us GURPS fans as it may open the doors to third party material. Much like 4e D&D back in the day, which I think only strengthened WotC’s fan base.
Full colour print run in soft cover is very exciting and Douglas Cole is certainly dedicated to getting the best product he can while staying realistic to his goals. That is always a win-win when it comes to Kickstarters in my opinion. So check it out, back the project and we may get to see more like it!
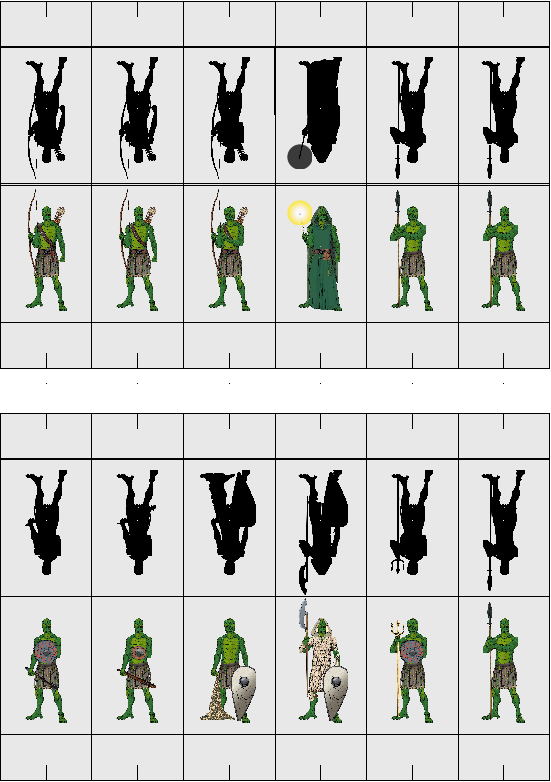
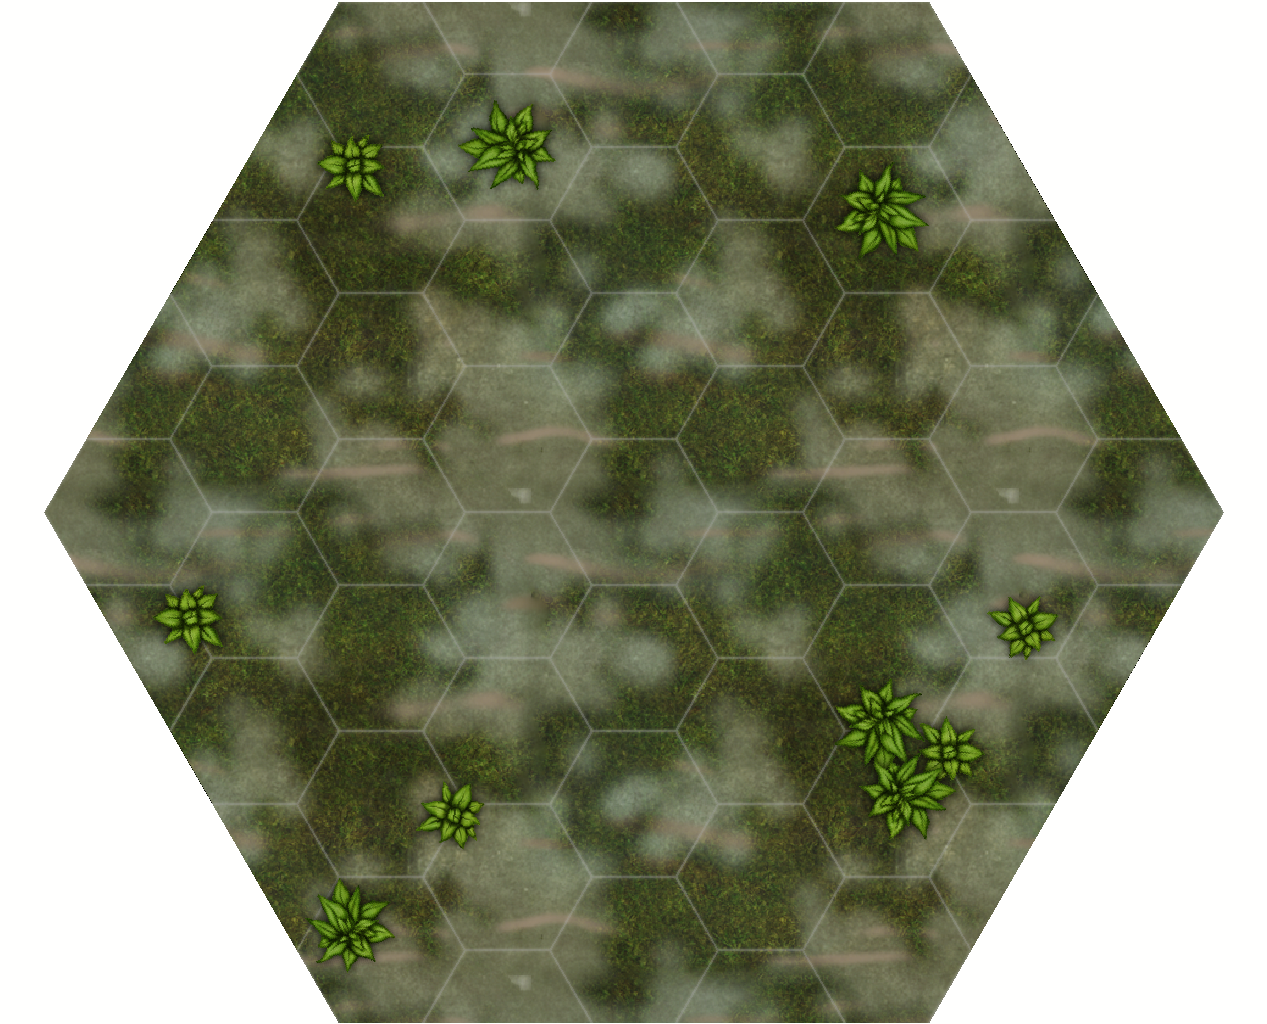
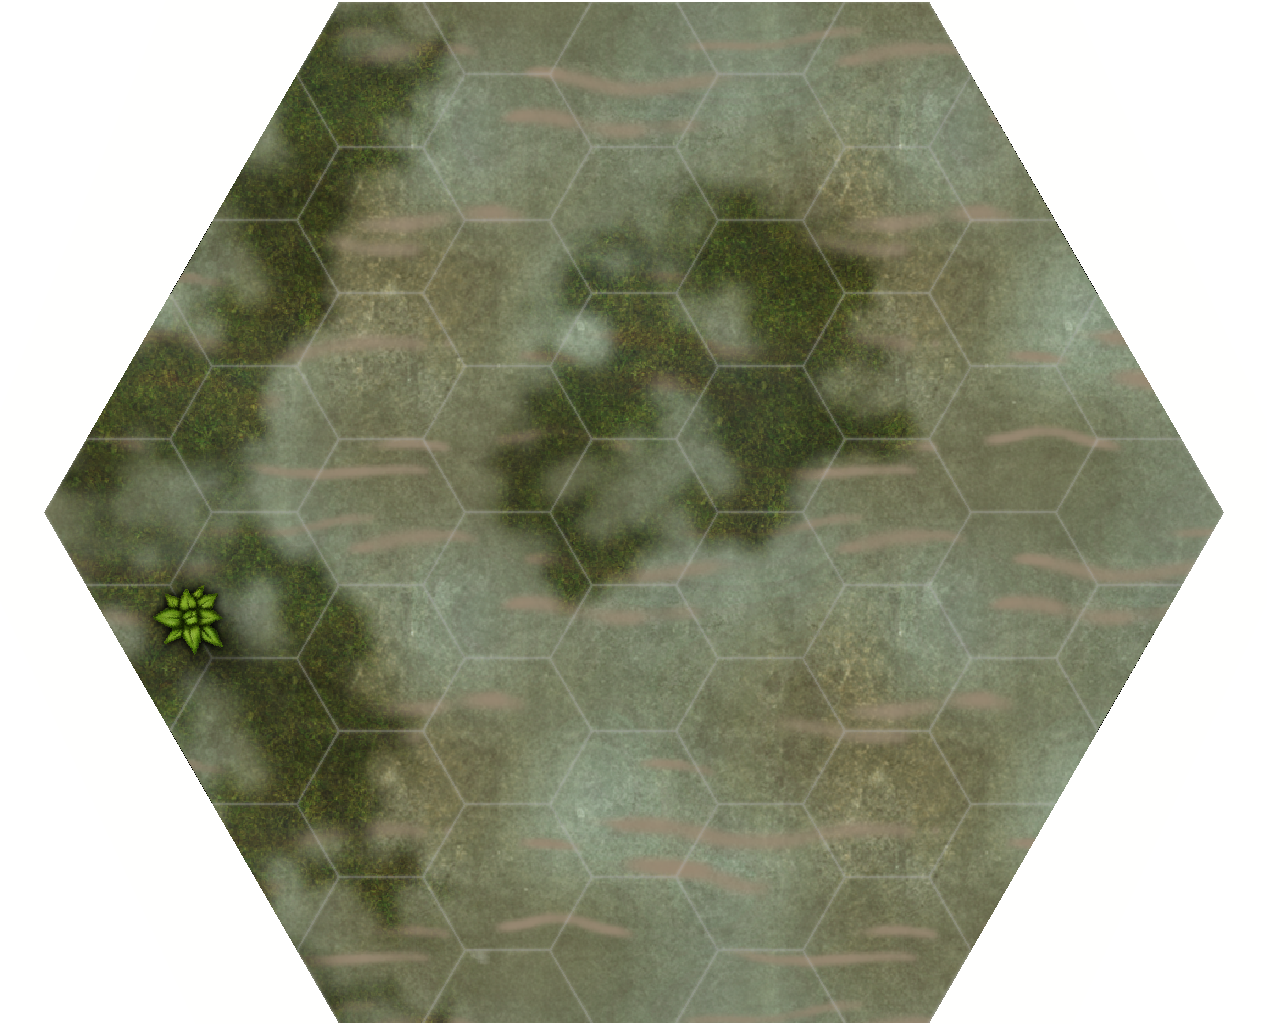
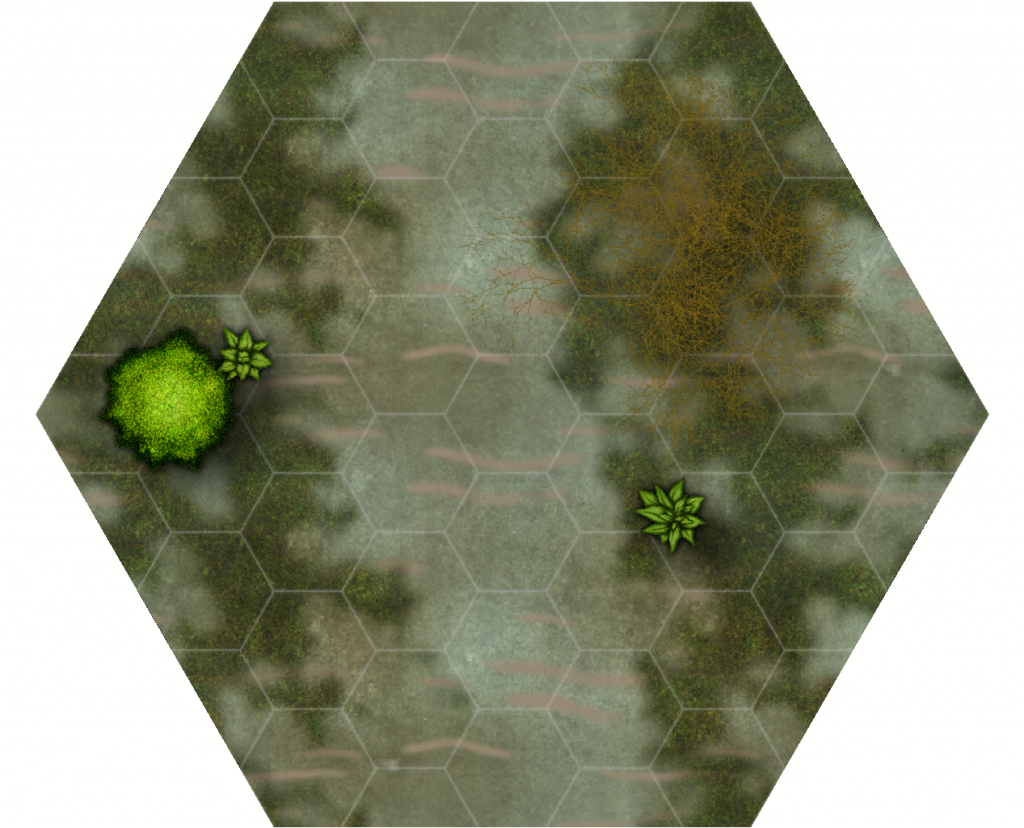
I’m working on a series of short encounters that can be strung together into a campaign. Each encounter will include 3-7 Battle Tiles and possibly miniatures. The first part takes place in Lizard Man infested swamps. I’ve still have some work to do on the layers and sheet effects but these first attempts should give a general idea of what they will look like. Now for the lizard men.
Made with Profantasy Software’s Character Artist 3
I’m hoping to get them printed on high quality gloss photo paper then mount them on 2mm greyboard so they will fit into the Black Hex Bases properly. It is to bad that Character Artist does not provide the backs to the mini’s.
I’m seriously surprised to see this but Steve Jackson Games are now on DriveThruRPG.com! You can still purchase them at Warehouse 23 which is were I will continue to get my GURPS books, mostly because that is where I always purchased them and it is easier to have all my eggs in one basket. However this is a great move on behalf of SJG as it will hopefully bring in new players! Many fan social media sites are hoping, speculating that this is a first step towards a more open license. I’m not so sure about that but it is a good move either way.
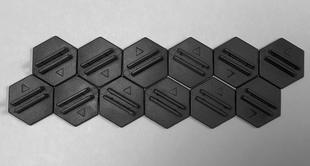
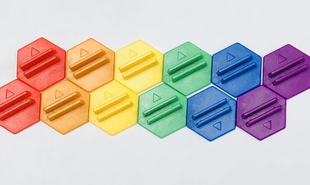
Speaking of Warehouse 23 you can now purchase Cardboard Hero Hex Bases both the Black Hex Bases and the Rainbow Hex Bases. Twelve bases for only $6.00 USD +shipping.


 I’ve still have some work to do on the layers and sheet effects but these first attempts should give a general idea of what they will look like. Now for the lizard men.