I love the Pyramid Magazine and I’m still saddened that it is no longer published on a monthly basis in PDF. Pyramid Magazine in its third incarnation gave us ten years of monthly GURPS updates and ideas. I would like nothing better to have them all printed out and placed on my nerd shelf but the avearge cost of getting them printed as individual magazines from PoD (Print on Demand) services is about £7.50 a copy. With 122 issues of Pyramid I think £915 is a bit out of my price range. Now I could take some pdf editing software, split them up, combine them, remove the adverts and make say make 18-20 volumes and have them printed in a hardcover it would still probably cost me a couple hundred £££.
Good thing I’m an amature bookbinder then. However almost anyone can do this at home with just a few bits of equipment that won’t break the bank. Now a couple of years ago I purchased an EPSON Eco Tank ET-7750 inkjet printer. It was fairly expensive but they promised that the printer would consume less ink for the same quality. They were not lying. I’m still using the ink that came with the printer even after 3,403 colour prints and 378 black and white prints (many of these on A3 paper) I’m still using the ink that the printer came with.
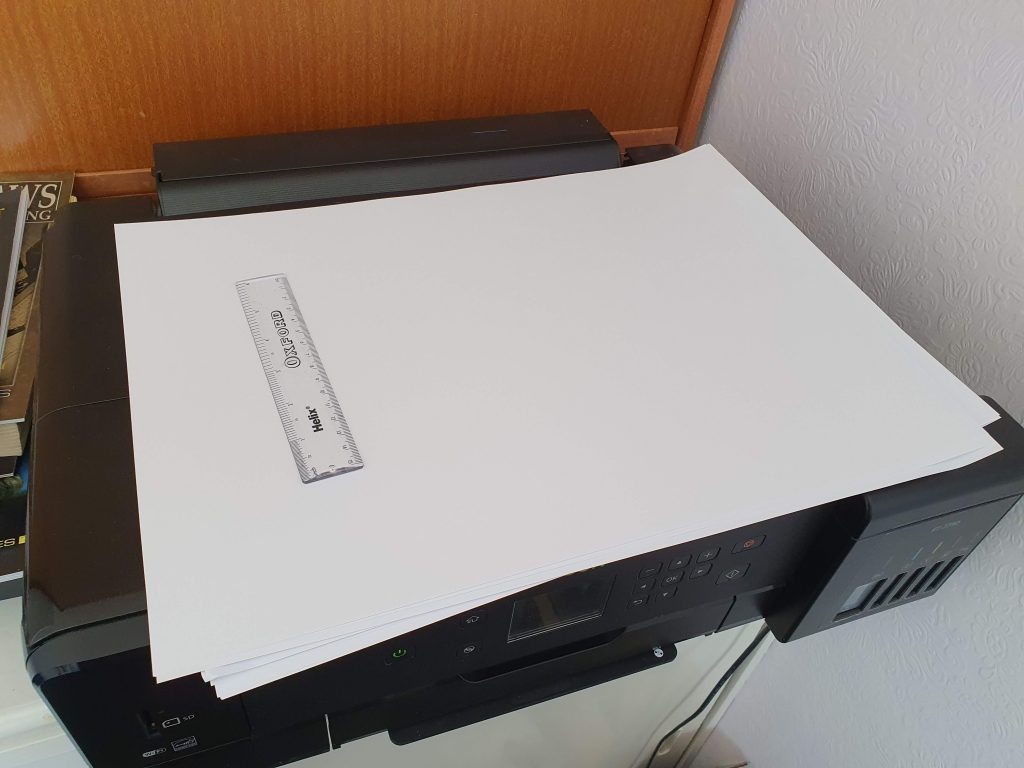
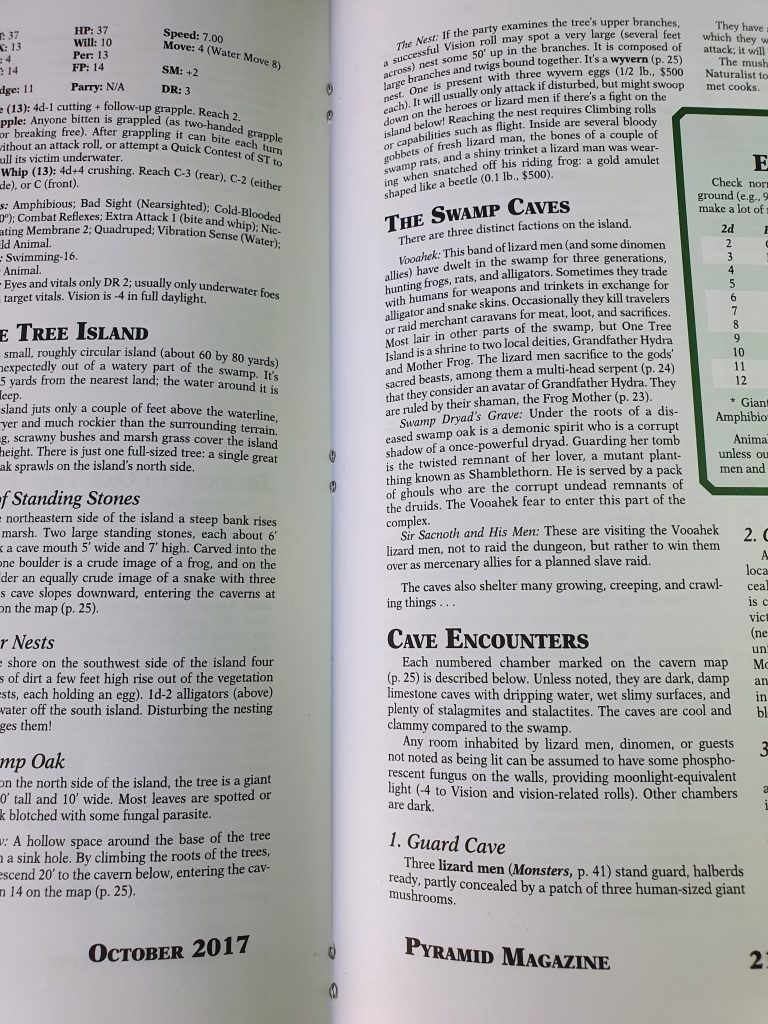
It is best if you print in pairs so choose two issues you want to have physical copies (I’ll explain why latter). I choose Pyramid #3/104 and #3/108 as they are both Dungeon Fantasy related. I then grabbed 20 sheets of A3 paper and opened up #3/104 in Adobe Reader DC. Then select Print and under Page Sizing & Handling choose Booklet. For this I did Both Sides, Binding: Left. Then I went into Properties and made sure the paper source was being selected from the Rear Tray and it was set for A3 paper. Then print!

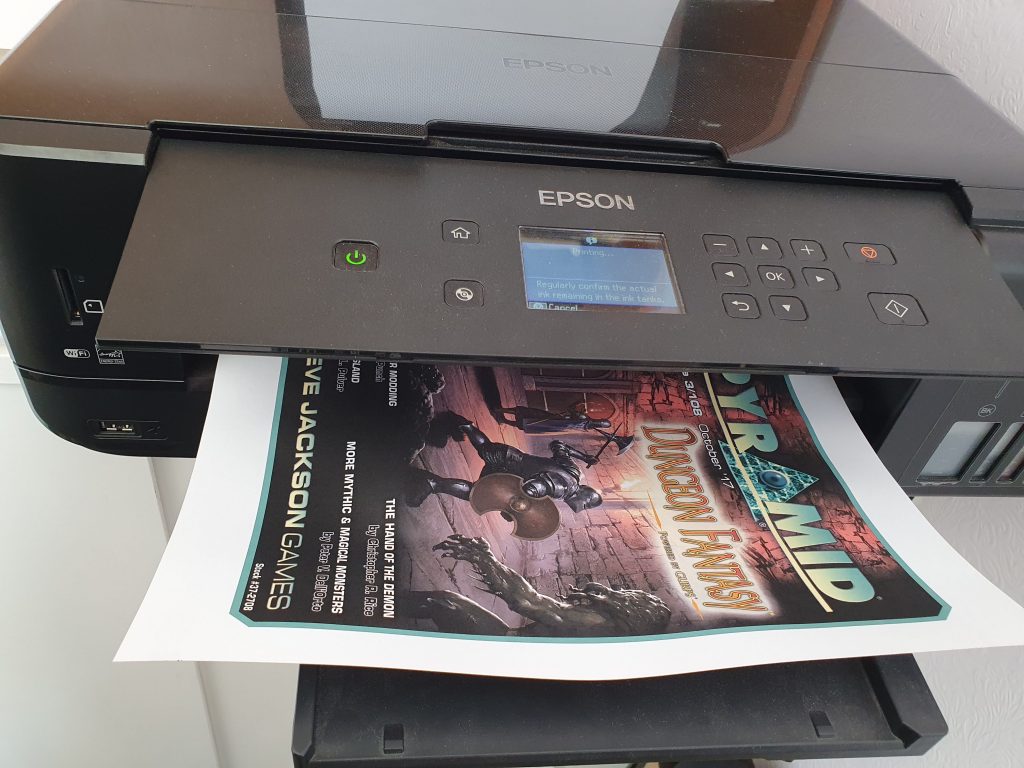
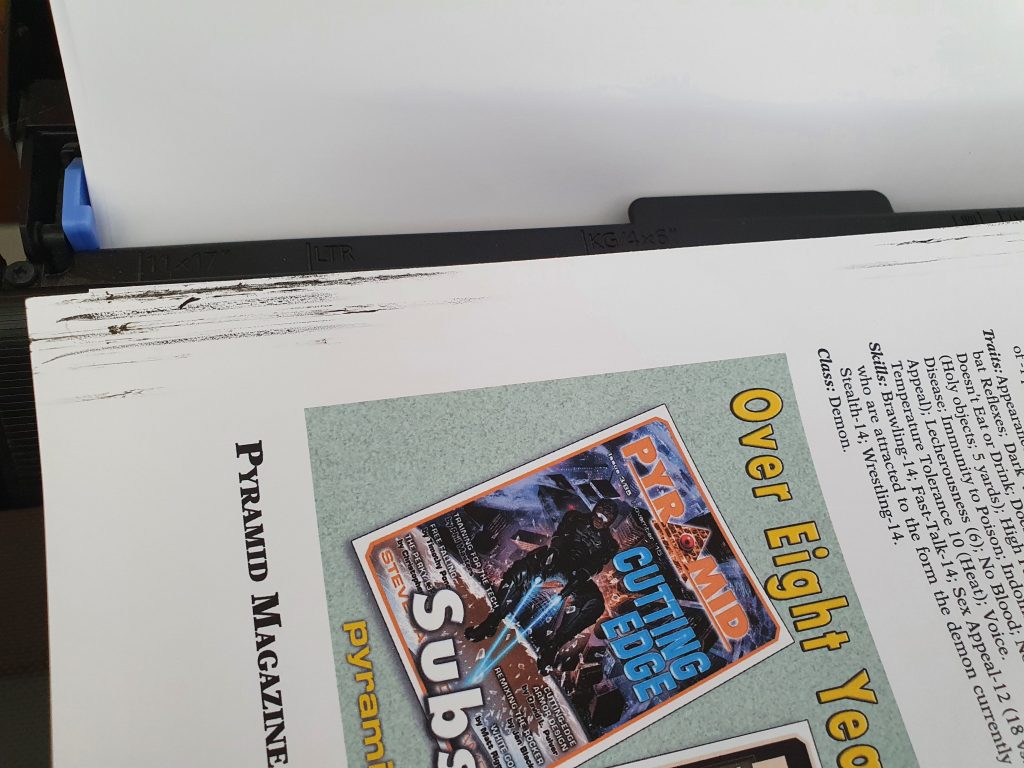
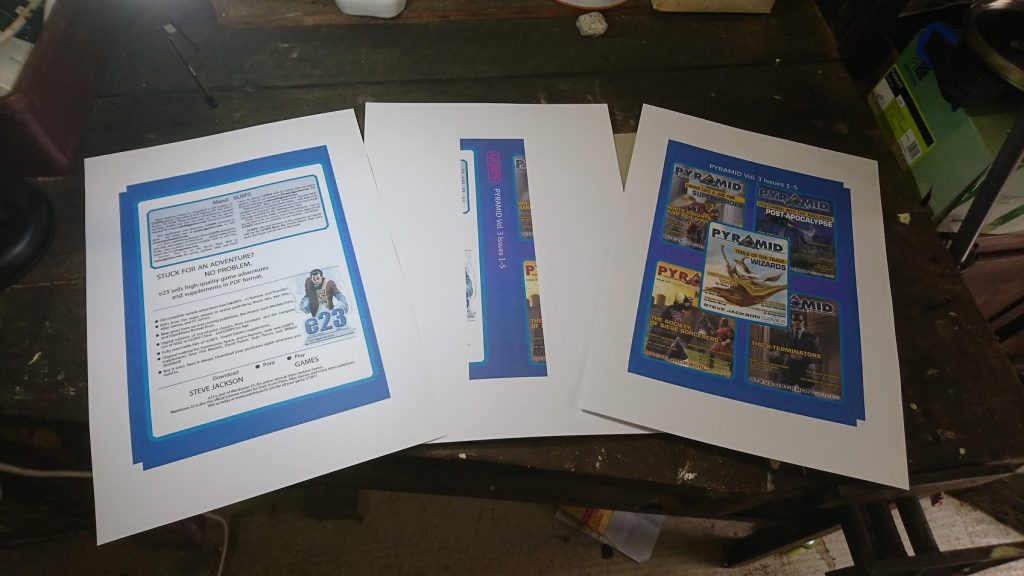
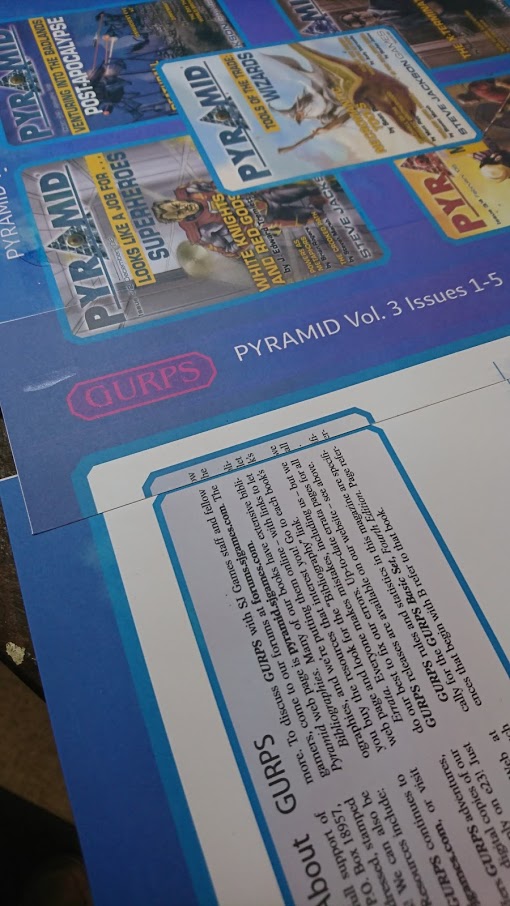
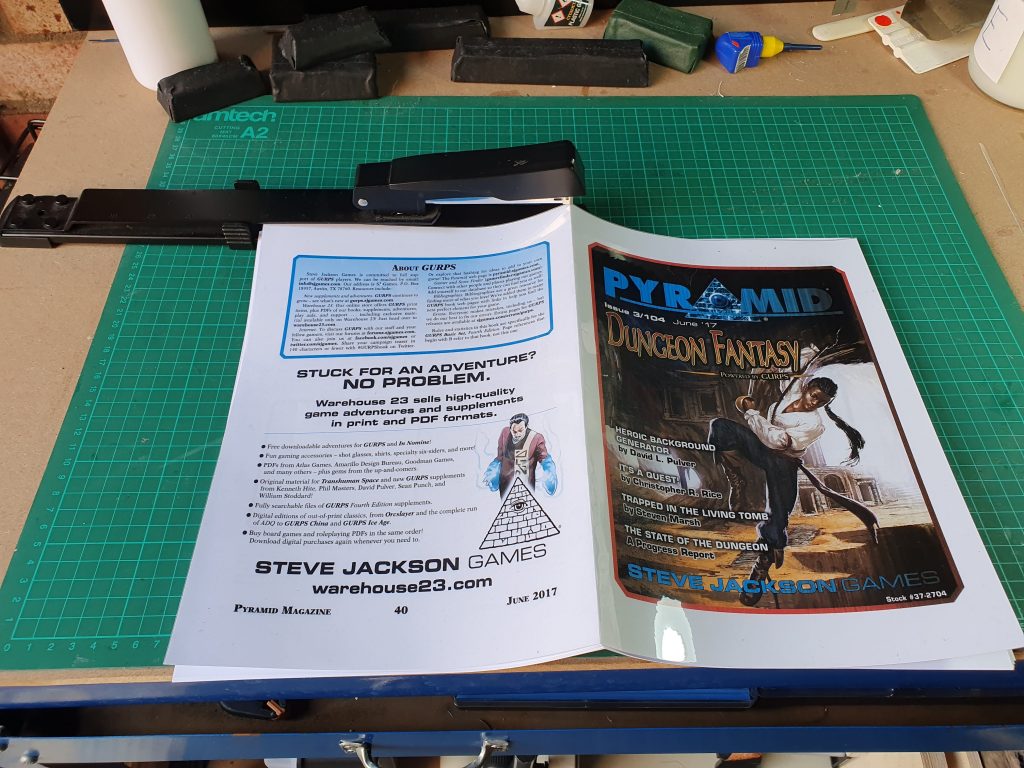
Making sure you follow the instructions for flipping and possible rotating the paper correctly so both sides are printed properly you will want to remove the covers for each magazine and put them together with the insides facing each other. In other words pages 2 and 39 facing each other and the covers on the outside.
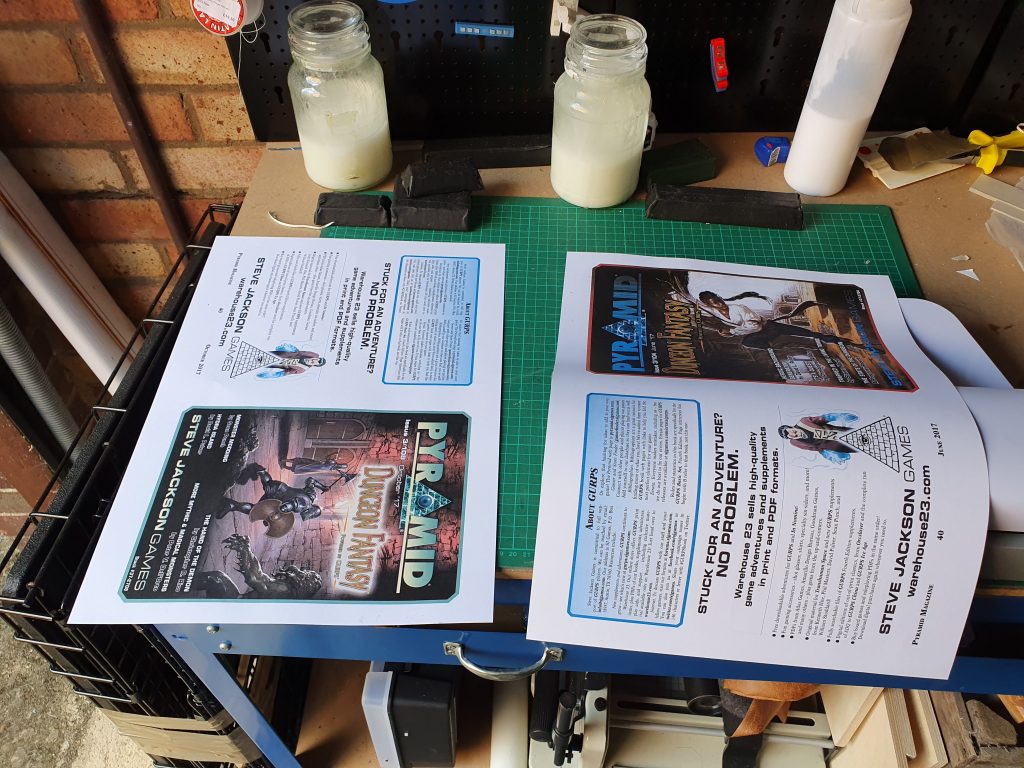
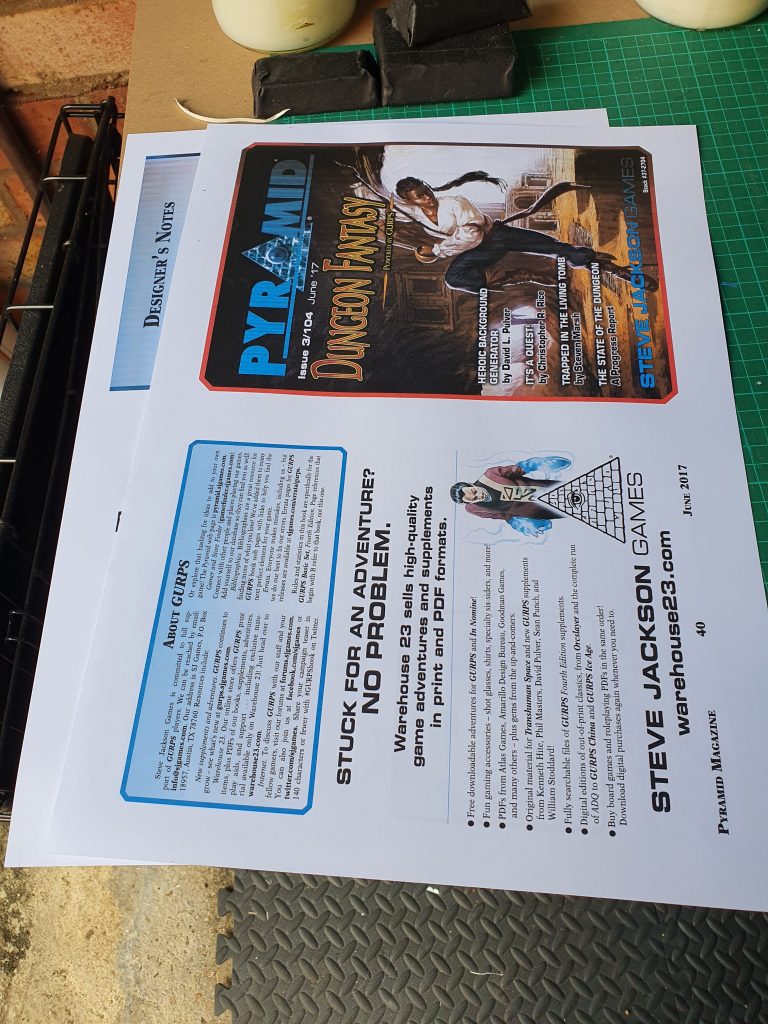
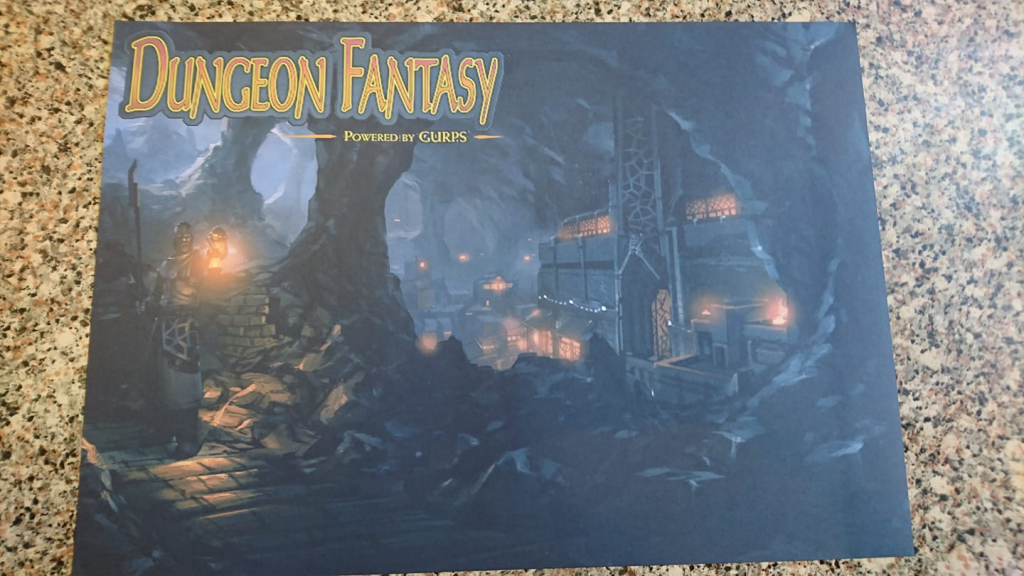
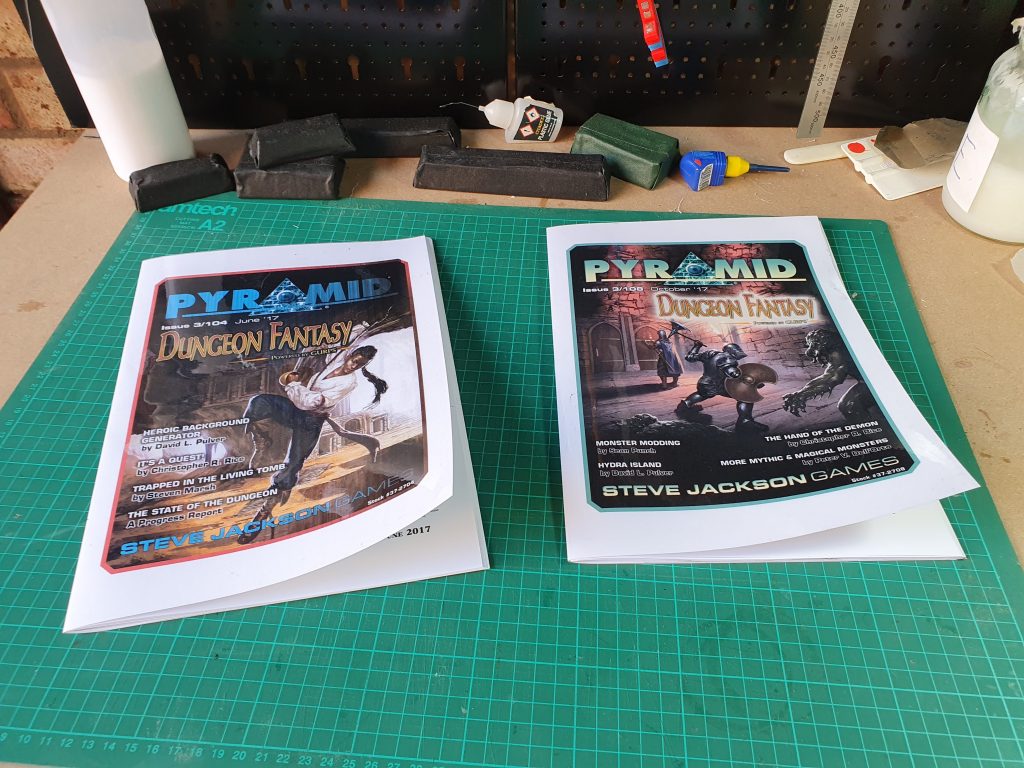
Then using an appropriate sized Laminator, A3 in this case, place the two covers together in the laminating sheet carefully and put it through the machine. The reason to do them in pairs is so you laminate both covers together. This way only the outside of the magazine is laminated.
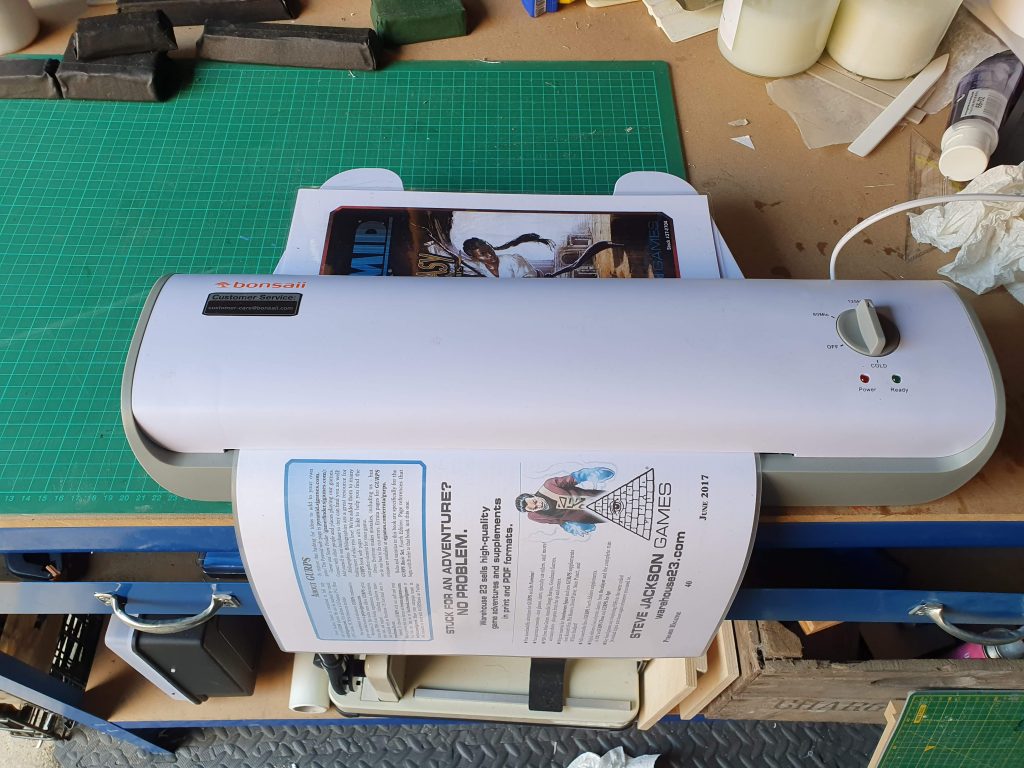
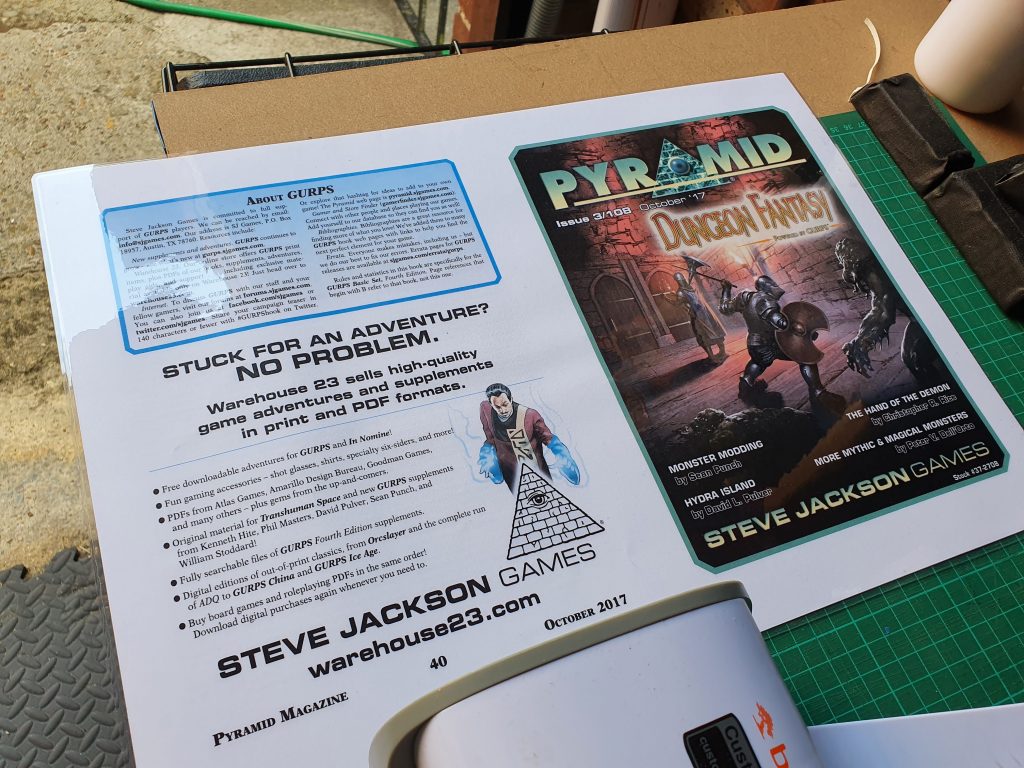
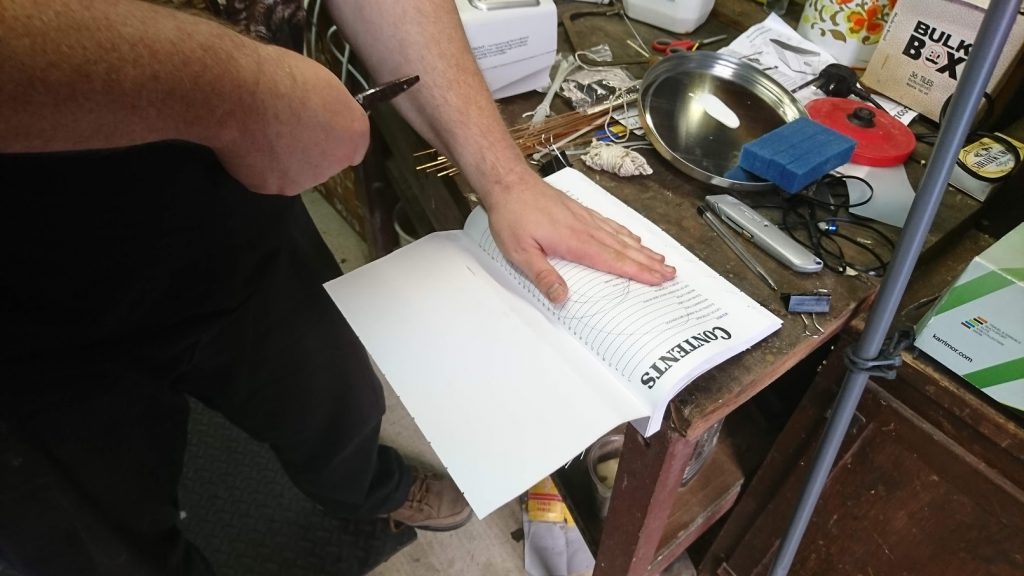
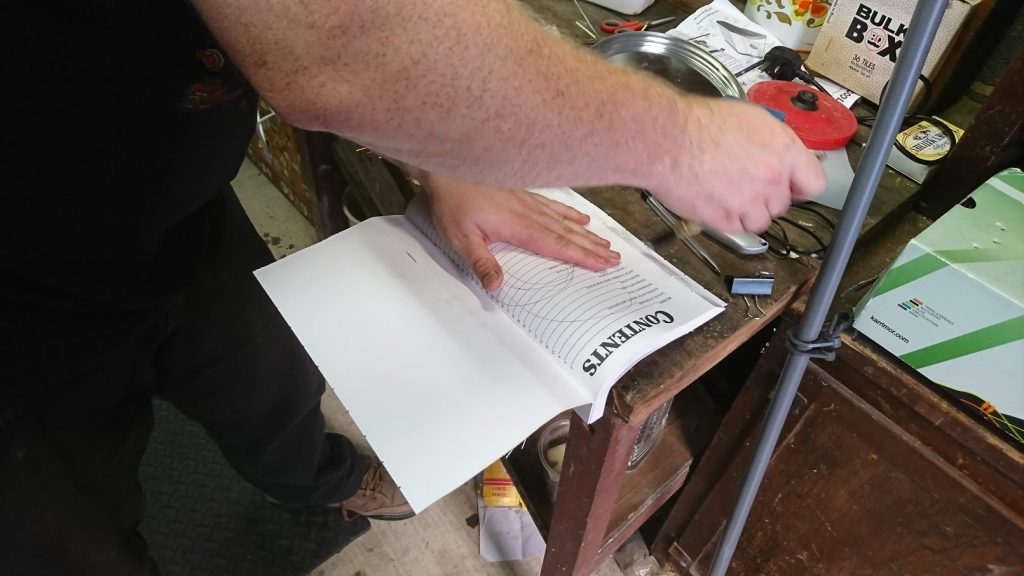
After you have laminated the covers let it cool and start folding your A3 paper in half. Make sure you are folding them the right direction. I go from the inside to the outside so I fold page 20 in towards page 21, set it aside and do the next one. Place the previous sheet inside the new sheet until you have them all folded and placed together.
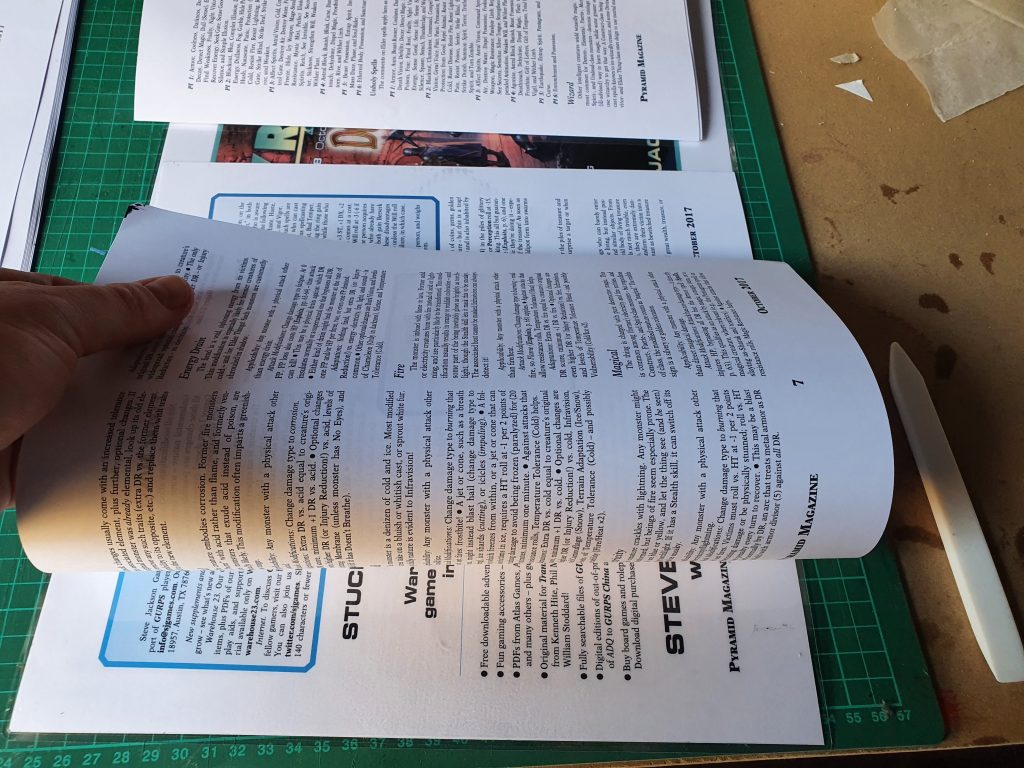
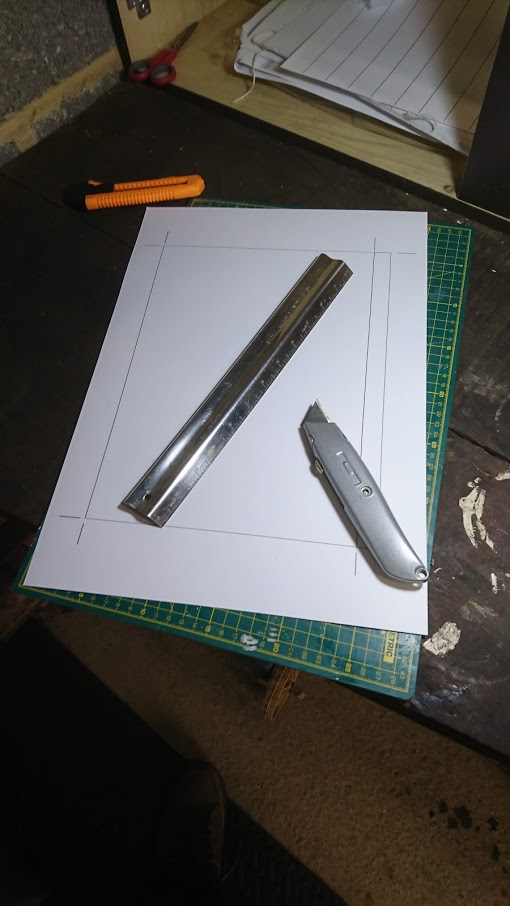
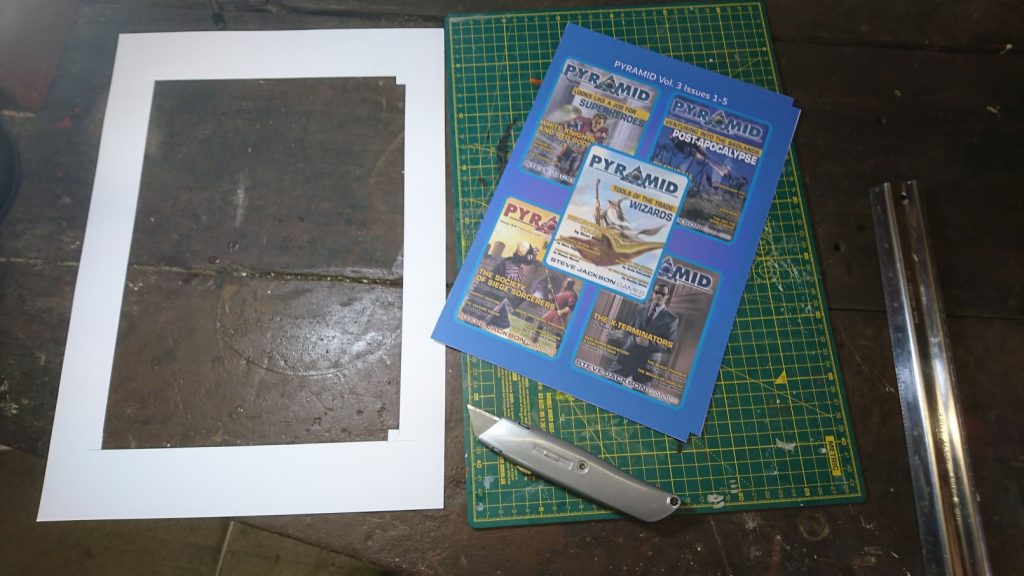
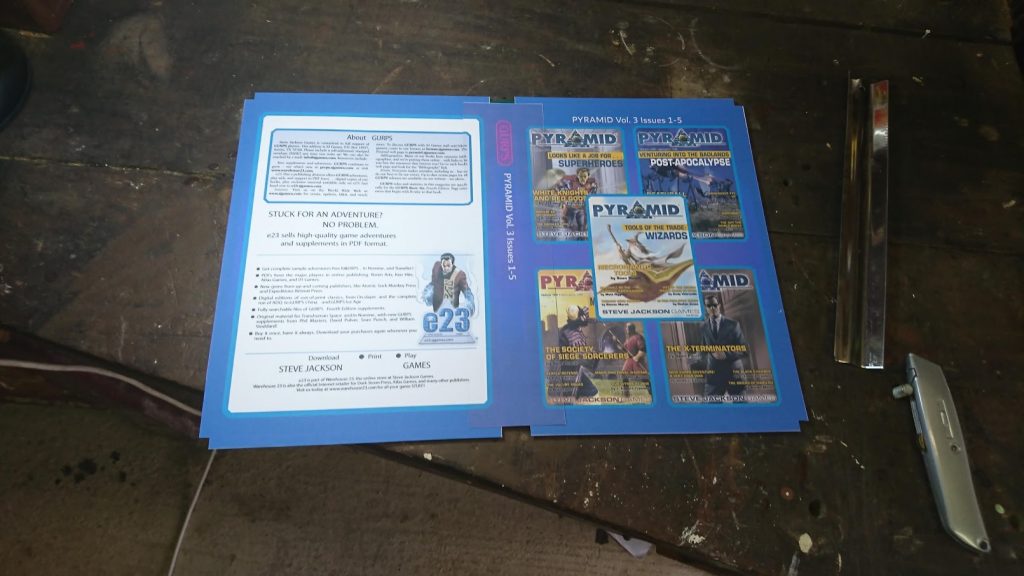
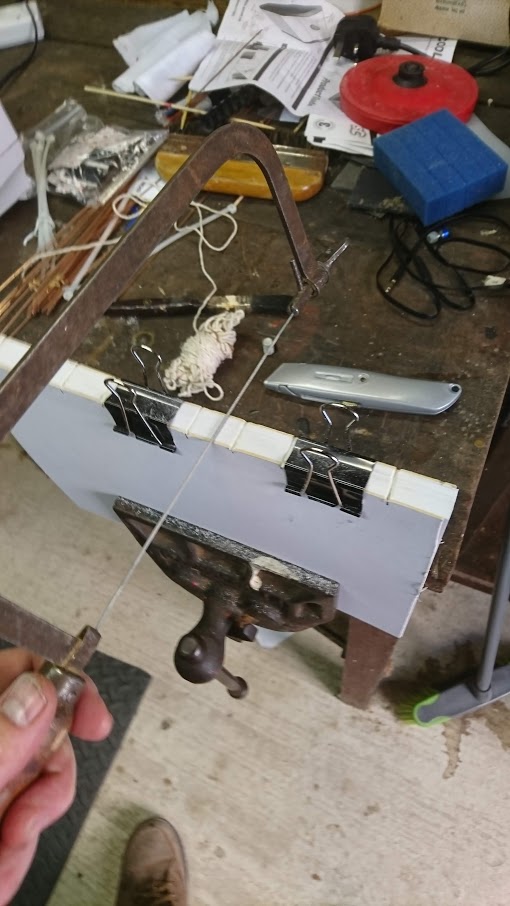
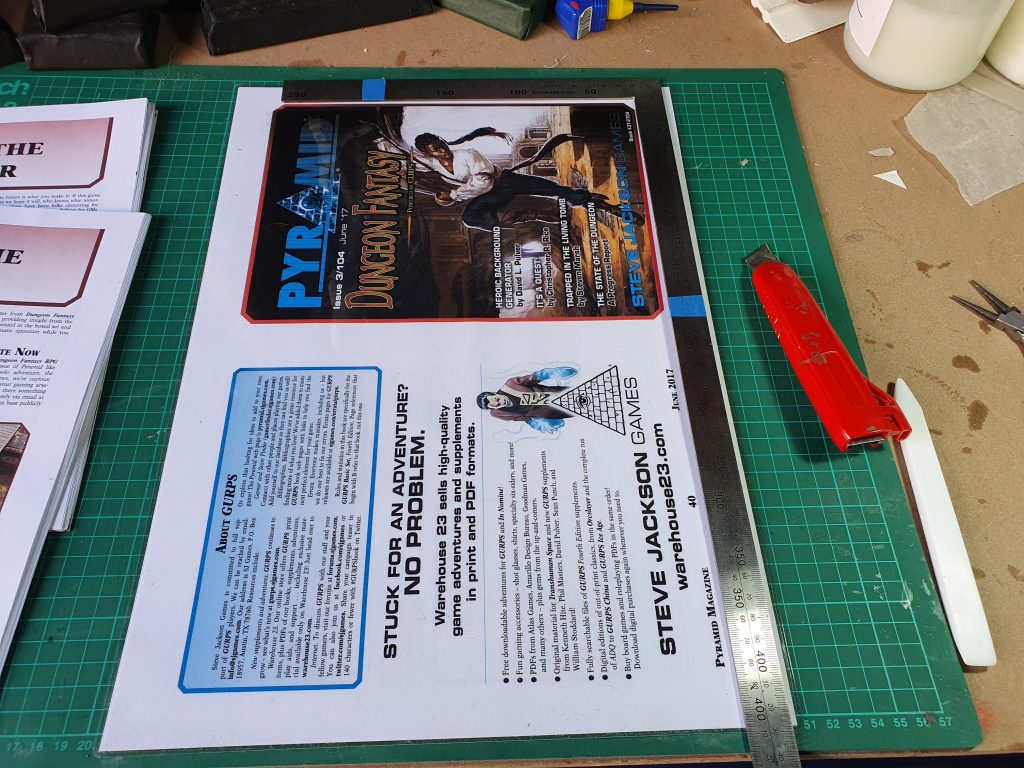
Once that is done you are going to want a very sharp utility blade and a long metal ruler. Trim the laminated cover to the paper only. Do not trim into the paper itself. Once you have done all four sides the pages will separated and you are left with the cover being laminated but pages 2 and 39 still just regular paper.
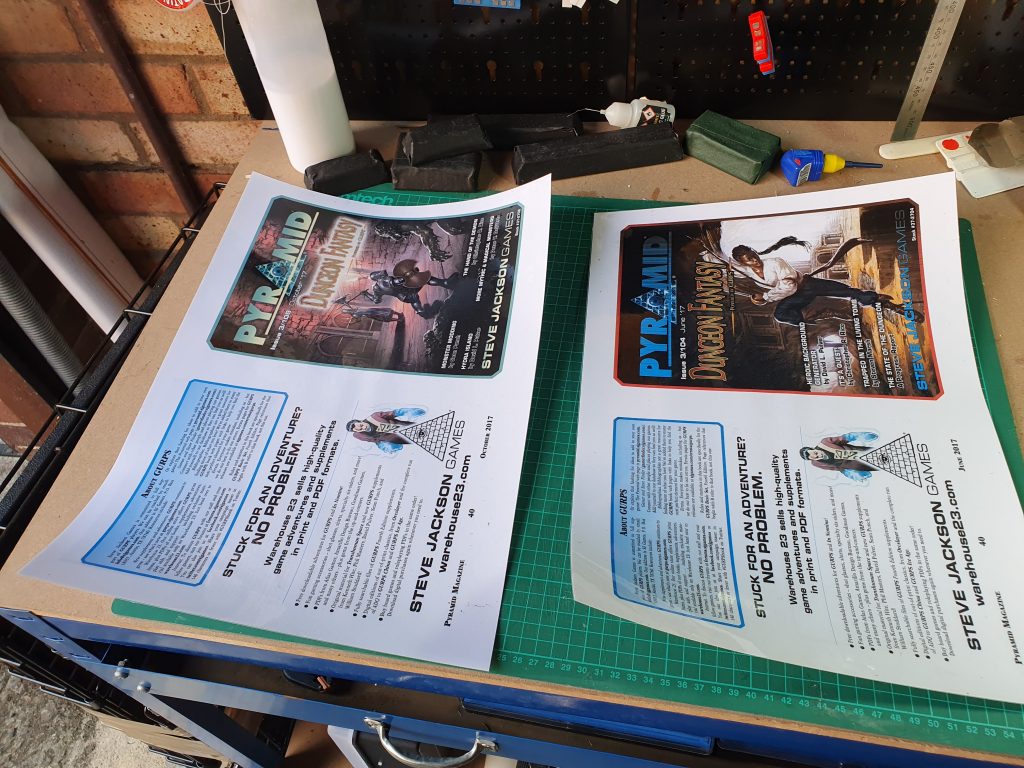
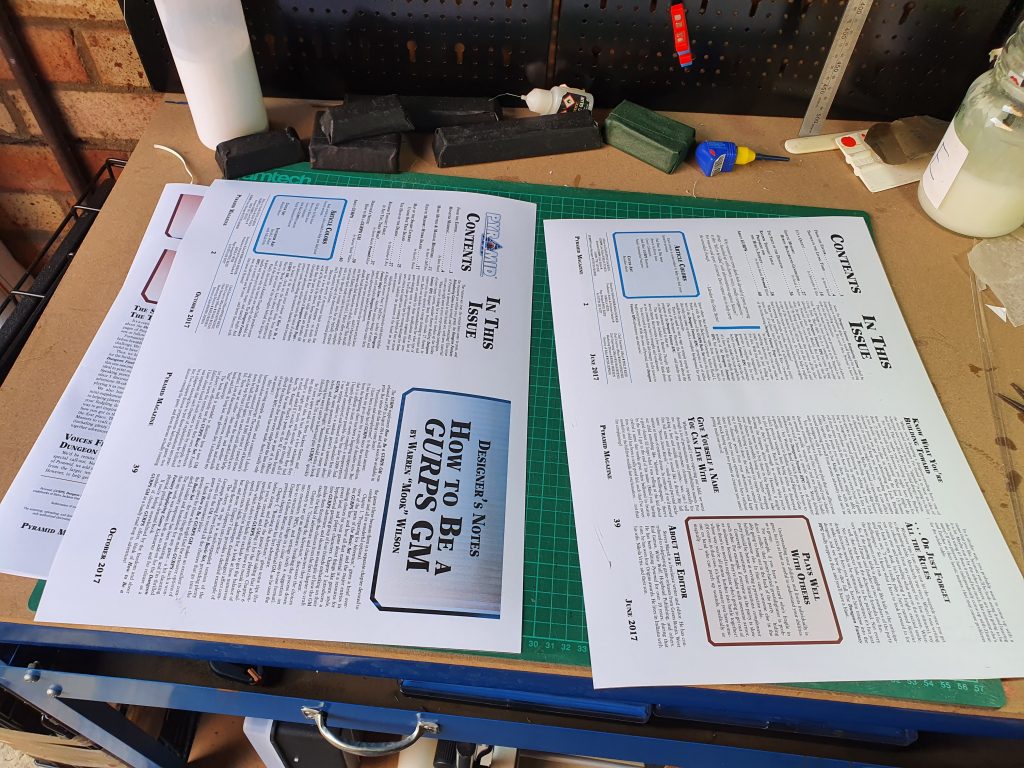
Very carefully fold the cover in half and place the proper stacks inside of the covers.
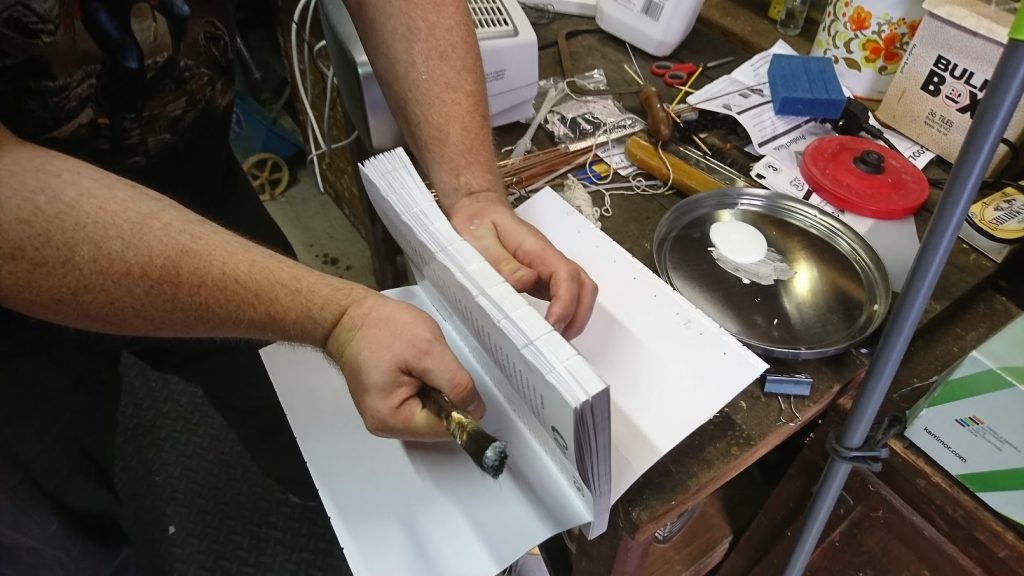
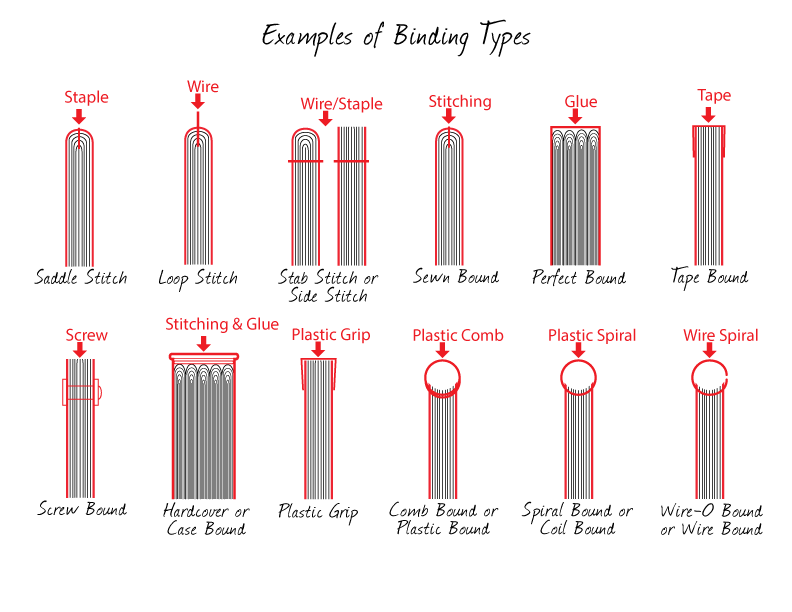
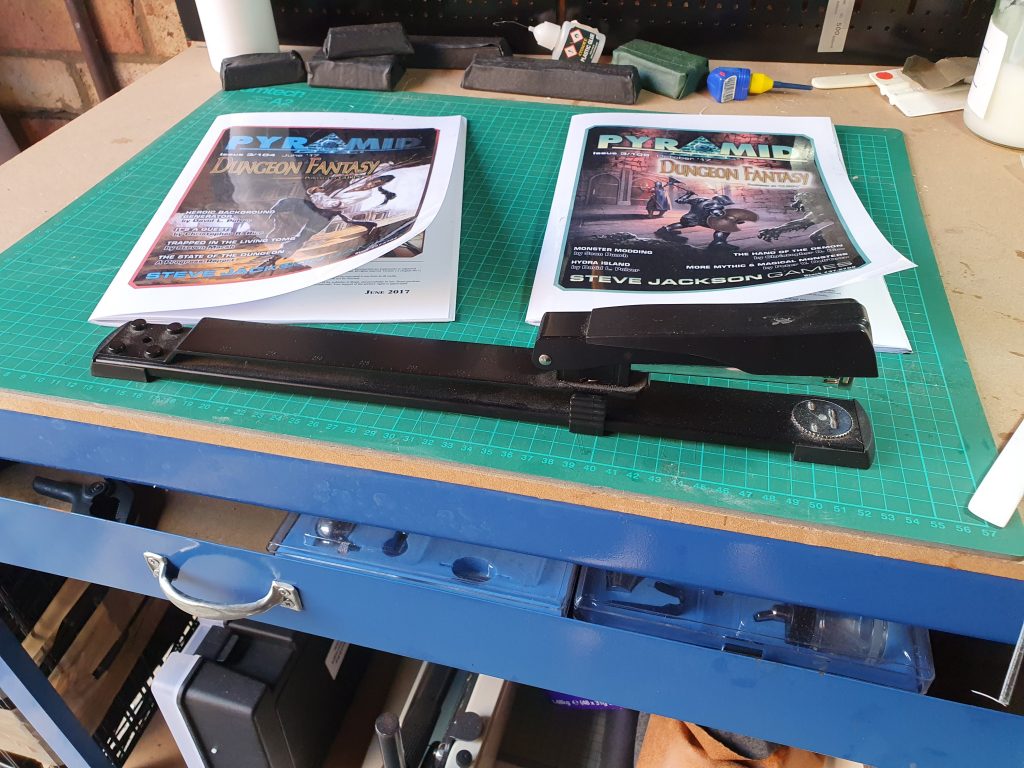
Next you are going to need a Long Armed Stapler. You can get them cheap on Amazon and ebay. Measure up the middle of the magazine and set the backstop gauge. Then being careful that you have it measured correctly place the magazine inside, cover up and staple the magazines three times. Once in the middle, then one at either end.
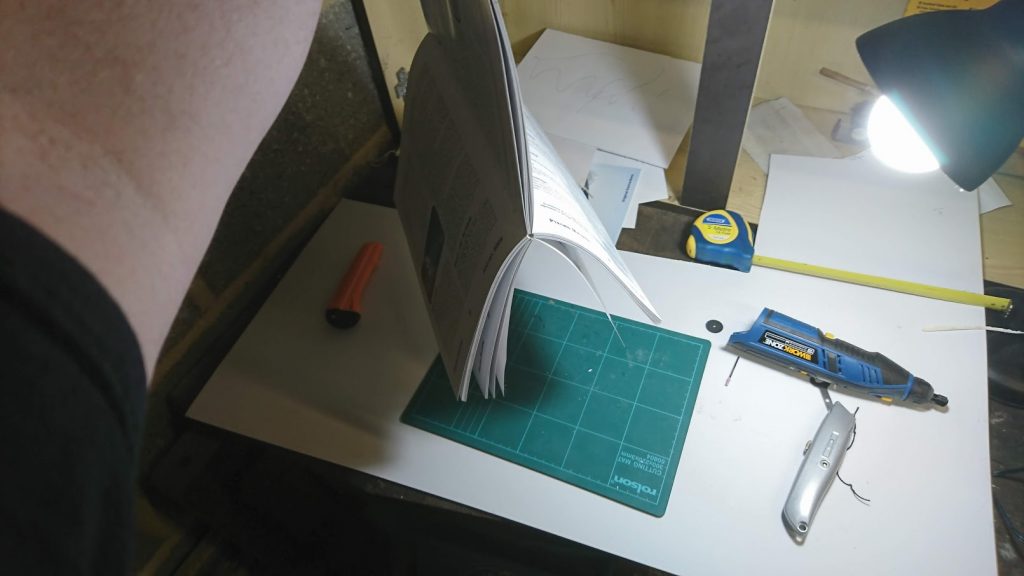
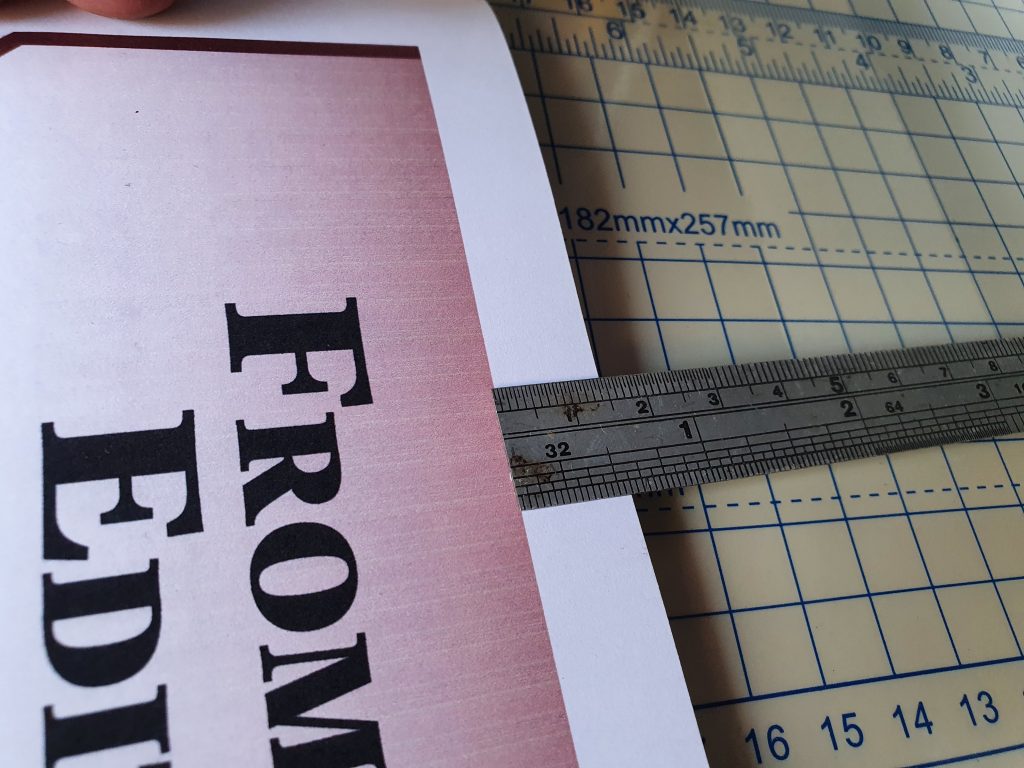
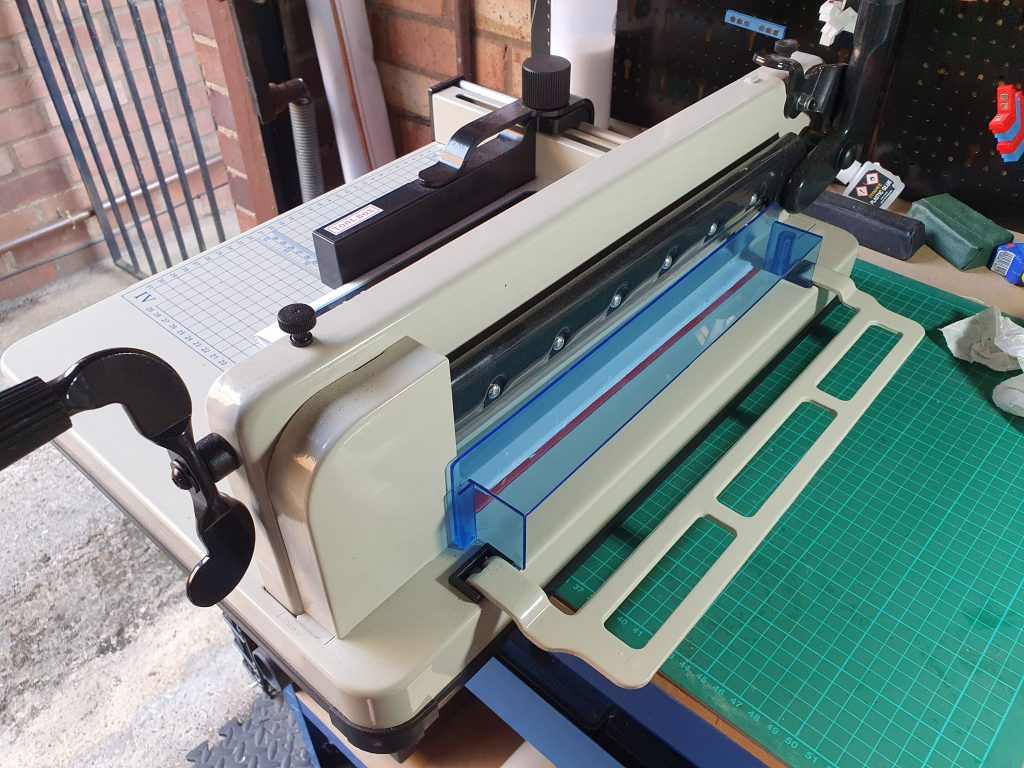
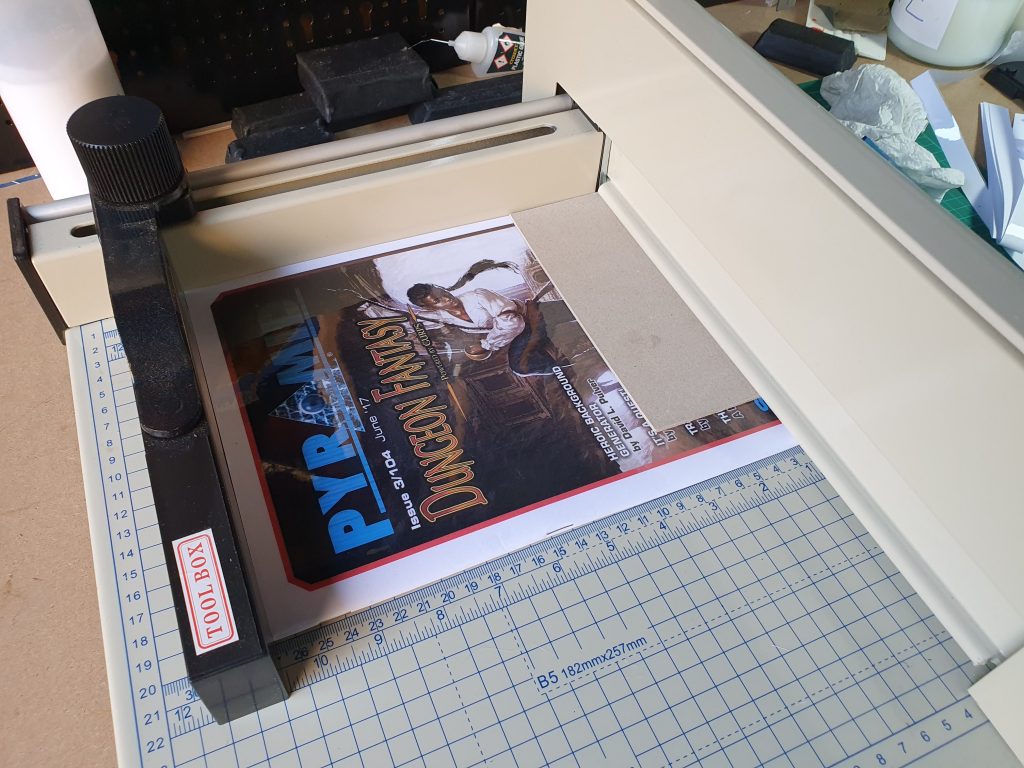
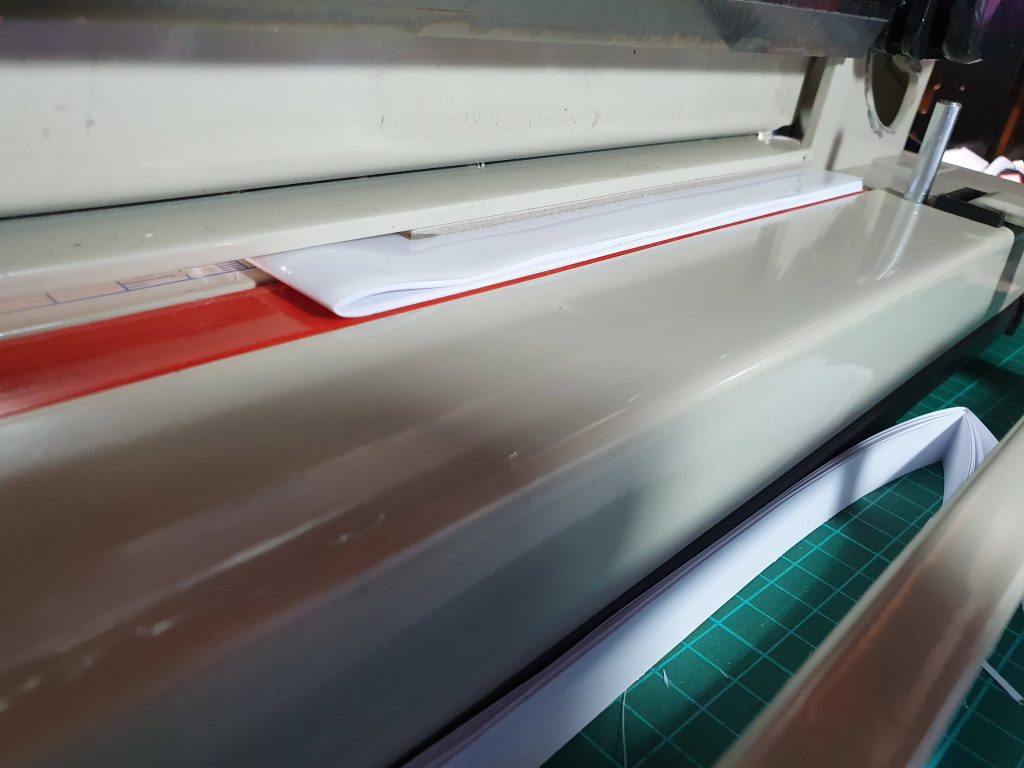
The next step is to trim the magazine to size. Now I have a Stack Cutter but this can be done with a long metal ruler and sharp utility knife. Start at the Fore Edge, the side opposite of the spine, and trim it. Now I trimmed mine by 14mm as I measured the head of the book to the chapter graphic which is roughly 14 to 15 mm. If you don’t have a stack cutter or guillotine then make many small shallow cuts. After the Fore Edge is cut then cut the Head and Tail of the magazine. You will not be able to cut through all of it in one go. Keep your hand steady and away from the blade. I was originally going to trim one of them by hand but it is currently 34° C (94° F) and I don’t want to be dripping sweat on the paper. It is only inkjet printed and not water resistant.
If you think you can trim it before folding and stapling them together think again. When you fold stacks of paper in a booklet like this you get what is called Page Drift. So the pages in the centre stick out farther than the ones wrapped on the outside. After you fold and staple the magazine then you cut it so the edges are flush.
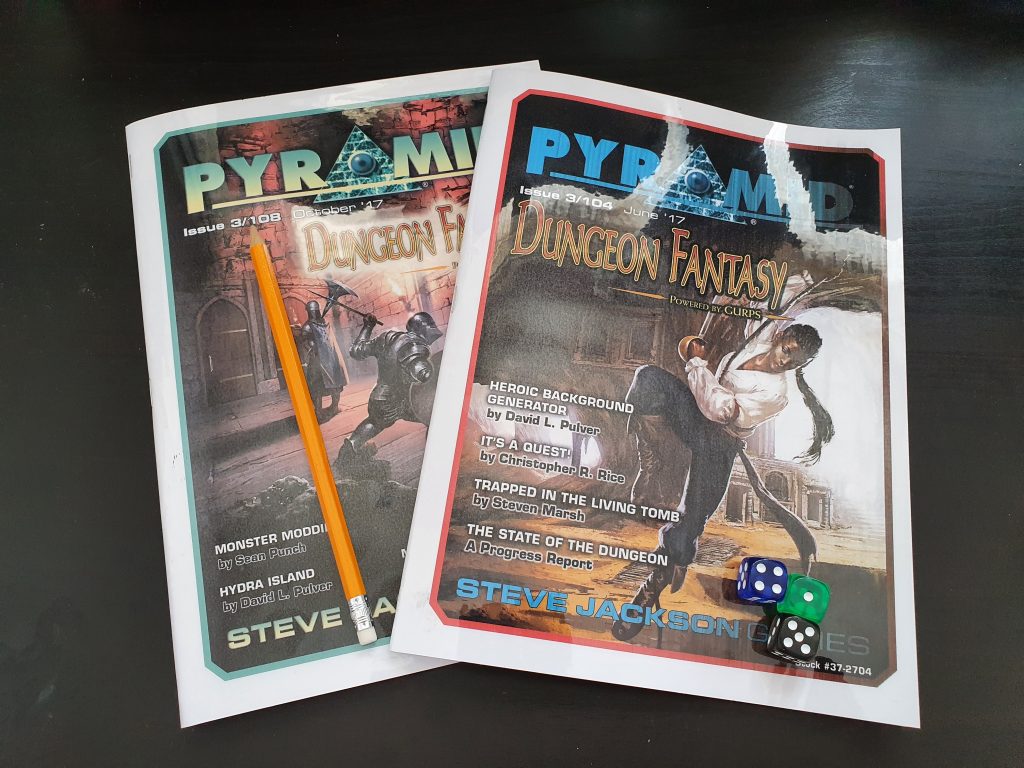
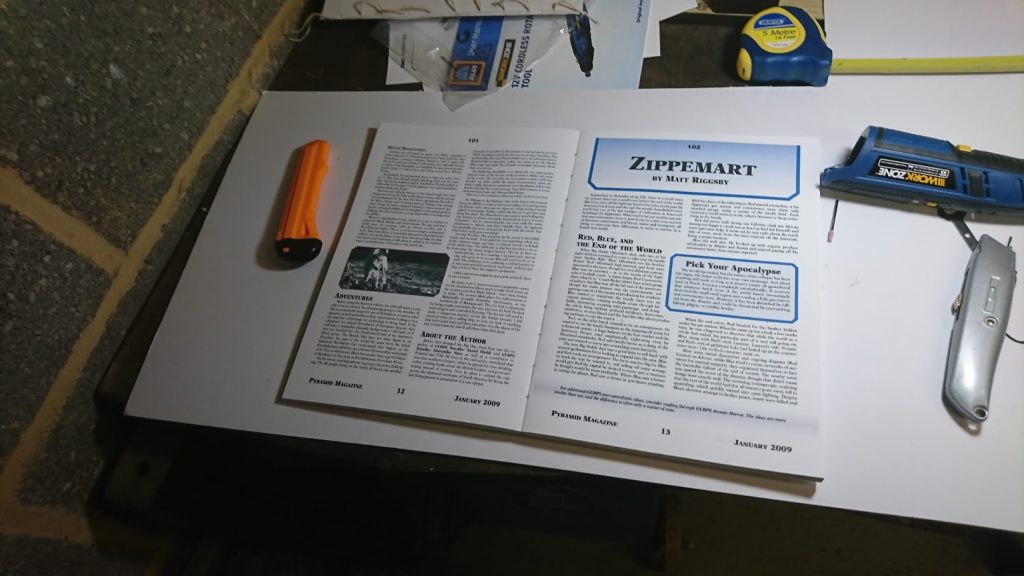
That is all there is to it. The printing took the longest time out of the entire process. Now I have two Pyramid magazines with a heavy laminated cover to use during gaming sessions. Or that is once this bloody pandemic is over and I can game in person again. This technique can be used for adventure modules as well as the new 10 page pdf bundles that SJG just released via Kickstarter. But I wouldn’t do this for anything over 50 pages, 60 might be a stretch. The more the pages the more page drift you will get and the harder it will be to staple through the book.
If you don’t have access to large paper and laminator you can do this on regular paper such as letter or A4, it is still readable, but just half the size
I hope this has been informative for you. If you have any questions please leave a comment. I do have plans on showing you how to print and bind your own GURPS books into either softcover or hardcover volumes in the future.

