My Thoughts on 7″ Hex Battle Tiles

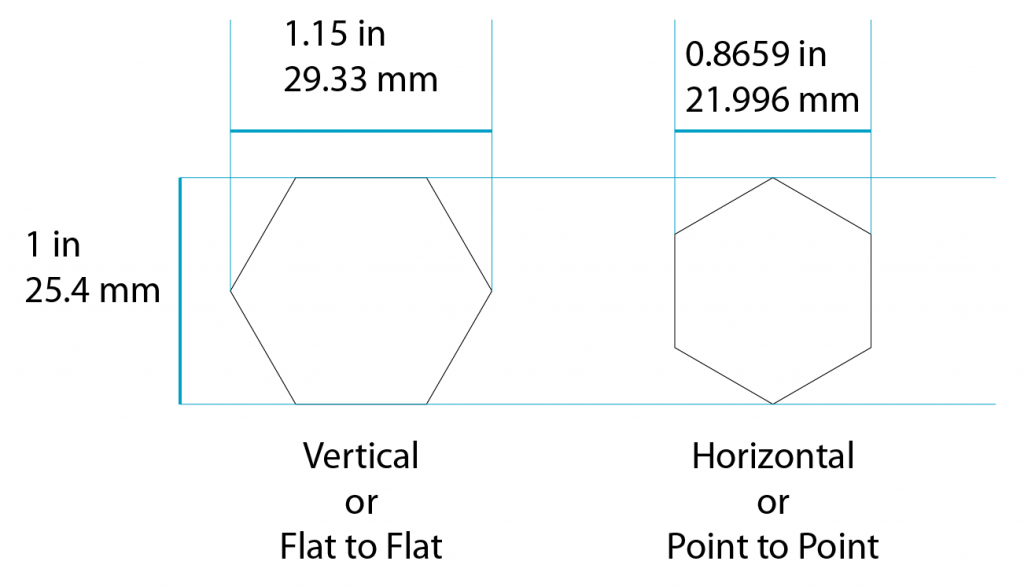
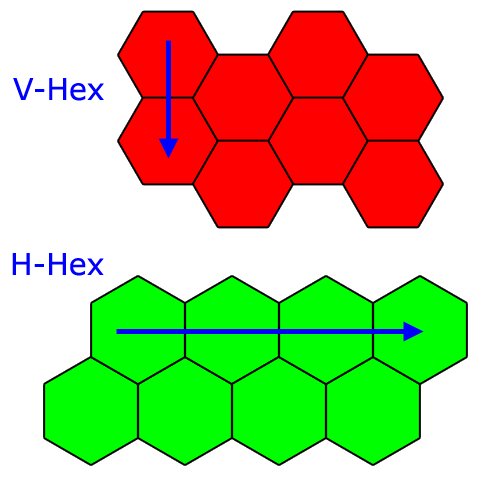
In my last post I gave a brief overview of how my different hex dungeon maps evolved.  This time I just want to discuss briefly on some hex maps but mostly the 7 inch hex tile.  There are two ways to place a hex onto a map.  Vertical and Horizontal sometimes referred to Flat to Flat and Point to Point.  Now if you are using your map for miniatures the standard movement is 1 inch for the base.  If you want to the distance from top of your tile to the bottom of the tile to be 1 inch this means you have two different possible sizes for your hex.  However most people would just stick with the 1 inch distance flat to flat as that will perfectly allow even miniatures with round bases to fit within the entirety of the hex.  Not to mention that a 1 inch Vertical hex tile is the industry standard for miniature bases.

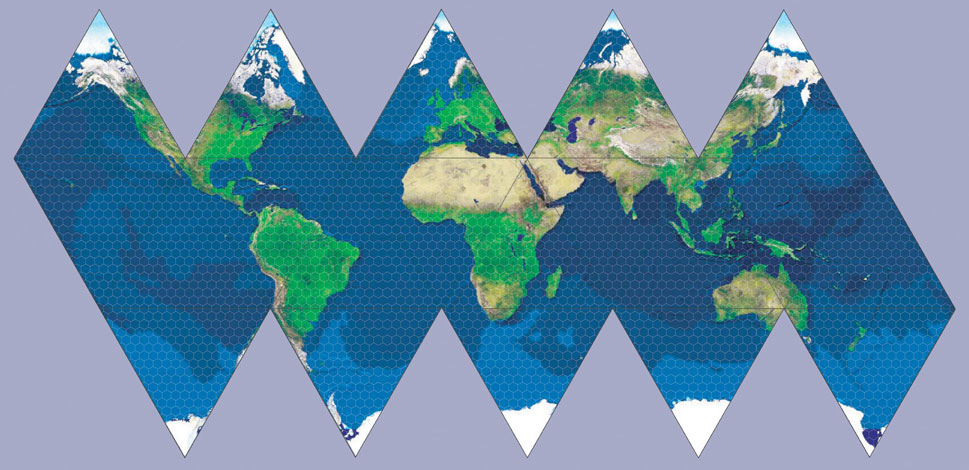
I’ve heard some people refer to them the opposite way but I view it as the direction of travel in a straight line via the flat edge.  Very few games that I can recall use the Horizontal grid.  I’ve mostly seen older wargames that use counters, Star Maps (although can use both), and probably most recognised in the gaming community Icosahedral World Maps.  I’m sure I’m missing a few.

icosahedral world map using Horizontal Hex Grid

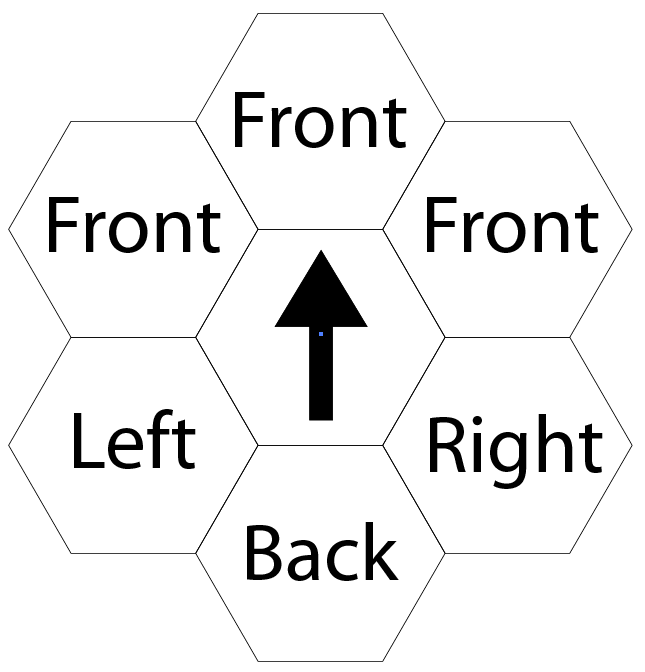
However if your playing with miniatures on a battle map you really want to have a facing edge.  Also I play GURPS which uses Vertical Hexes if players want to use battle maps. So that narrowed my choices down to, well, one.

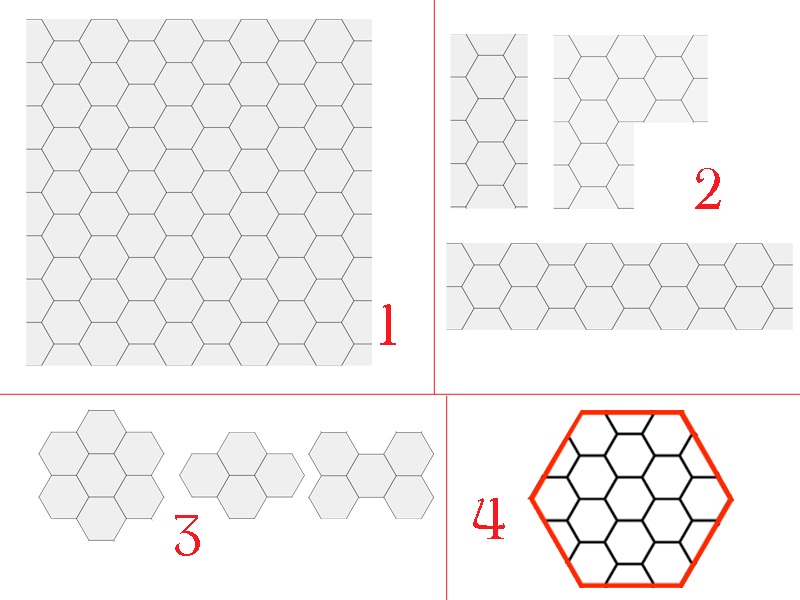
Now in my previous posts I’ve mentioned how I used hex grids on square mats and the problems that can lead to as you need duplicate maps for each directions as each square would have half hexes and quarter hexes.  It really wasn’t ideal.

1) Square tile, hex grid
2) Rooms cut to fit, hex grid
3) Flower Tiles
4) Hex Tiles

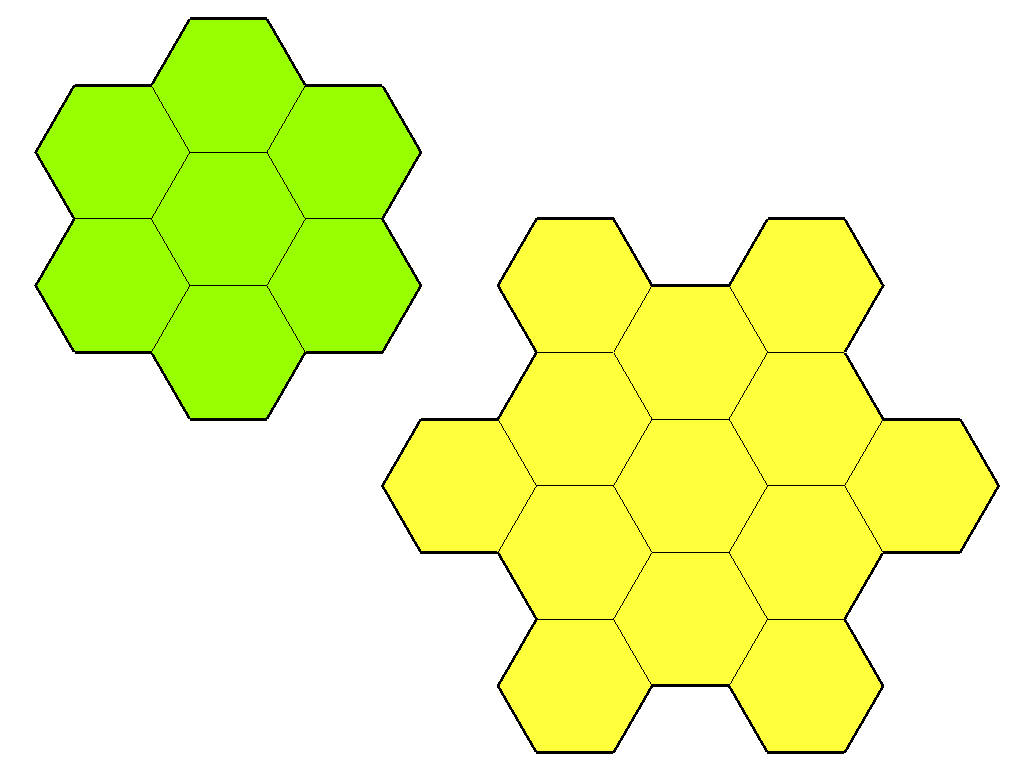
I did experiment with Flower Tiles.  I liked Flower Tiles as they are interlocking but you would require a larger number of varied tiles to make a proper system and it was just too much.  I wanted something simpler.

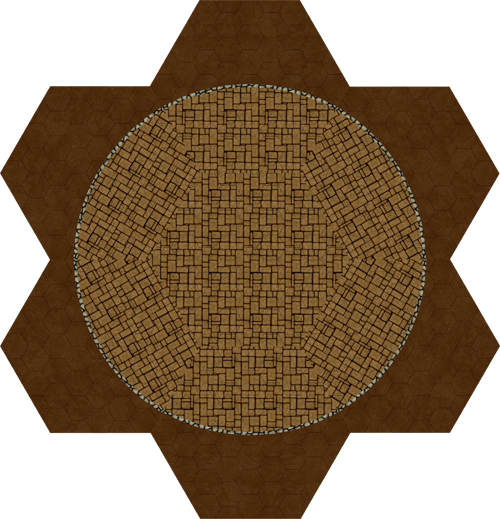
Flower Tiles

Flower Tiles interlocking

Then I came across the idea, after discussions with Andorax (a World Works Games forum user), to use Hex Tiles.  This allowed me to rotate the hexes in any direction and have all the tiles line up.  The only thing we disagreed on was whether to use Horizontal or Vertical.  I prefer the Vertical so I went with that.

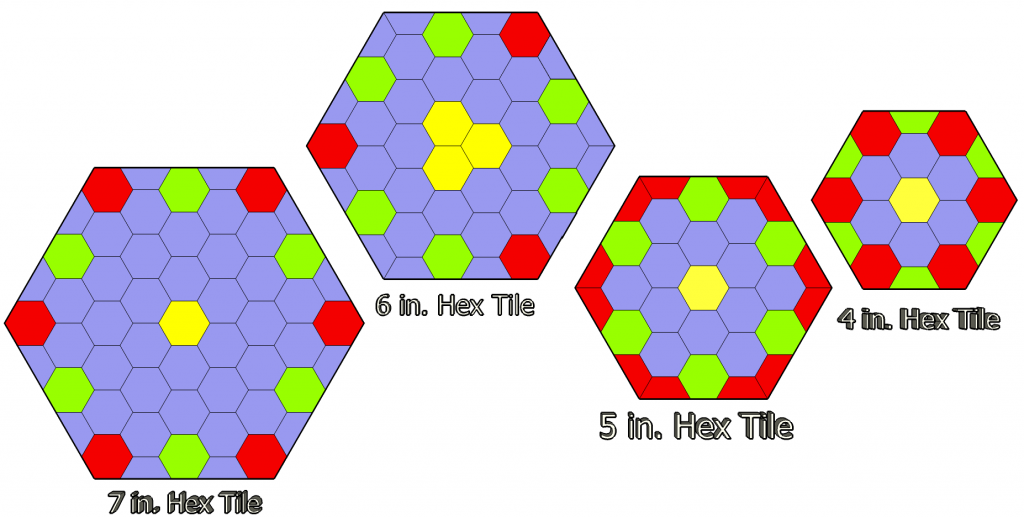
There is a great blog post by Phil Wright “Mapping with Master Hexes” where he goes into in depth detail about how to choose the proper tile size.  I’d like to say I did the same thing but honestly I just got lucky.  I wanted to fit a tile on a sheet of paper with as little waste so for A4 or US 8.5×11 that ended up being a 7″ Vertical Tile.  I’ve made dozens of these tiles and even printed out a few on good quality photo paper. Most Wargames are done in 6 inch sections however that just won’t work with a 6 inch hex tile. As with a square tile the 6 inch hex tile has too many irregularities for it to be functional. 4″, 7″ are best.  you could use 10″ and 13″ but that is starting to get a bit large for me.  5″ hexes would also be feasible but it personally did not suit me.

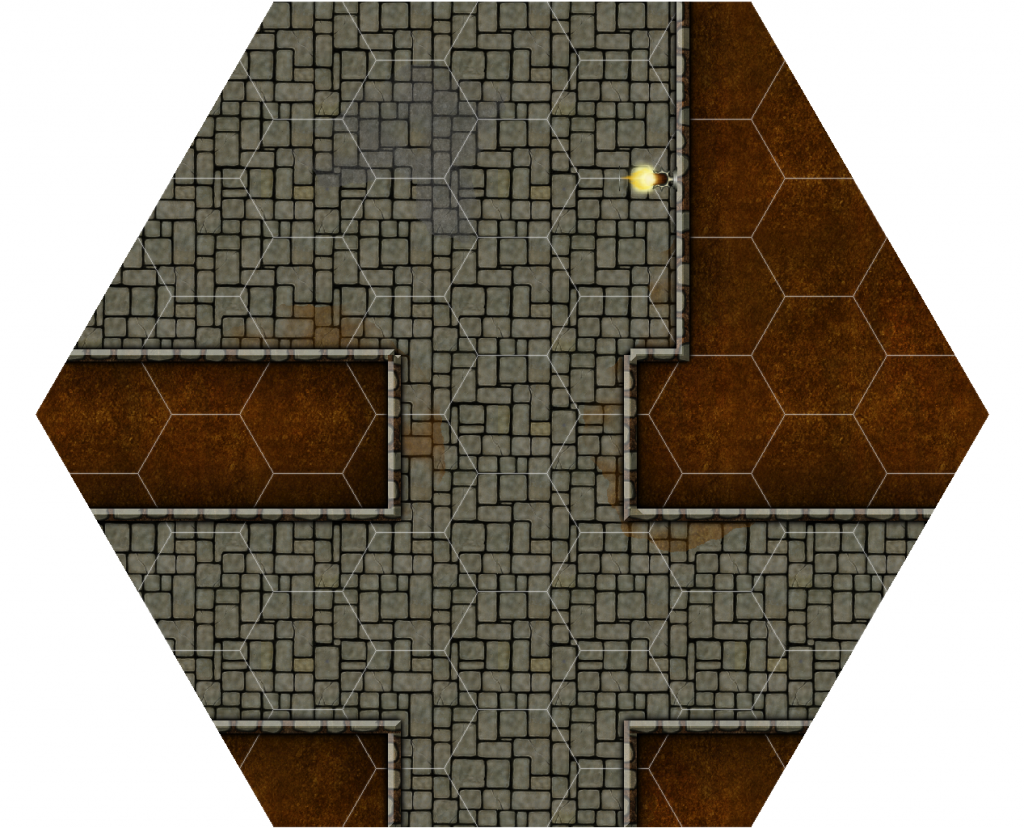
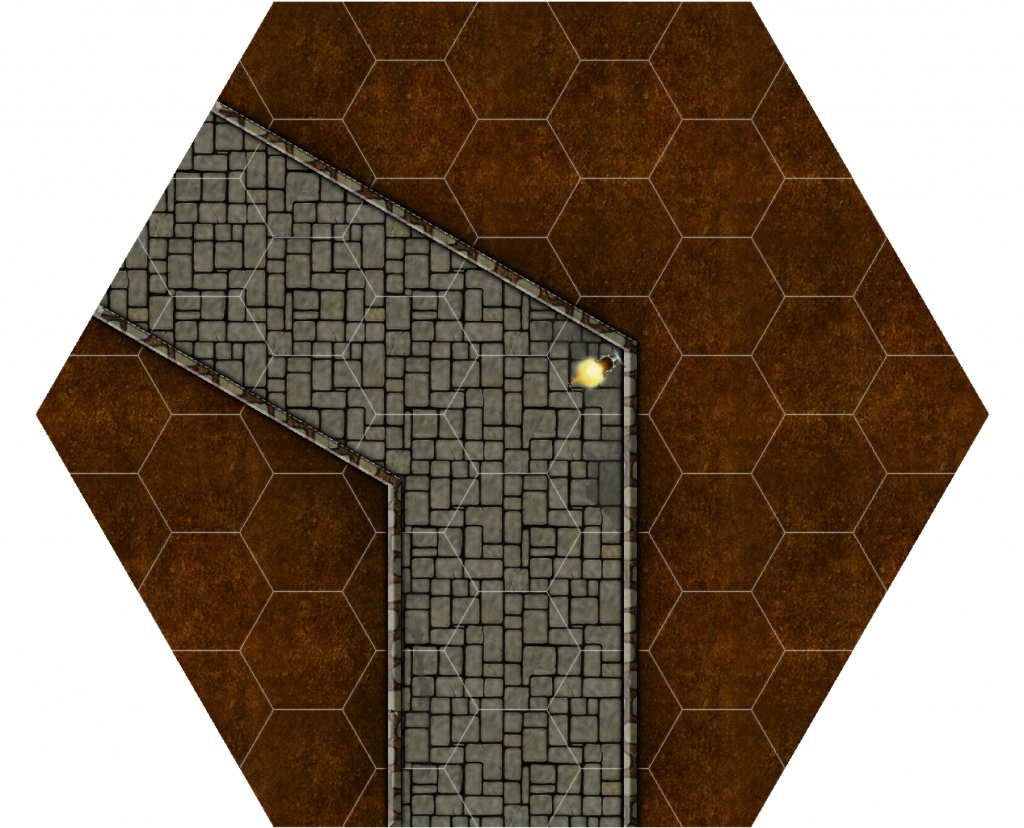
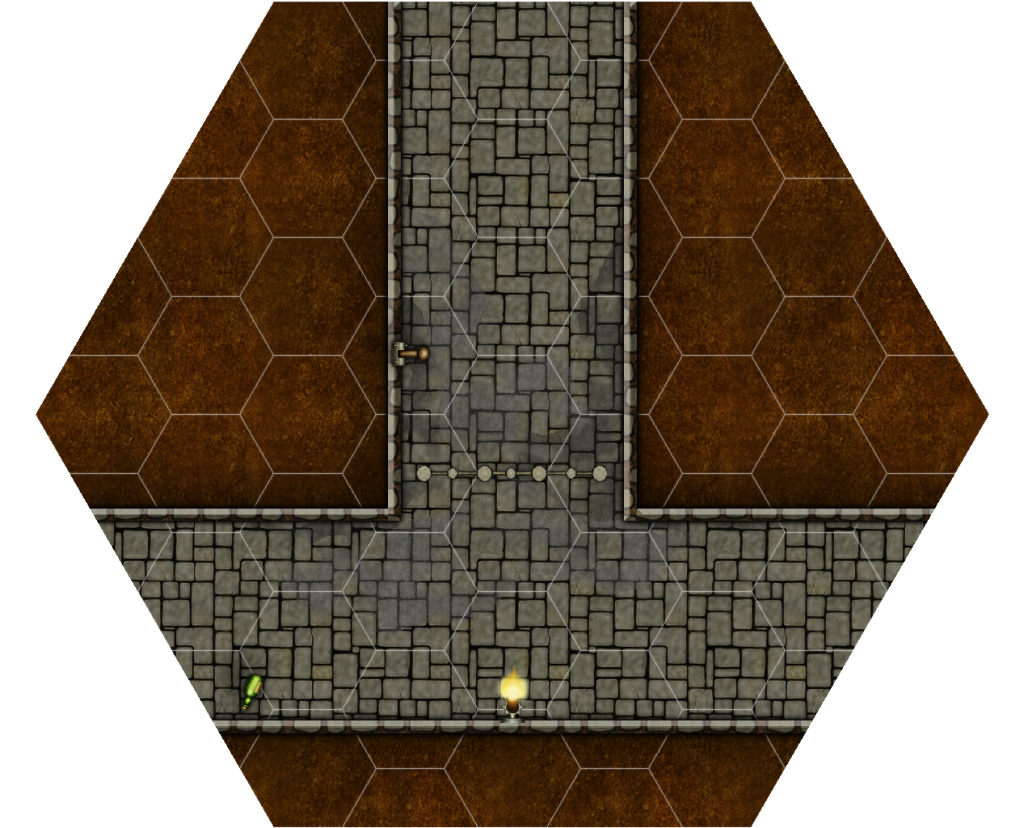
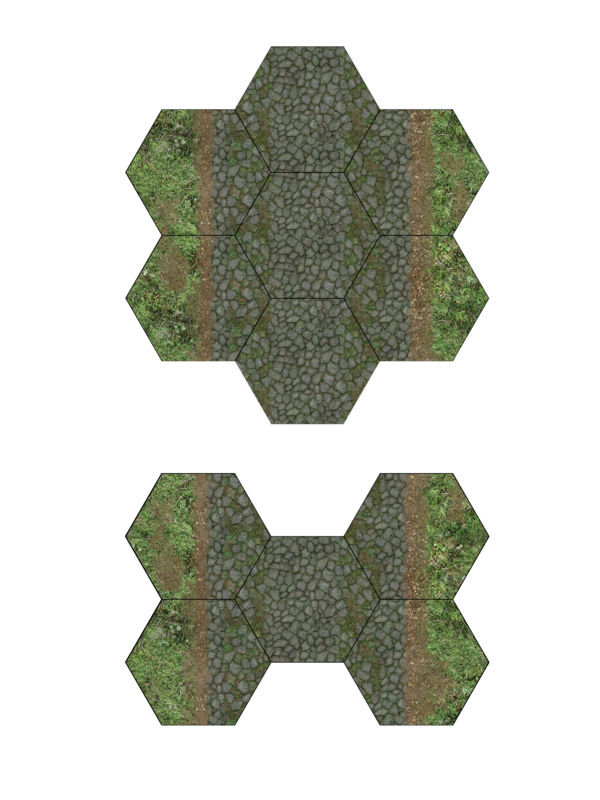
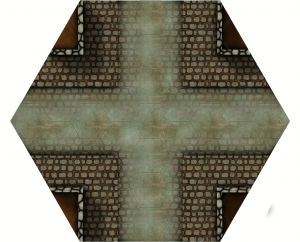
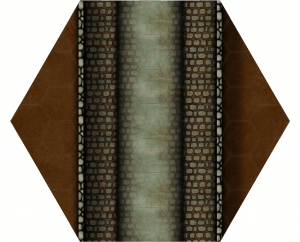
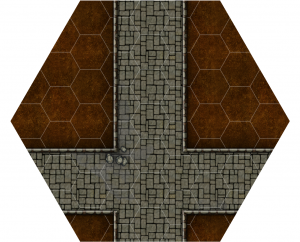
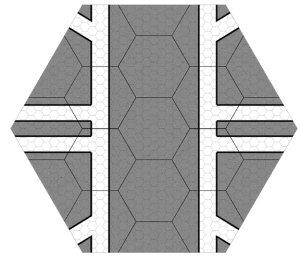
7″ Vertical Hex tile made in Campaign Cartographer 3

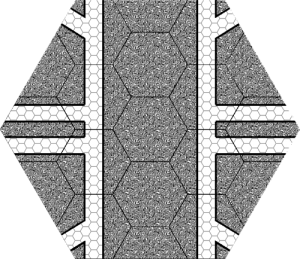
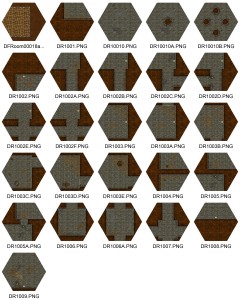
120° Corridor

The Horizontal corridor is not as wide as the Vertical corridor

Now I refused to be confined to all my corridors turning at 60° and 120°.  However because of the 120° angle of the outer edges it means that the corridors meet at a slant. If the walls are all the same, then the walls cutting across the angle wouldn’t match up with the walls that hit it flat on.  So this means all horizontal, or cross cutting would be a better term, corridors have to be slightly smaller.  I’m crap at maths, I’m a visual guy so I kept scaling until it looked right.  It is roughly 13-15% difference in size depending on the width of the corridors.

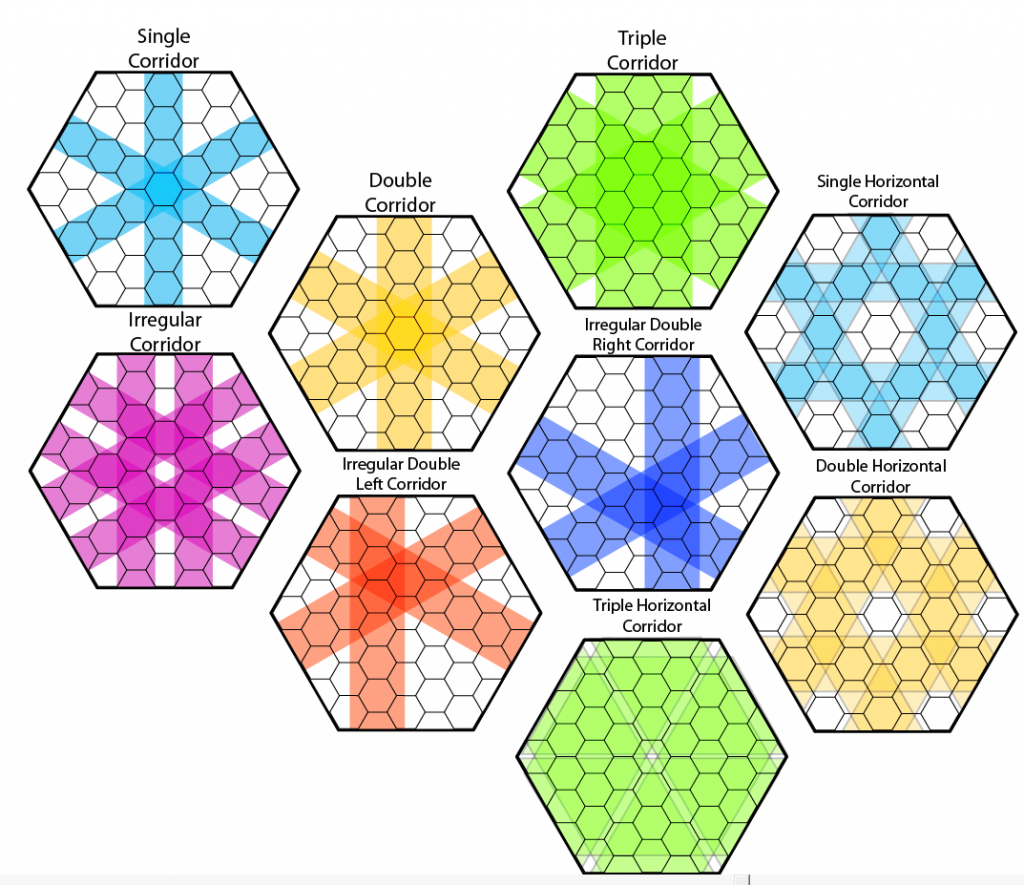
First off I should clarify that in GURPS each hex is 3 feet.  Which is about the area that a normal human would occupy.  So with the seven inch tiles it allowed me to have 3′, 6′, and 9′ corridors and with the 7 inch tile I could off an array of options of how the corridors connect.

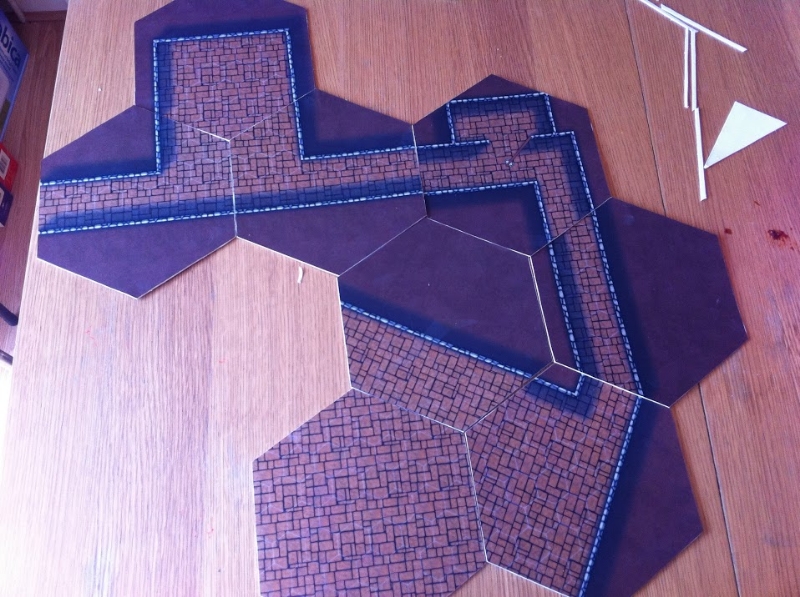
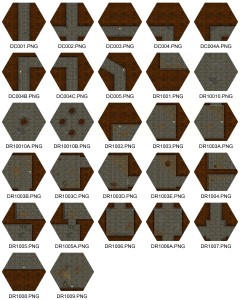
Corridor connecting guide for 7 inch tiles

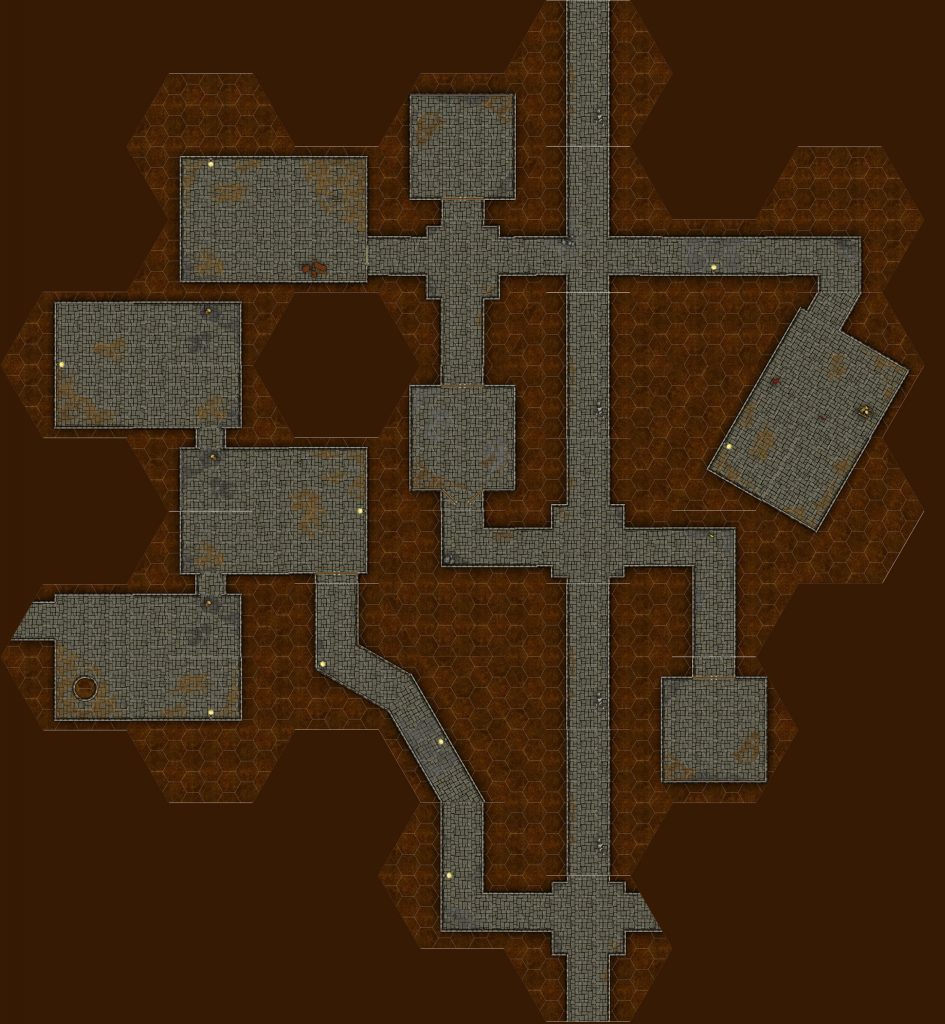
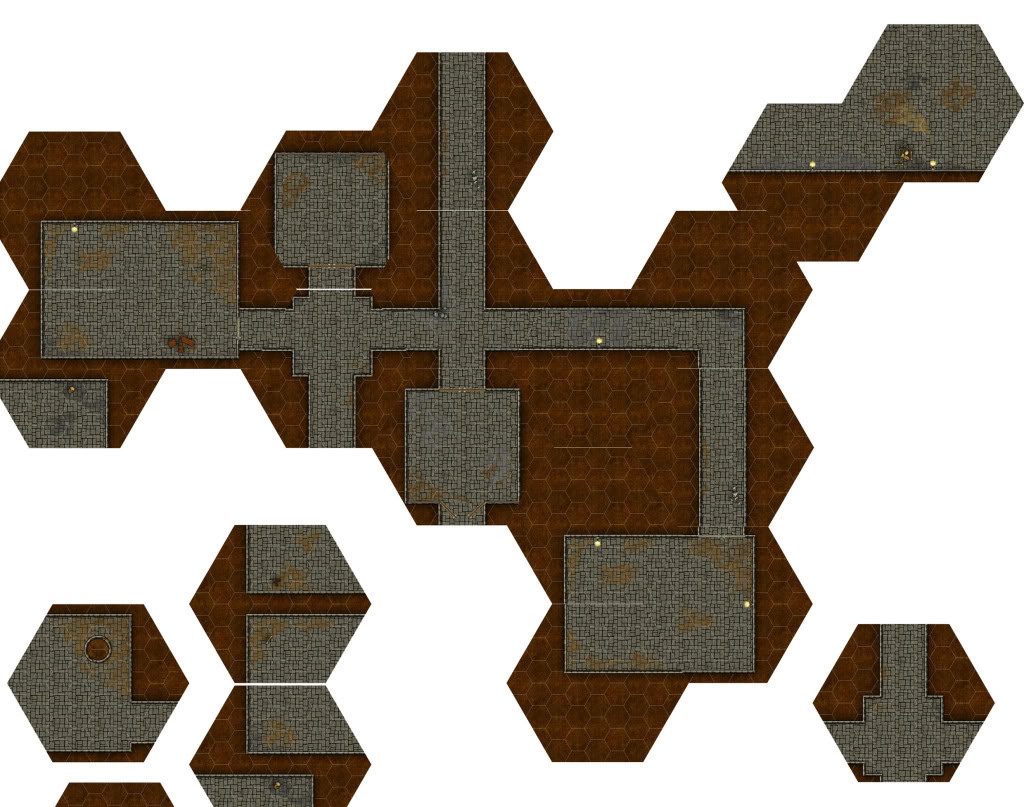
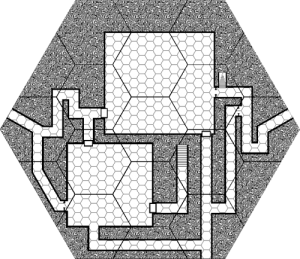
I also experimented on how to use a standard dungeon map and force it onto the 7 inch tiles.  This takes away modularity but makes for some fun map tiles that only work for a specific map.
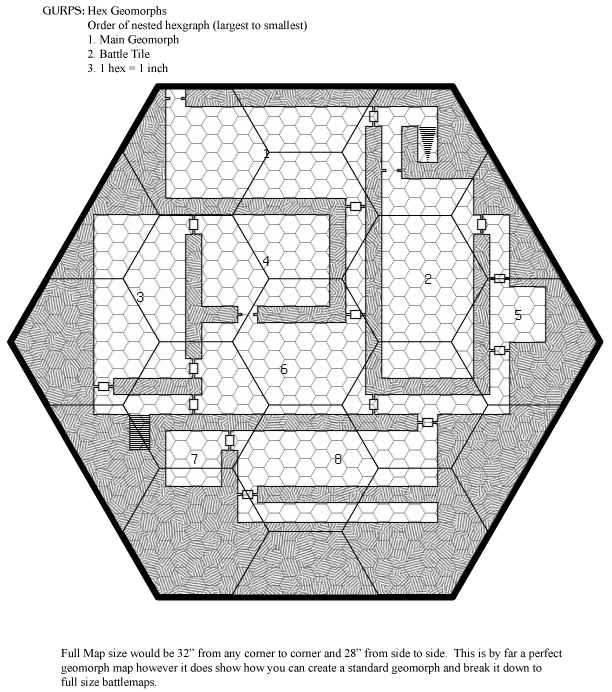
This map was randomly generated using http://donjon.bin.sh/d20/dungeon/ then placed into multiple 7 inch battle tiles

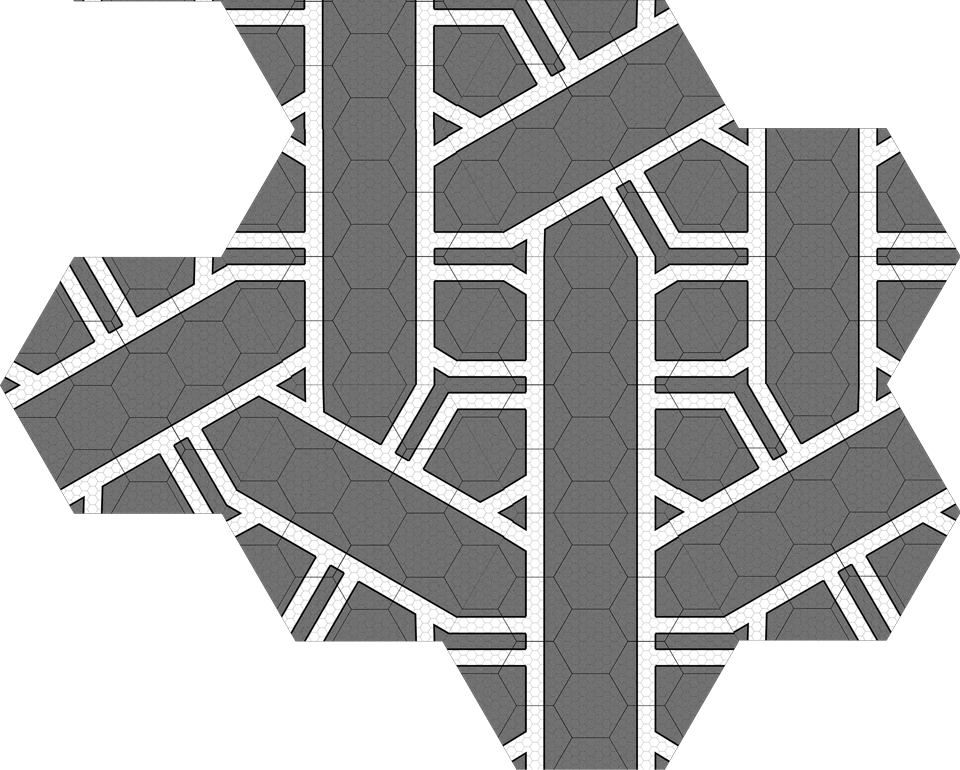
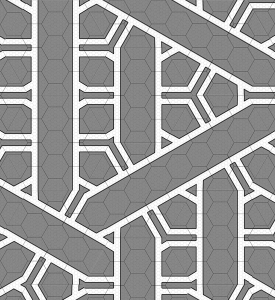
How a few tiles repeated over and over can create a maze.

Pro’s and Con’s of the 7″ Tiles

Pro

  • multiple corridor widths
  • multiple connecting points
  • able to make both large and small rooms
  • quick to assemble

Con

  • Dense dungeons with small rooms require many special tiles that will contain a whole room plus many half or quarter rooms.  This would require plenty of planning and tiles with specific use.
  • tiles may reveal rooms which have not been discovered
  • if full 3D can get heavy

However with my purchase of Kickstarter for Tabletop Hex Terrain I’ve started to think about moving to smaller 4 inch hex tiles.  However not just flat tiles but full three dimensional dungeons.  This idea was reinforced when the Hexomorfo System was released. Plus 4 inch tiles would allow me to fit the wargaming niche as well because I could build them in one foot sections. However 4 inch battle tiles is a discussion for another post.

LINKS

Game Dev “Vertical vs. Horizontal”

Mapping with Master Hexes by Phil Wright.  This is a great blog post and gets more indepth than I did for the actual reason for the size of my tiles.

Bat in the Attic “Mapping with Hexes”

Understanding Hexagon Tiles

Red Blog Games

Hexagon Measurement Calculator
 

New 4″ Hex Geomorphs progress

If you read back through the blog you can see my slow (very slow) transition of how I make my geomorphs.  I started with just making the rooms and corridors and cutting them out at the wall.  Looks good, you can do a lot with it, however you need to make separate vertical and horizontal parts for each option.  Not very efficient.
October 2008
2008 using Dungeon Siege textures, these are “Flower Hex” tiles

Then after several discussions with people I know, one of which was Andorax, from the World Works Games forums (now defunct). The idea of making the tiles Hexagonal in shape that way you can rotate them in any direction without the need to make Vertical and Horizontal versions for each tile.

March 2009

March 2009

I made the tiles 7 inches from flat side to flat side to reduce the paper waste.  One of these hexes would fit on either A4 or US 8.5×11 sheet of paper.  If your using high quality photo paper then you really don’t want to be throwing a bunch of it away.  The other nice thing about the 7 inch tile was you could have single (3′), double, and triple width corridors giving you a varied dungeon.  Now to connect the walls together when you’re running them at a 60° turn means that the horizontal corridor has to be slightly smaller for the walls to match up at the edge.  This way you can place your 4 way cross roads and all four corridors will match up to the next tile no matter how you rotate them.  Plus you then don’t have to be confined to just 60° turns as I’ve seen many people do.

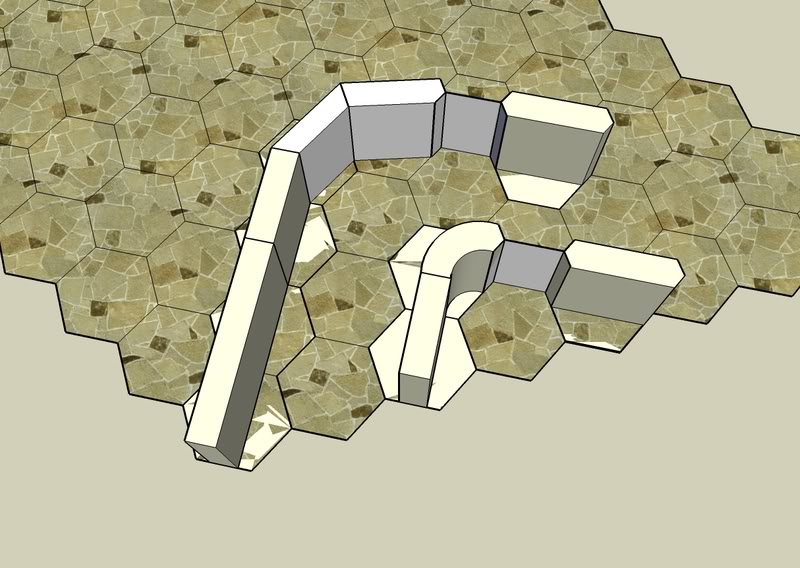
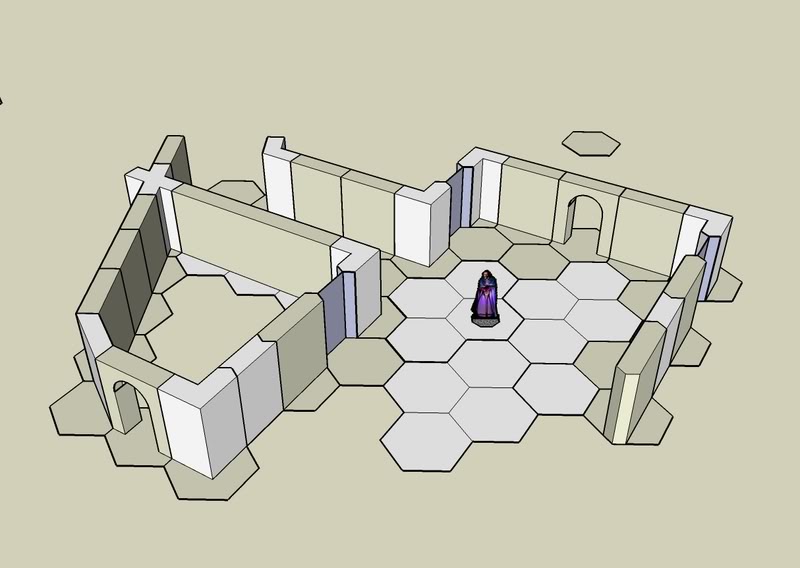
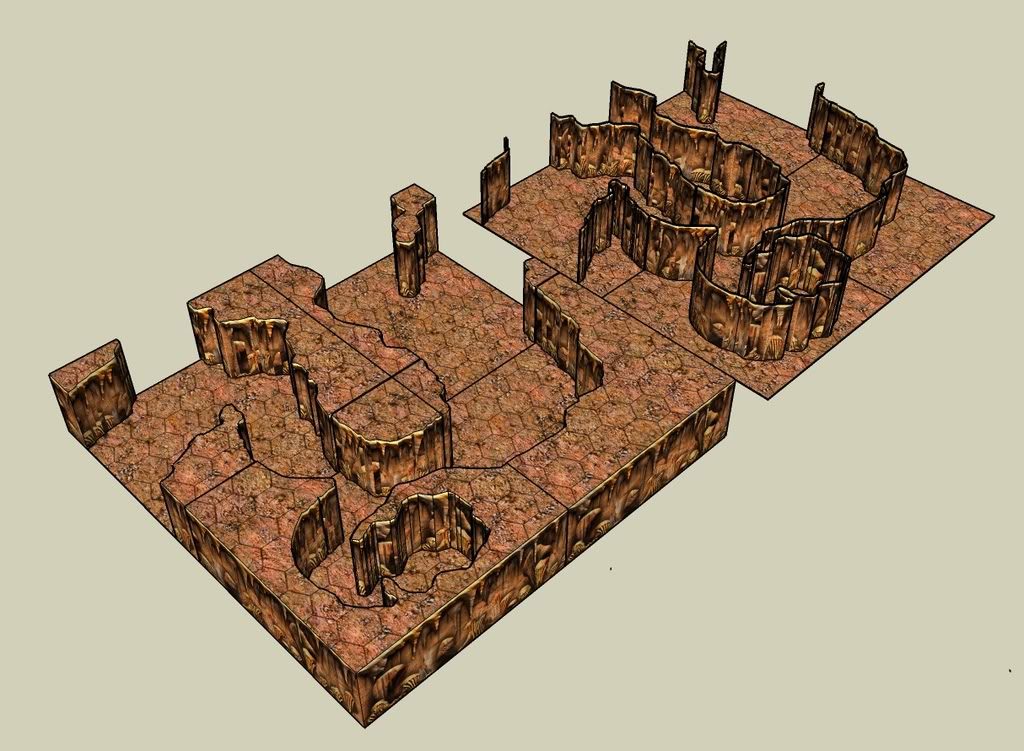
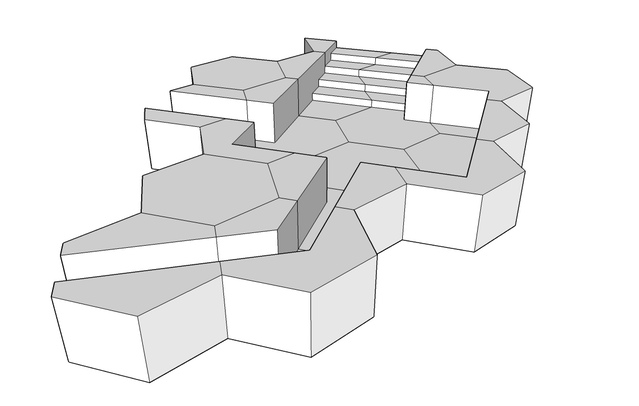
I also played around with how to make 3D Hex Dungeons

January 2008

January 2008

2009-2010

2009-2010

These were overly complex but a good start.  Unfortunately I no longer have the files for these.  Then last November during my routine searches for Hex Maps and Hex Dungeons I found the Kickstarter for Tabletop Hex Terrain. You can read my thoughts about it in the blog post linked above.  I now have the Hex jigs but I think I’m going to scale them up to get a true 1″ hex and have them laser cut.  I can still use the original Hex Jigs for Battletech and Mechwarrior: Dark Age.

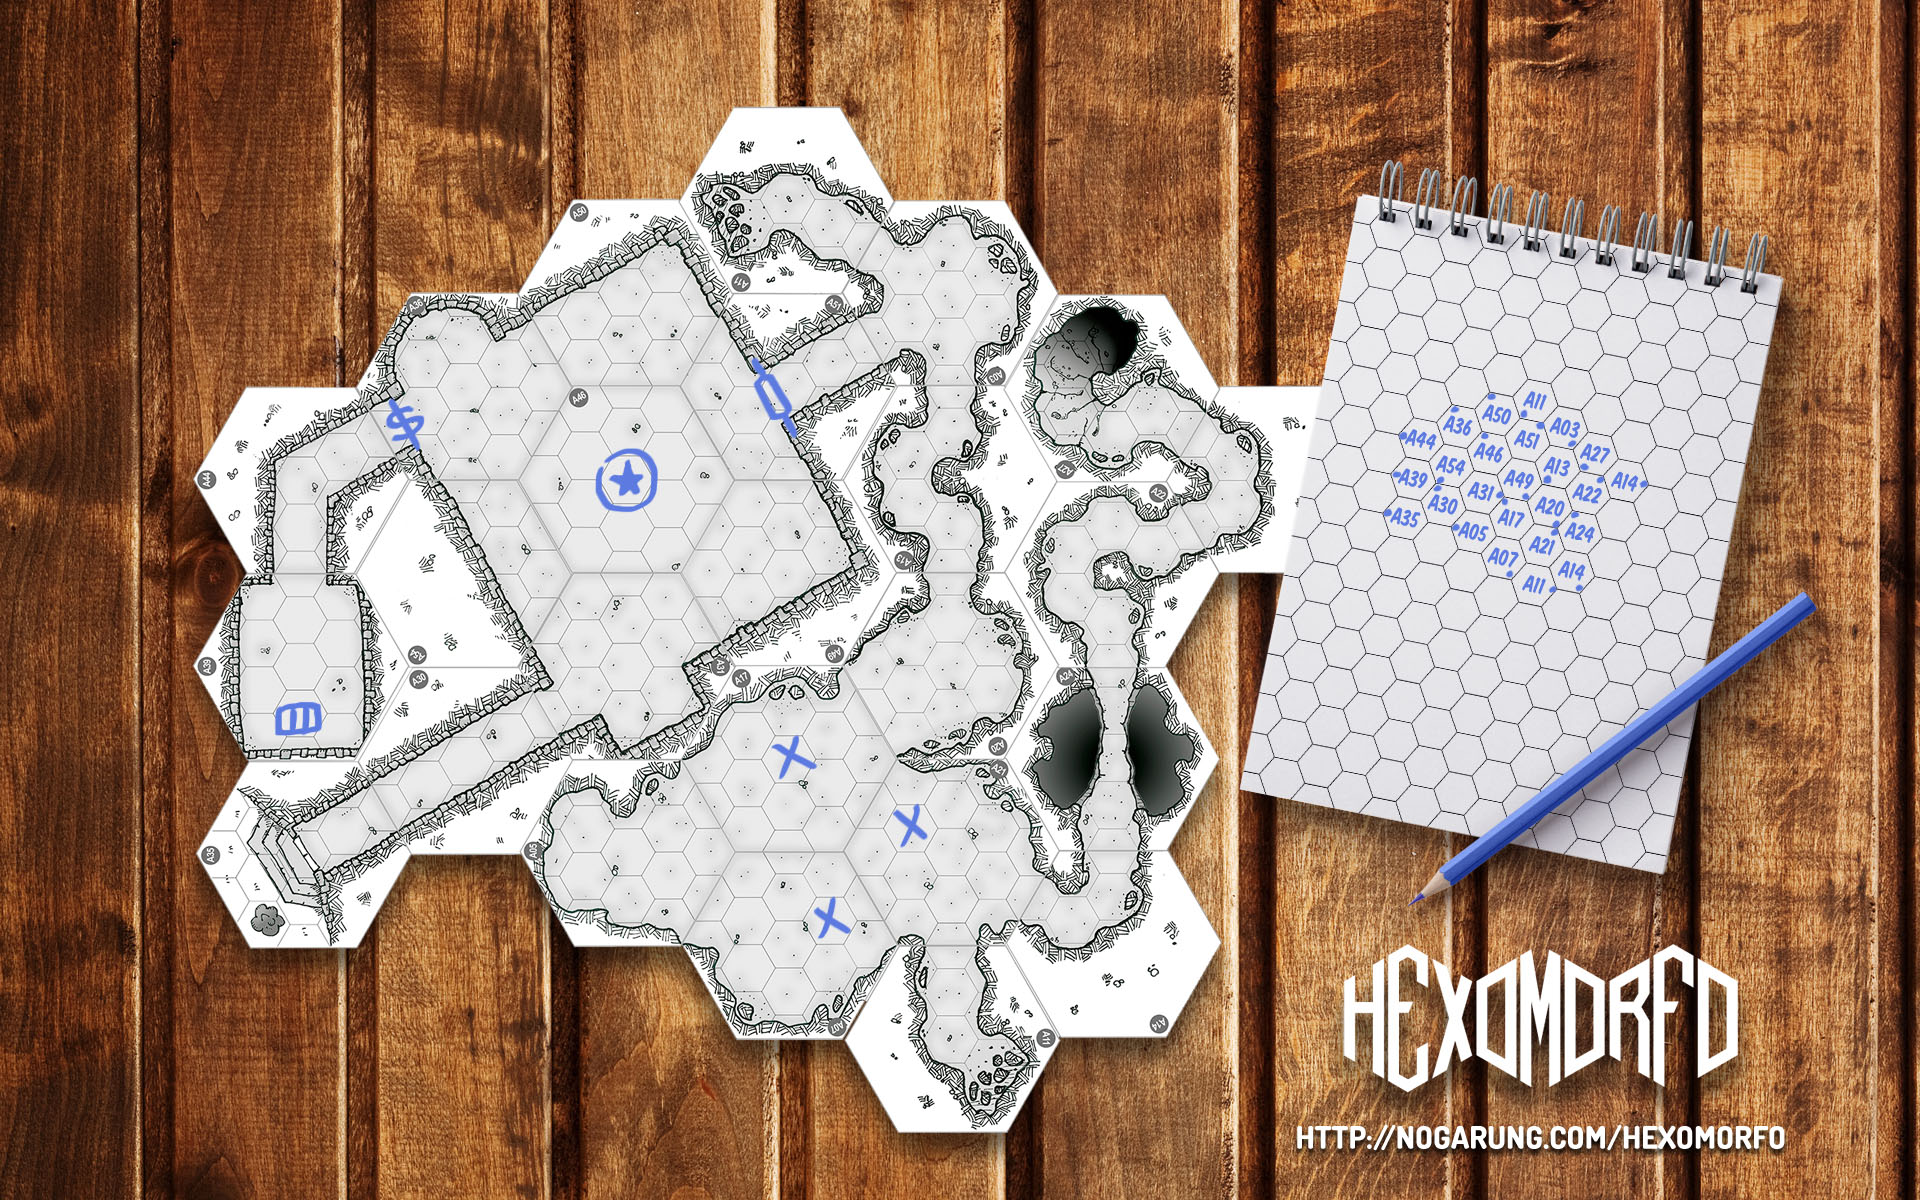
Then in December the Hexomorfo System came out using the same conclusions I was using (but only using vertical corridors not horizontal as well) but the smaller scaled 4″ tiles, a bit like the Hex Jig that I discussed in November. My only issue with the 4″ tiles is you can not have triple wide corridors without needing four hexes for the length of two that you would need for single or double wide.  I had considered going to 6″ tiles but it would be bulky for the 3D version although easier to build using Hirst Arts bricks.  However I’m going to have to custom make 1″ hex tiles for the Hirst Arts as Bruce doesn’t seem interested in making any.

So now I’m currently making tiles for the 4″ system and I’m hoping to get about 100-150 done before experimenting with the 3D tiles.  I’ll keep posting updates when I reach them.

HEXOMORFO SYSTEM

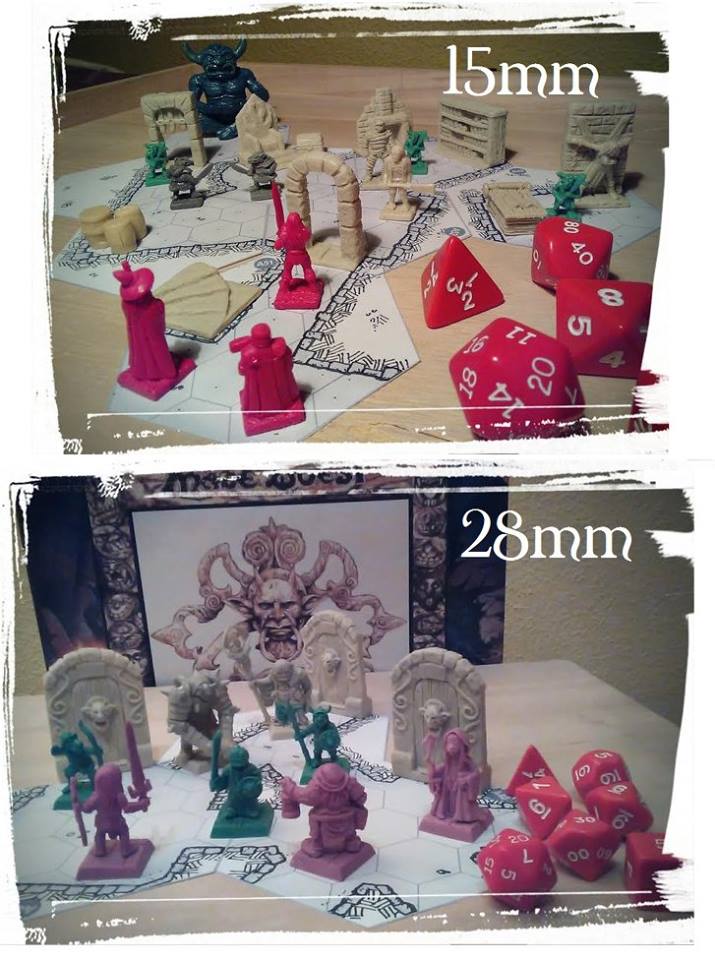
HEXOMORFO SYSTEM is created by Eneko Menica and Eneko Palencia and the design is similar to what I have been working on for the new Tabletop Hex Terrain.  I’m really pleased as this shows me I was on the right track! They have made it available for 15mm and 25/28mm miniatures.  I like to see that Hex Dungeons are catching on!  They have even mentioned that they may be making more designs!

Tabletop Hex Terrain

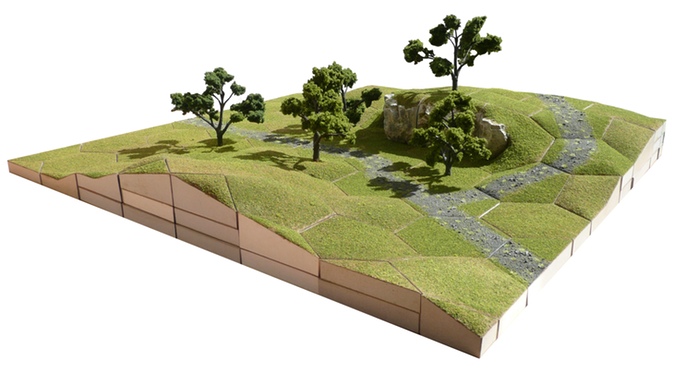
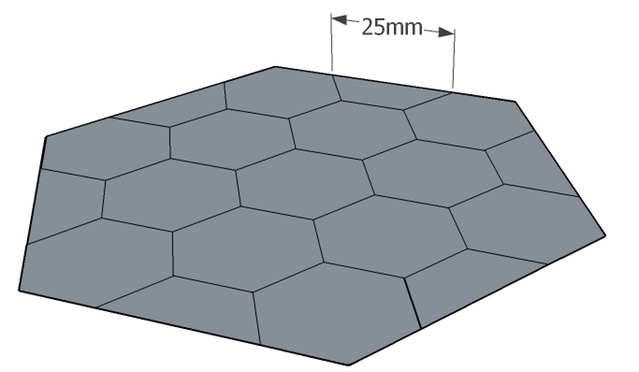
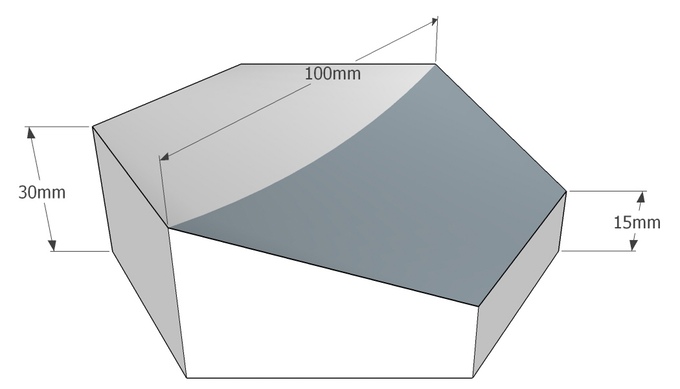
I just backed a kickstarter for MDF Jigs to make hex terrain with!  Each hex is 100mm Vertical Hex (point to point)

https://www.kickstarter.com/projects/1378063512/tabletop-hex-terrain-toolkit


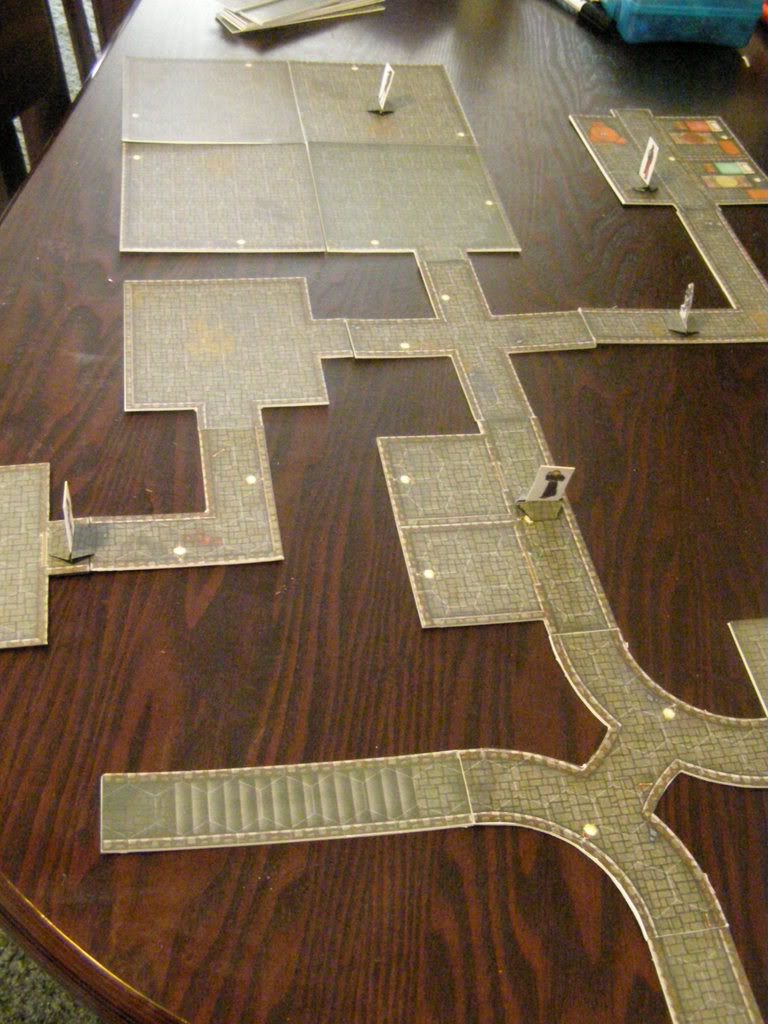
dungeon-vert-hex

A mock of what a dungeon might look like using this system. Remember each of those hexes are 100mm vertical.

e4b41c368a0d6be0164c32772053b0a2_original

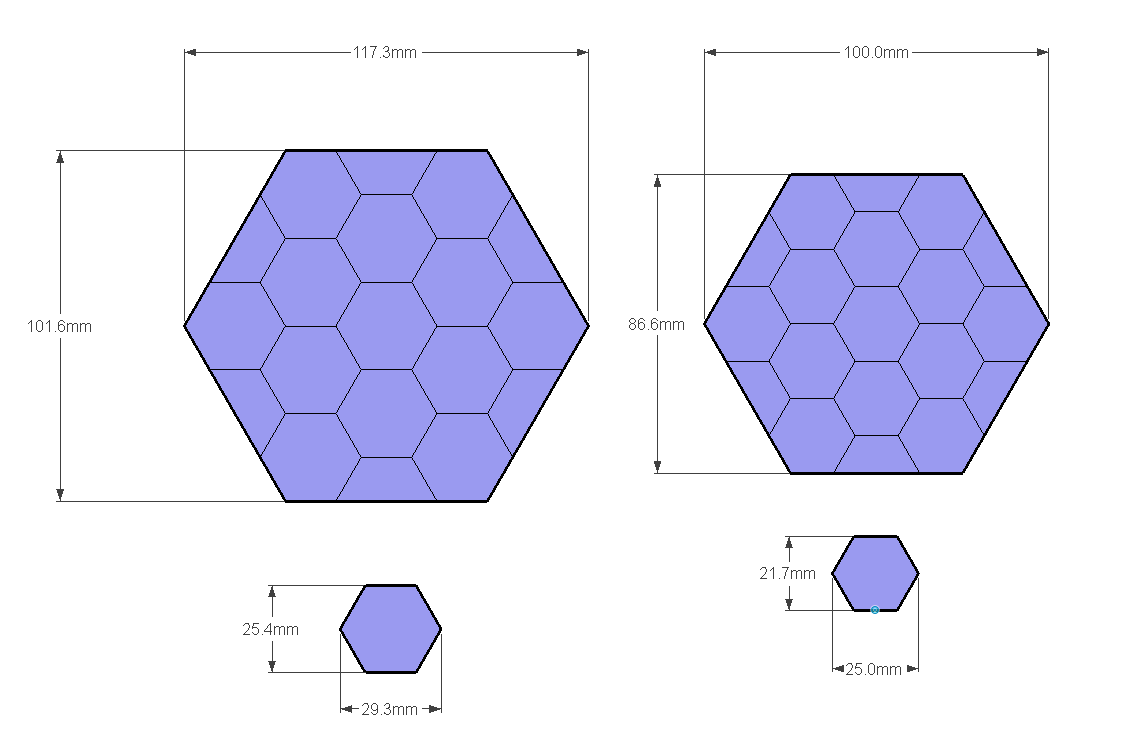
I wasn’t sure if I was going to back it at first.  For GURPS I use 1″ (25.4mm) horizontal hexes and for this system it is 100mm vertically which allows for 25mm vertical hexes.  However I’ve decided that I’m not going to let it bother me as it looks so nice!  Here are the differences between the two.

hexjig-comparison

GURPS standard on the right side, Hex Terrain Tool Kit on the left side. 14.7485% decrease in size

It will mean that some miniature bases will overlap the hex.  However it looks so nice!

1a81f16d496b9eca058260af80ab9b6b_original 65fc5c7cf5b6748696599017bb38aec4_original

17c7d80daa194a078d175da29d4ec74c_original 17aee6e5218b3a4e79d4efd72b68fa2b_original 1e0fd2ae5d47d1a4618a3051472b72b4_original

Look how amazing that looks!  With the risers it would be really easy to place a dungeon underneath the ground and terrain on top!  They are expected to arrive in March which will give me two months before Dungeon Fantasy Powered by GURPS arrives in May!

Also I will be able to use these for my wargaming as well.


2010 & 2011 Cartographer’s Annual

I just purchased the 2010 & 2011 Cartographer’s Annual from Profantasy Software.  I’m most looking forward to 2010 March issue which is Dungeon Geomorphs and 2011 February and June issues which also deals with dungeons.   The 2011 August issue is vertical geomorphs which I will be exploring first to give a sense of depth to this crazy Megadungeon.

I hope to post more pictures soon.

Revised Sewer Tiles

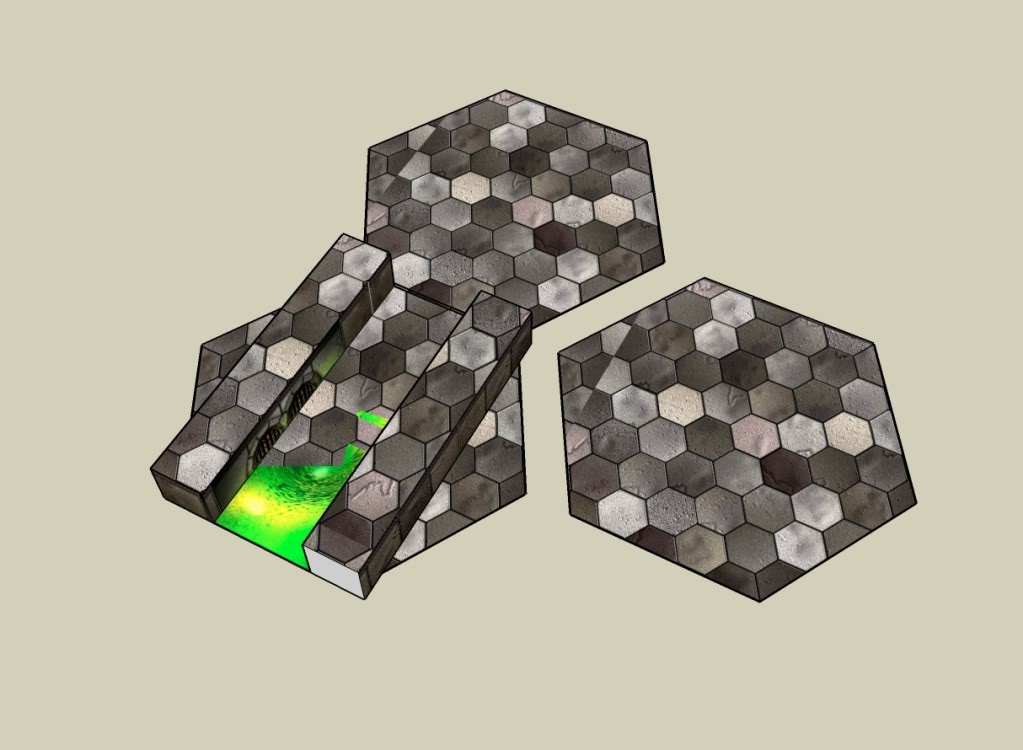
Here is the revised Sewer battle Tiles for Level One of the Mega Dungeon.  The walk ways are 3′ and the water channel is 6′


I’m still working on the CC3 Effects but I like what I have so far.  The brick pattern from the first sewer test was just not doing it for me.  I’ve had to add and move the Sheet effects around.  Here is what I have on them so far, each with one or more effects.

  • Floor Sunken
  • Floor Depressed
  • Floors
  • Water
  • Deep Water
  • Floor Raised
  • Walls
  • Shadows

I’m debating on whether or not to have lighting effects.  There will be narrow water channels of 3′ with no walk ways as well.

A few simple Geomorphs

So I’m feeling a bit better and quickly created these three Geomorphs.  I wanted to see if it mattered visually placing a 3′ corridor to a 6′ corridor without some kind of transition, or if a corridor going to a dead end at the edge of the geomorph looked odd.  Well in some places they may look a bit odd, but creating a cave in would solve that problems fairly quickly.

The Grub Tavern
The Grub Tavern

Not all Geomorphs have to be a random assortment of rooms and corridors.  I give you “The Grub Tavern” a place that is safe to drink and rest up while exploring the never ending passages of the under world.  It features a large common area, 12 rooms for rent (from the stairs not shown on Geomorph) good food and ale.

Cross Roads

Random Geomorph 1

Once I get a good assortment of Geomorphs made I will place them in a pdf for use.  What size should each tile print at?  3″, 4″ or 6″ tiles?  I have not decided yet.

I’m also exploring the random and themed Geomorph.  I’m not going to go too much into explaining why all this is here, that just takes the fun out of Mega Dungeons, but I would like some organisation to them other than just the random mess that you see in old school mega dungeons.  Don’t get me wrong I plan on using random mess as well.  Hey if it is not broke why fix it.

Planning my Mega Dungeon Part 1

So where to start?

Well lets start out with what you need for maps to play any version of GURPS.  GURPS uses a Hexagonal Grid with one hex = 3 feet.  This is much different then the standard D&D of 1 square = 5 feet (or 10 feet in some maps).

Well I started by using a square map with a hexagonal grid.

Now this looks nice and works really well except for one problem.  You can only rotate it 180 degrees.  If you rotate it 90 degrees the hexagon grid becomes vertical not horizontal so this means you have to make two versions of this tile, one with a vertical hexagon and the other with a horizontal hexagon in order to be able to rotate it.  This is not exactly what I had in mind.

After several discussions on the World Works Games forums I decided that it was possible using a hexagonal tile.  The advantages to this is you can freely rotate them and they will always match up with the next tile!

This allows me to create battle tiles for use with miniatures and have them line up with the other tiles.  I made the tiles as large as I could to fit on either US letter or A4 paper.  Some of the things I notice is that when you have corridors meeting diagonally across the edge of the tile it needs to be slightly smaller than if it meets head on.  The image above is a perfect example.  The north/south corridor meets the edge head on and is 6 feet wide.  The east/west corridor will be slightly off if matched with another tile that goes head on so it needs to be adjusted.  I’ve discussed with on the Steve Jackson Games forums and figured out that for a 6′ corridor I need to reduce the size to 5′-6″ if it runs diagonally to the tile edge in Campaign Cartographer.  Case solved.

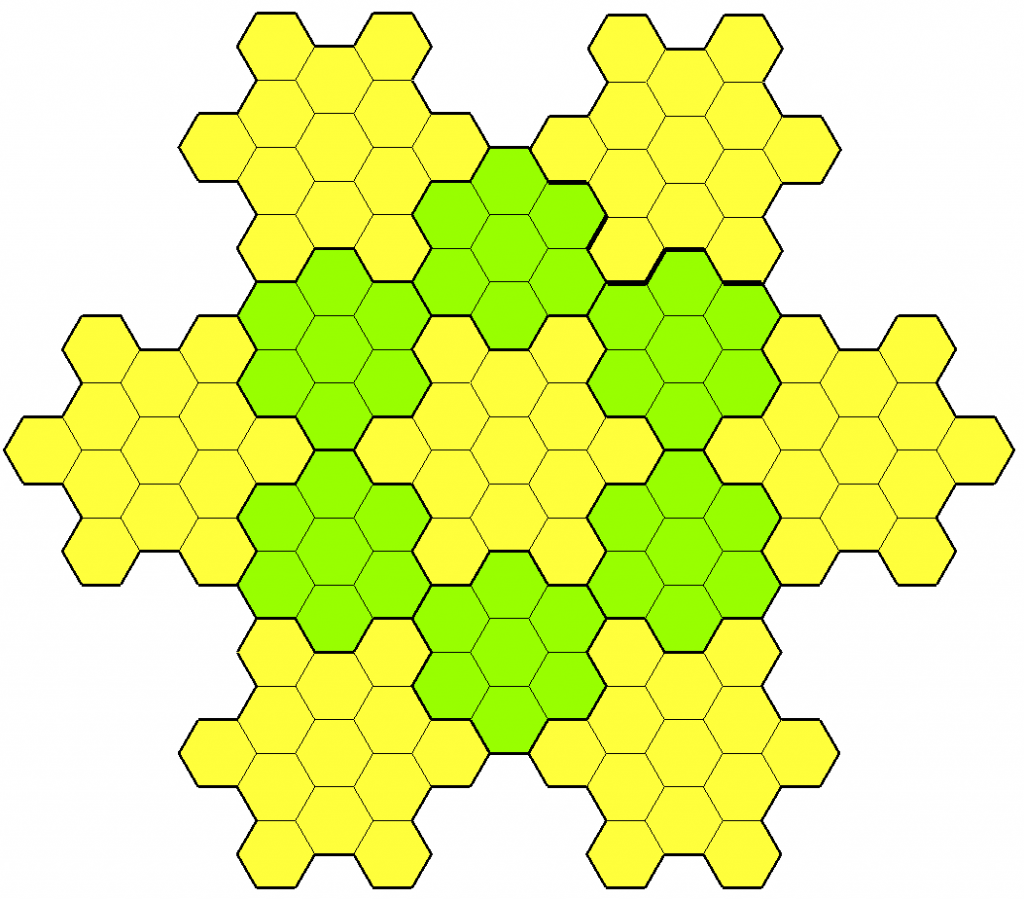
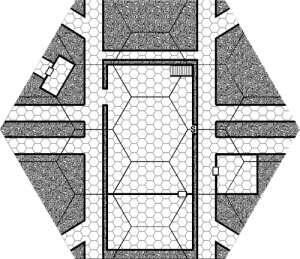
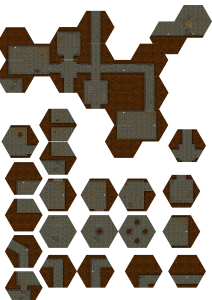
However what about large scale maps?  It is fine to make a whole bunch of random battle tiles but even your standard square grid tiles require several battle tiles to make a descent layout.  So after several discussions with people (including Kuroshima) I came up with this design.  The hex tile above will be the main geomorph tile.  It contains 13 full size battle maps and 6 half tile battle maps.  Now I can draw geomorphs on this tile and if needed easily transfer them to a full size battle tile for use with miniatures.  There will be two connecting points per side.  So one tile that looked like this can be duplicated and rotated to create this maze of corridors.


So far I’m happy with the results. I will continue to keep everyone updated on my progress as I come up with a way to easily create large scale dungeons for GURPS games.